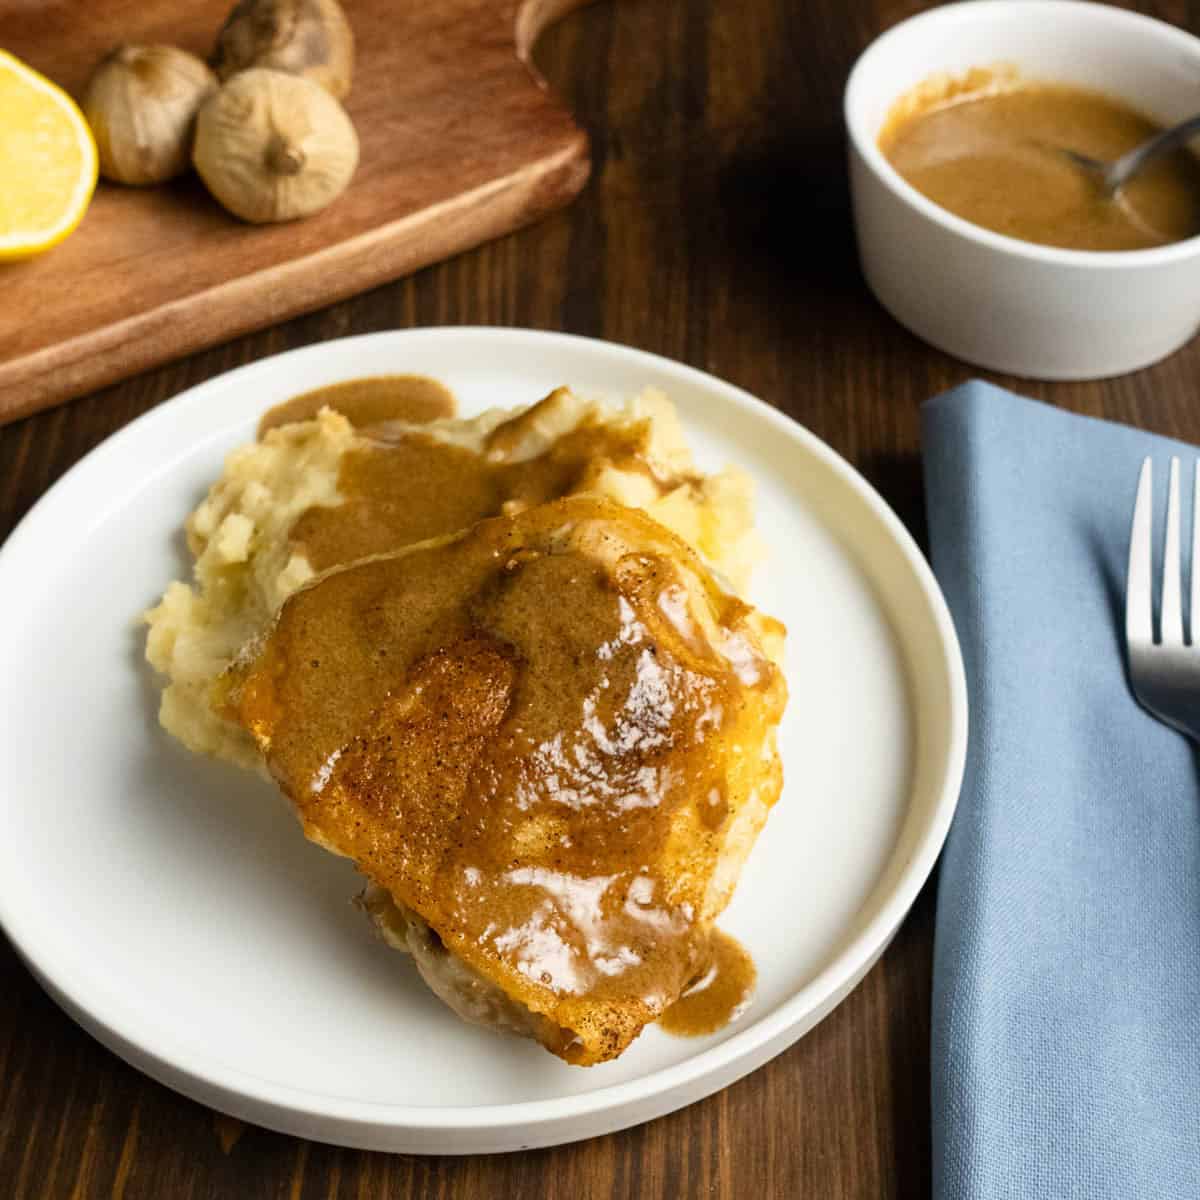
Dry Brined Chicken
A roast chicken is a simple joy in life. And dry brining, salting the bird in advance and letting time do the heavy lifting, is the secret that takes it from “pretty good” to “how is this so tender and flavorful?” A dry brine seasons the whole chicken all the way to the bone, crisps the skin without fuss, and frees you from last-minute dinner panic. You salt it, tuck it into the fridge, and the next day you have a chicken that practically cooks itself into golden perfection. Whether you’re planning meals for the week or creating a cozy Sunday dinner that feels a little special, this method gives you a juicy, deeply seasoned roast chicken every time without a wet brine or mess.
Why You’ll Love this Recipe
- Simple dry brine method
- Deep, even seasoning
- Crispy skin and extra flavor without more work
What You’ll Walk Away Knowing
- How much salt to use to dry brine
- How long to dry brine
- Internal temperature of a fully cooked chicken, light and dark meat
How to Dry Brine Chicken
The benefits of dry brining your chicken are that the meat will be flavored from within. By salting the chicken, the salt will pull the moisture in the meat to the surface through osmosis. The beads of moisture will be pulled to the surface and the salt will be drawn into the chicken, seasoning it from within. As time passes, salt within the chicken will draw the moisture beads back into the meat.
Dry brining is less messy and takes up less room than wet brining. You don’t need room for a vessel to hold a liquid brine.
Dry brining a chicken can be done two ways; either in a sealed container, such as a plastic storage bag, or an open container, such as a plate, in the refrigerator.
I like to dry brine anything that you want to have a crispy skin such as a whole chicken or chicken thighs, in an open container.
If you are squeamish about having raw meat open in your refrigerator, put the chicken in a closed container. But if you don’t mind having meat out, I prefer to dry brine my chicken on a plate, uncovered in the fridge on the bottom shelf so if anything drips it doesn’t get on other items in your refrigerator. The circulating air and salt creates the driest surface possible, which leads to the crispiest skin and intensifies the flavor of the chicken.
I don’t typically measure my salt before applying it. I use a three finger pinch of salt to thoroughly salt the chicken on the front, back, and inside the cavity. Put it in the fridge for 24 hours. 24 hours is ideal, but you can go up to 48 hours without affecting the integrity of the meat.
Ingredients
Whole Chicken: A 5-6 lb chicken is ideal to avoid having to cook it too long and drying out the breast meat. The chicken needs to be thawed prior to salting for this technique to work. You should cook the chicken for 15-18 minutes per pound.
Salt: Table salt is too metallic for dry brining. Pink Himalayan salt, gray salt, Redmond Real Salt, or kosher salts, like Diamond Crystal or Mortons Kosher salt are all ideal options.
Use ½ teaspoon of salt per pound of chicken as a general amount. Morton’s is a little more dense so use less than you would of Diamond Crystal. Morton’s would be ¼ teaspoon per pound and Diamond Crystal is ½ teaspoon per pound.
Step-by-Step Instructions
Dry Brining the Chicken
- Remove the chicken from its packaging and dry the surface and inside of the chicken with paper towels to remove excess liquid
- Place the chicken on a plate or container large enough to hold it
- Sprinkle salt into the cavity. Place the chicken breast side down and salt the back, wings, thighs, and legs. Place the chicken onto its back and salt the breasts, wings, legs, and thighs
- Place uncovered on the bottom shelf in the refrigerator for 24 hours
Roasting the Chicken
- Take the chicken out of the refrigerator 30 minutes before you roast it
- Preheat the oven to 400°F. Pat the chicken down with paper towels again to get any excess moisture off of it and put into a baking dish or roasting pan with or without a rack
- Bake for 1 hour in the middle rack, uncovered
- Turn the heat up to 425°F for the last 30 minutes
- Check the temperature with an instant read thermometer. The breast meat should be 165°F. The thickest part of the thigh should be 175°F.
- Rest for 15-20 minutes to let the juices redistribute
- Slice and enjoy
Expert Tips
Crisp Skin: Leaving the chicken uncovered in the refrigerator allows the skin to dry out further making it crispier after roasting. Dry the skin once more before baking to remove any excess moisture.
Don’t Rush: The most important component of dry brining is allowing the salt enough time to penetrate the meat and pull the surface moisture back into the bird. If you rush it, you will have over salted, dry meat.
Don’t Rinse: There is no need to rinse the salt off of the chicken before cooking. It’ll make the skin soggy. If you’re worried about it being too salty, just don’t add a lot of salt to begin with.
Roasting Rack: Using a roasting rack will allow the air to circulate under the chicken and let the drippings fall, which prevents a soggy bottom. I use a roasting rack sometimes, but other times I don’t mind if it cooks in the juices.
Let it Rest: Resting lets the juices redistribute so that the meat is tender and juicy. The chicken will still be hot.
Bonus Meals: Save the carcass and bones to make your own Instant Pot chicken stock.
Storage: Chicken can be stored in the refrigerator for up to 3 days.
What to Serve with Roast Chicken
All variations of mashed potatoes are delicious with roast chicken. Rosemary Garlic, Cheesy Garlic, and Black Garlic mashed potatoes are a few that are in my rotation.
If you’re looking for a make-ahead side, my Spinach Squares can be made a day ahead and baked with the chicken. Crispy Roasted Potatoes can also be baked along with the chicken.
Caramelized onions and mushrooms are a fantastic accompaniment to add umami to your meal.
Roasted Radishes or broccoli are easy to make and pair with it perfectly.
FAQs
Totally safe. Your fridge is cold and the salt is antimicrobial. As long as the chicken is on a plate on the bottom shelf so it can’t drip onto anything, you’re good.
They’re liquid gold. Pour them into your mashed potatoes, make a pan sauce, or drizzle them over the carved chicken. Don’t toss that flavor away. And save the bones to make chicken stock.
Not when done correctly. The salt pulls moisture out, dissolves into a brine, and moves into the meat, not all of it stays on the surface. If you’re sensitive to salt, skip salting the cavity to keep the final chicken more mild.
Usually one of these culprits:
1. The chicken wasn’t fully thawed before salting
2. Your fridge has high humidity
3. You covered it or stored it in a container so the skin didn’t dry out
4. You didn’t pat it dry before roasting
Whether for a weeknight meal or a scaled down holiday meal, dry brined chicken is sure to be a family favorite. If you enjoy this recipe, please subscribe to my newsletter where I share recipes and seasonal tips.
Dry Brined Chicken
Equipment
- Roasting Pan
- Roasting Rack optional
Ingredients
- 5-6.5 lb whole chicken
- 1 tablespoon kosher salt
Instructions
Dry Brining the Chicken
- Remove the 5-6.5 lb whole chicken from its packaging and dry the surface and inside of the chicken with paper towels to remove excess liquid
- Place the chicken on a plate or container large enough to hold it
- Sprinkle salt into the cavity. Place the chicken breast side down and salt the back, wings, thighs, and legs. Place the chicken onto its back and salt the breasts, wings, legs, and thighs
- Place uncovered on the bottom shelf in the refrigerator for 24 hours
Roasting the Chicken
- Take the chicken out of the refrigerator 30 minutes before you want to roast it
- Preheat the oven to 400°F. Pat the chicken down with paper towels again to get any excess moisture off of it and put into a baking dish or roasting pan with or without a rack
- Bake for 1 hour in the middle rack, uncovered
- Turn the heat up to 425°F for the last 30 minutes
- Check the temperature with an instant read thermometer. The breast meat should be 165°F. The thickest part of the thigh should be 175°F.
- Rest for 15-20 minutes to let the juices redistribute


Dry brining any meat is a simple way to maximize flavor with minimal effort. I hope you love it!