How to Dry Brine Steak (And Cook it in a Cast Iron Skillet)
A perfectly cooked steak is one of life’s simple luxuries and dry brining takes it to the next level. I upped my steak game when I started using this technique. As you might have already noticed, I live to eat, not eat to live. I love a recipe that is simple, straightforward, and with incredible results. Dry brining my steak allows me to dream about it for a full day ahead. It builds the anticipation for an amazing meal ahead.
My favorite thing about dry brining is that you can add so much flavor to your steak with only the forethought to prepare it ahead of time. Let’s start with what dry bringing is. Dry brining is the process of salting your meat for at least 24 hours and allowing the salt to penetrate the meat fully.
Why You’ll Love This Recipe
- Dry brining your meat will lead to a perfectly seasoned, melt in your mouth tender steak.
- It takes very little time to accomplish this.
- And you’ll have dinner planned for the next night so you’re not stuck scrambling.
Why Dry Brine Your Steak?
Why should you bother to dry brine your steak, you might ask? By salting the steak, the salt will pull the moisture in the steak to the surface through osmosis. The beads of moisture will be on the surface and the salt will be drawn into the steak, seasoning it from within. As time passes, salt within the steak will draw the moisture back into the steak.
How To Dry Brine
Now how do you dry brine a steak? There are two ways to dry brine. Either in a sealed container, such as a plastic storage bag, or an open container, such as a plate, in the refrigerator.
I like to dry brine anything that you want to have a crispy skin such as chicken thighs, in an open container. That way the skin can dry out from the salt and the air circulating around the meat.
For steak, you can do either an open or closed container. If you are squeamish about having raw meat open in your refrigerator, put it in a closed container. But if you don’t mind having meat out, I prefer to dry brine my steak on a plate, uncovered in the fridge. The circulating air and salt creates the driest surface possible, which leads to the best possible crust and intensifies the flavor of the steak.
I don’t typically measure my salt before applying it to the steak. I use a three finger pinch of salt to thoroughly salt the steak on both sides.
Put your steak on a plate or container. Salt generously on both sides and put in the fridge for 24 hours.
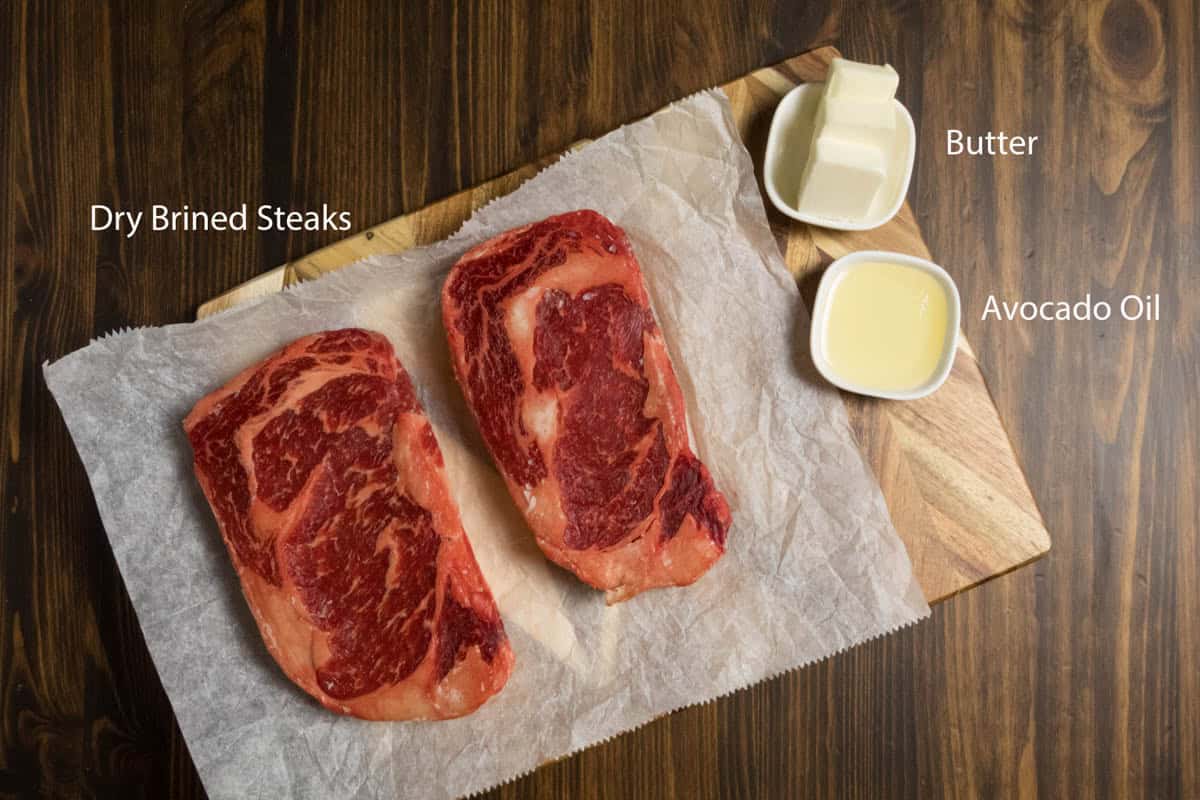
Ingredients List
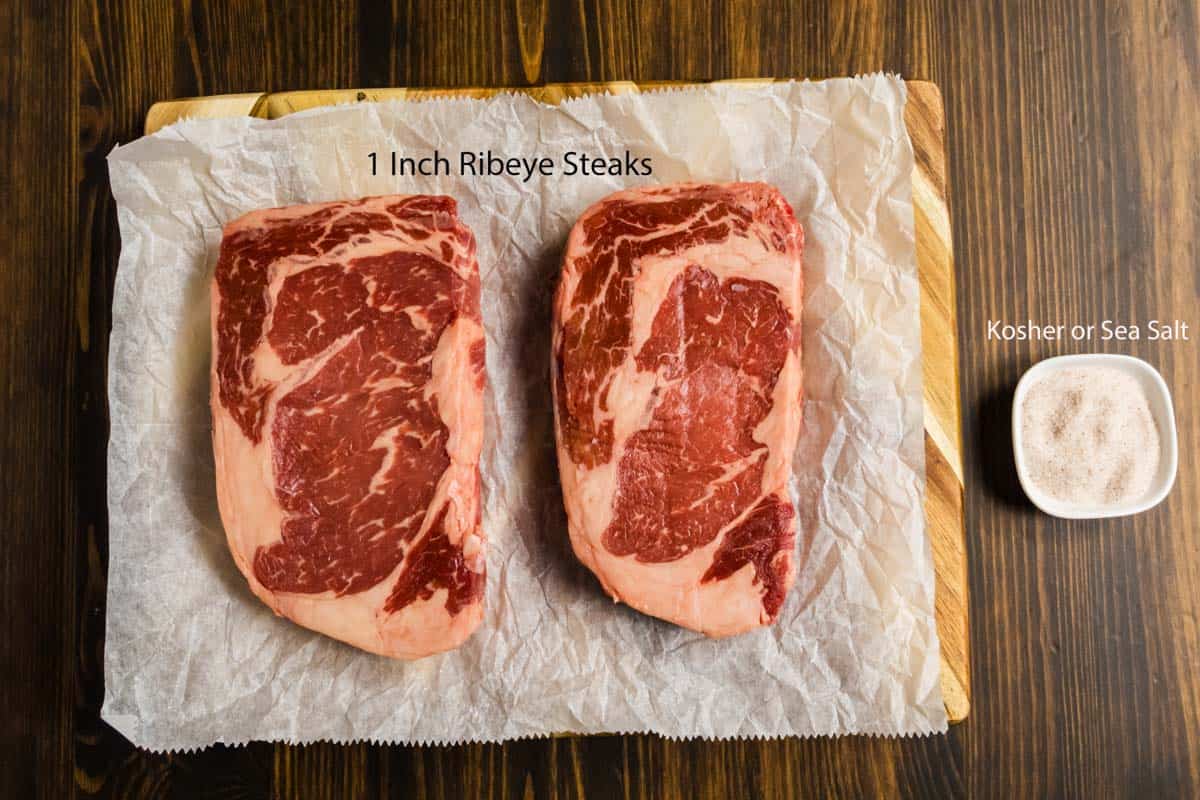
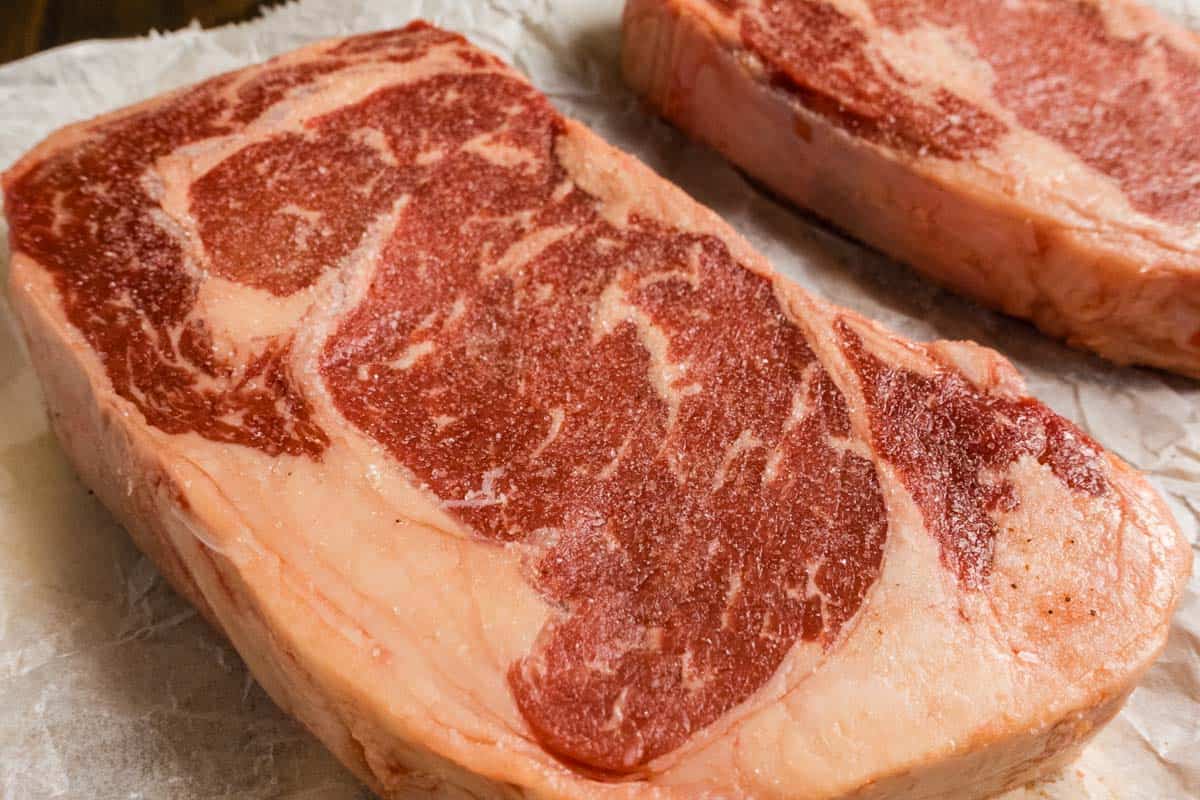
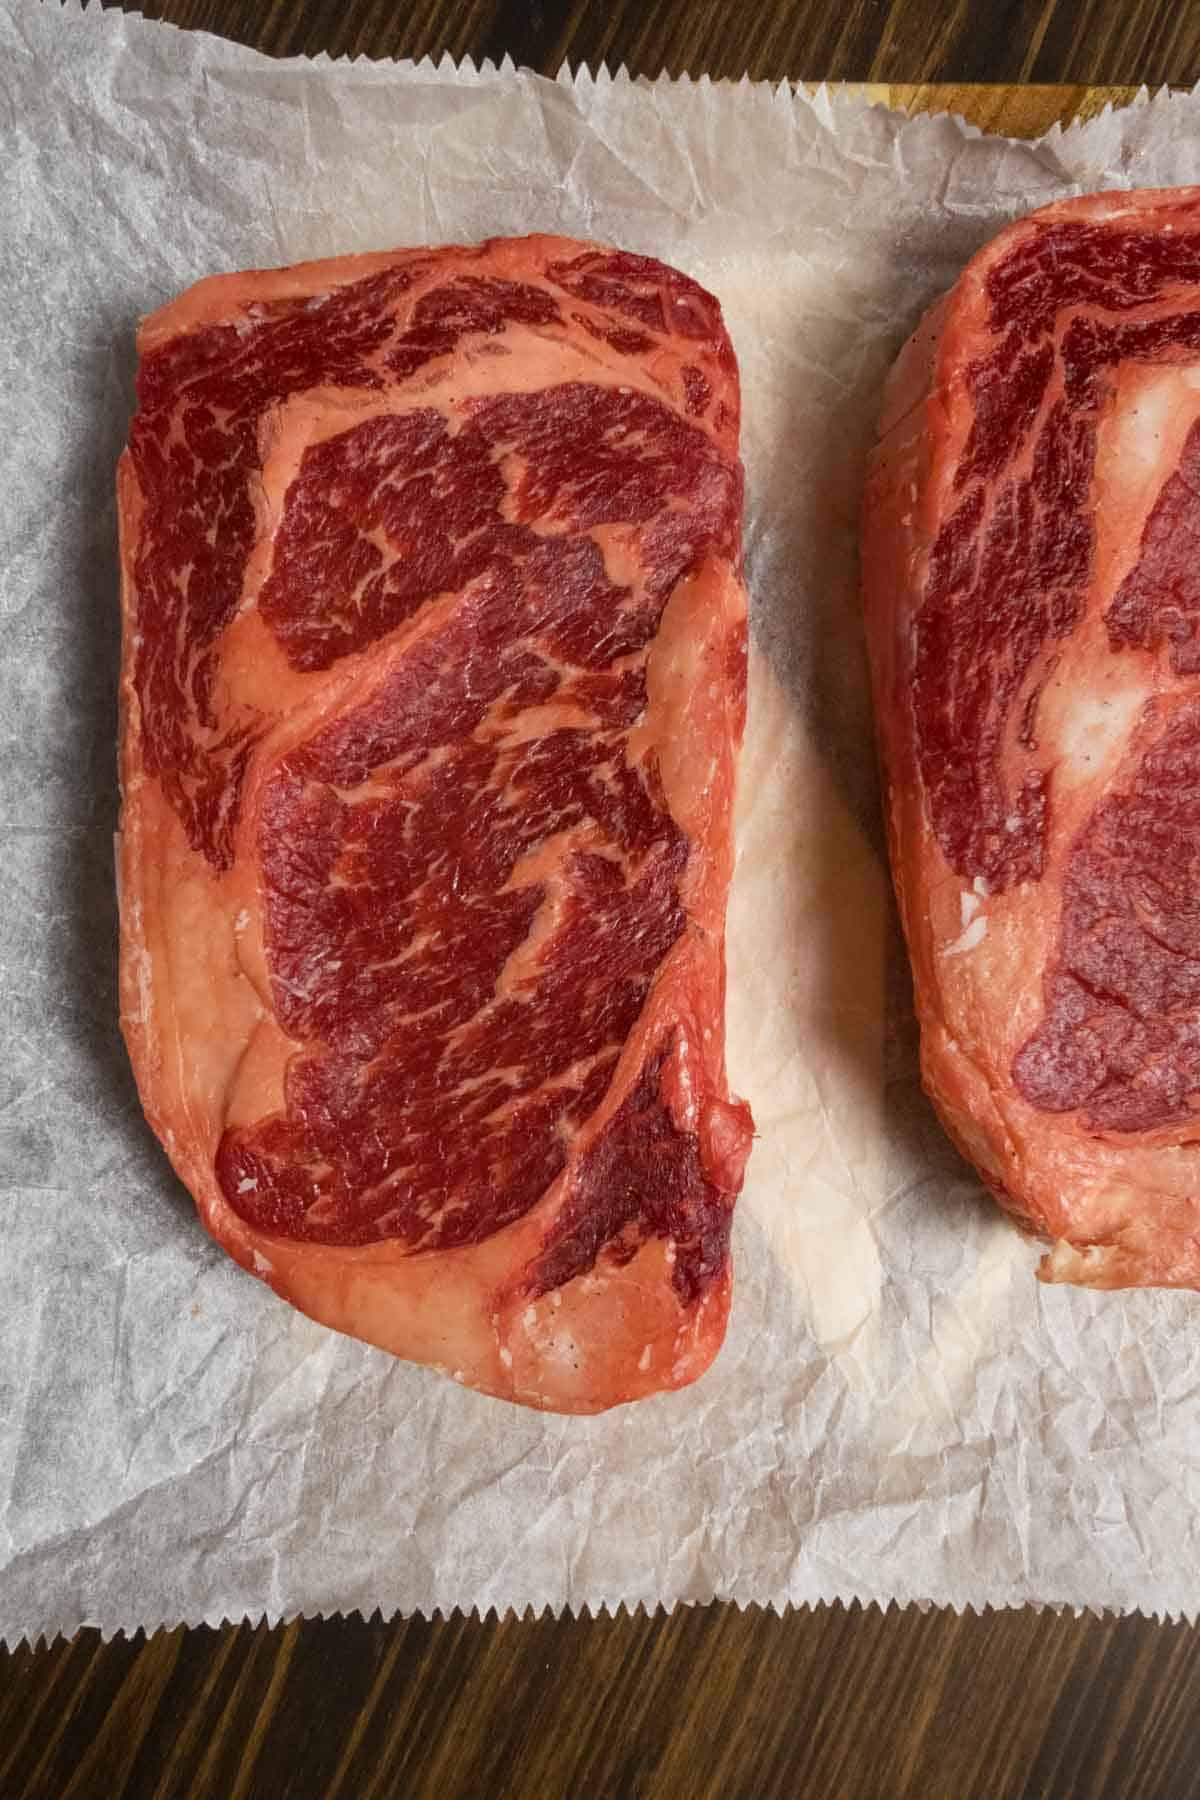
Steak: This is a point of preference. You can dry brine any cut of steak. My favorite cuts are ribeyes, t-bones, or New York Strip steaks. I cook ribeye steaks the most. You want a steak that is between 1 to 2 inches thick. You want a well marbled steak that can stand the high heat of a grill or cast iron skillet.
Salt: This is an important choice because the flavor depends on good salt. Don’t use table salt. It has a metallic taste that ruins steak. Use a pink himalayan salt, grey salt, or Redmond real salt. The less processed the better. You want kosher salt because the bigger flakes allow it to coat the meat without being too salty. If you only have table salt sized grains, cut the salt down by ¼ to ½ teaspoon.
In this recipe, I used Redmond Real Salt (fine texture) because I ran out of kosher salt and it still worked beautifully. When I was starting out dry brining, I used Diamond Crystal Kosher Salt.
Equipment
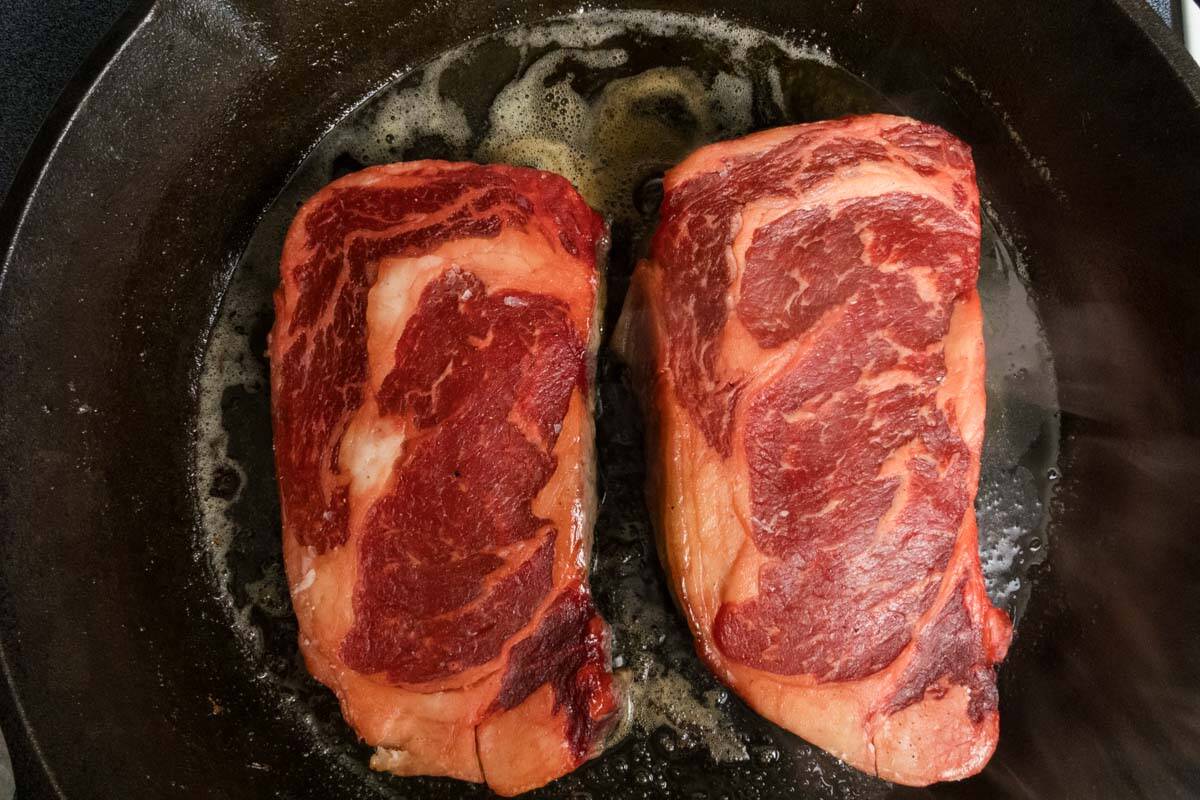
To make this recipe, you need a cast iron skillet. I use either a 12 inch or larger skillet. You want room if you’re doing more than one steak to allow them to cook together without being so close that they create steam instead of a crust.
You can also use a stainless steel pan. Just make sure that when you flip, the steak easily releases from the pan. If you try to flip the steak before it’s built a crust, it will try to stick and not have a nice crust.
Step-by-Step Instructions
Dry Brining
- Look at the package or weigh your steak. You want to use 1 teaspoon of salt per pound of meat.
- Place the steak on a plate and blot both sides with a paper towel to remove excess moisture
- Using one hand to hold the steak and the other to salt, sprinkle salt with a three finger pinch from about a foot above the steak so that it applies evenly on both sides
- Put the steak in the refrigerator uncovered for 24 hours
Cooking Your Steak
- Take the steak out 30 minutes before you want to cook it. Do not rinse or wipe away any salt on the surface. You can add pepper on the steak if you want.
- Preheat the cast iron skillet on medium heat for 20 minutes. You want the handle of the cast iron to be warm before you put anything on the skillet.
- Turn the heat up to medium high heat and allow it to heat for 5 minutes. You want to gently warm it up first so the heat is evenly spread throughout the skillet.
- When the pan is thoroughly heated, pour 2 tablespoons of avocado oil into the pan. Add a tablespoon of butter.
- Place the steak on the skillet with enough room to add the second steak without them being too close. If they’re too close, the meat will steam instead of get a crust.
- I cook my steak to medium rare. Cook the steak on one side without disturbing it for 5 minutes.
- Flip the steak and cook for another 5 minutes
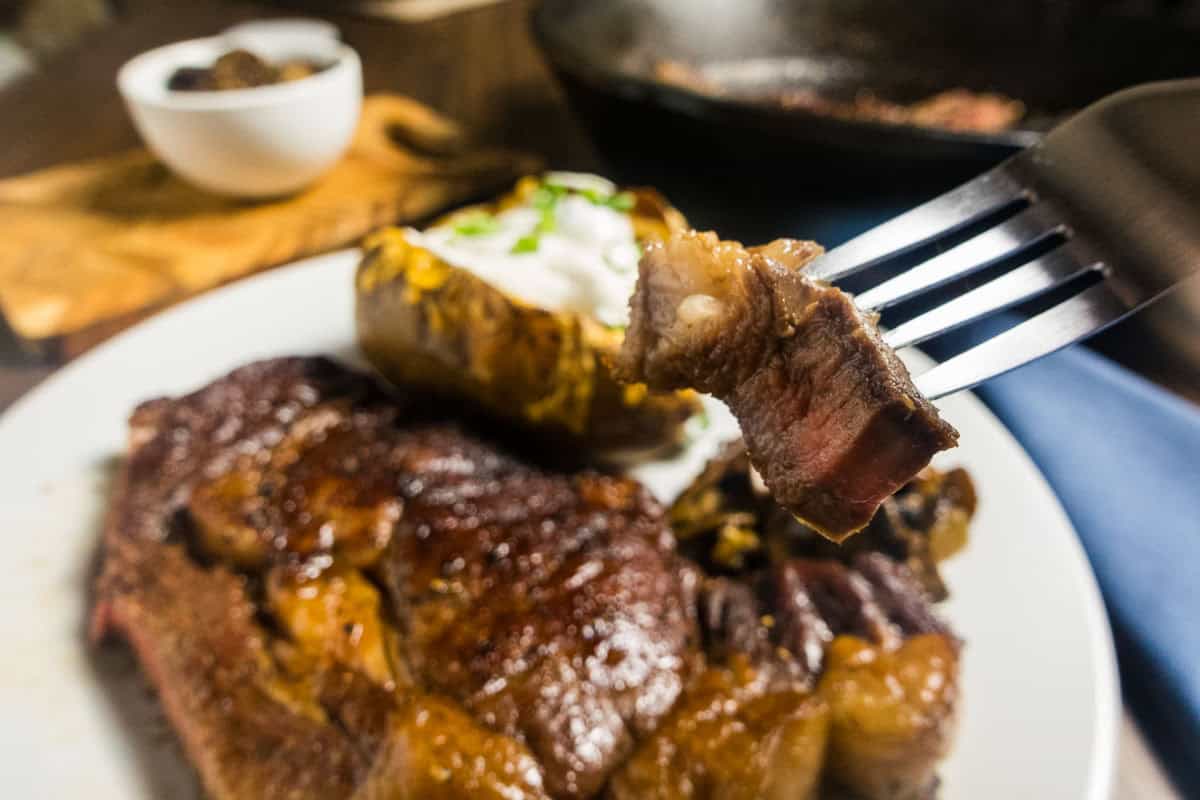
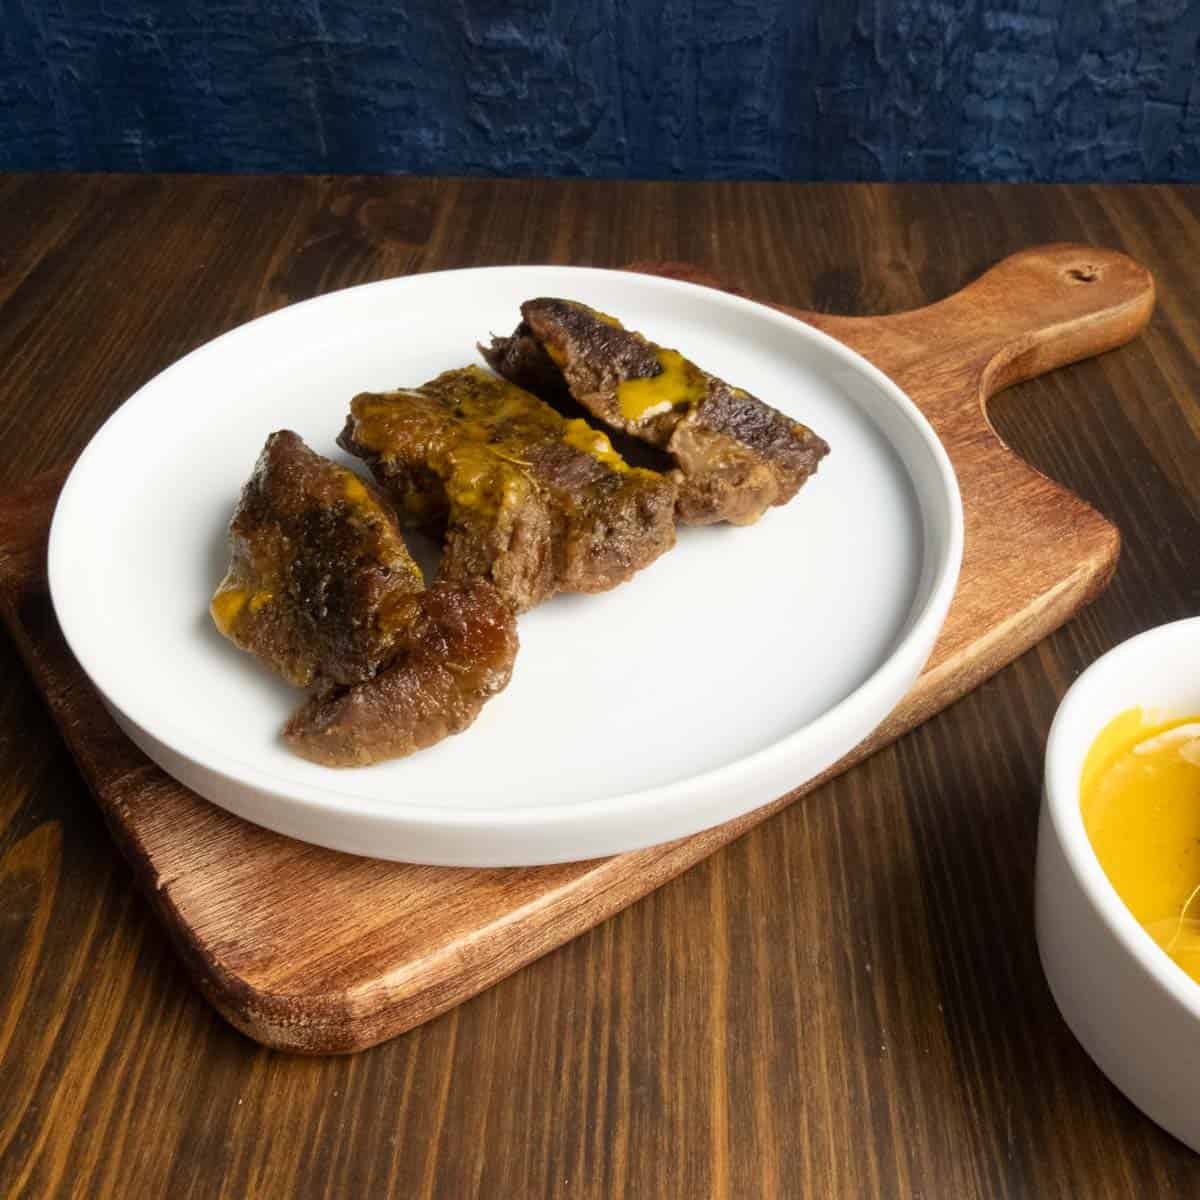
- At this point, you can add 2 more tablespoons of butter to the pan. Let it melt, then gently baste the top of the steak with the melted butter using a spoon. The French call this arrosage.
- Remove the steak from the skillet and let it rest on a plate for 5-10 minutes to allow the juices in the steak to redistribute.
Steak Doneness
Remember that the steak is very hot and there will be carryover cooking. Carryover cooking is when the meat will still be cooking from the residual heat as it rests. You can take the steak out of the pan when it is a few degrees shy of the doneness you prefer to keep it from overcooking on the plate.
My preference is a medium rare steak. The above instructions reflect that. If you want to cook your steak to a different doneness, check your steak with a meat thermometer for the most accurate results.
Rare: 125 degrees (bright pink center) 3 minutes per side
Medium-Rare: 135 degrees (warm red center) 5 minutes per side
Medium: 145 degrees (warm pink center) 6 minutes per side
Medium-Well: 150 degrees (slightly pink center) 7 minutes per side
Well-Done: 160 degrees (little to no pink) 8 minutes per side

Resting Your Steak
This is where you can make or break the whole process. Resting is very important. When you heat the steak, especially on high heat, the water molecules in the steak are very active. If you were to cut into the steak before resting, the juices will all run out, leaving a tougher steak. By allowing the water molecules to calm down, redistribute, your steak remains juicy and tender.
My rule for resting is to rest it for at least the amount of time you cooked one side. So if I cooked one side for 5 minutes, then I would rest the steak for 5 minutes. You can always do it for longer, especially if you’re prepping any sides.
Serving Suggestions
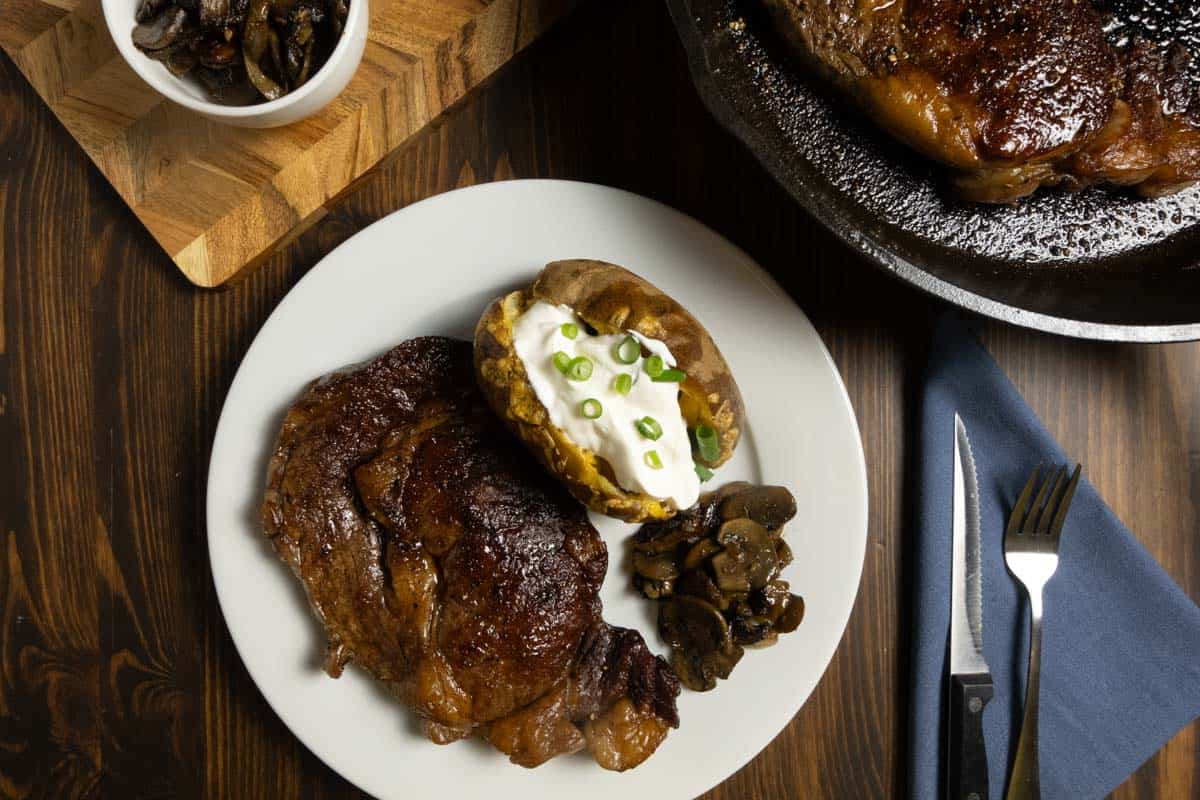
What’s a steak without caramelized mushrooms and onions? They are a great pair because the umami of the mushrooms compliments the umami of the steak. Maximum savoriness awaits.
I love a loaded baked potato as well. Shredded cheese, crumbled bacon, sour cream and chives add a decadent accompaniment for the night. A simple green salad or sauteed asparagus can add lightness if you don’t want to go into a food coma.
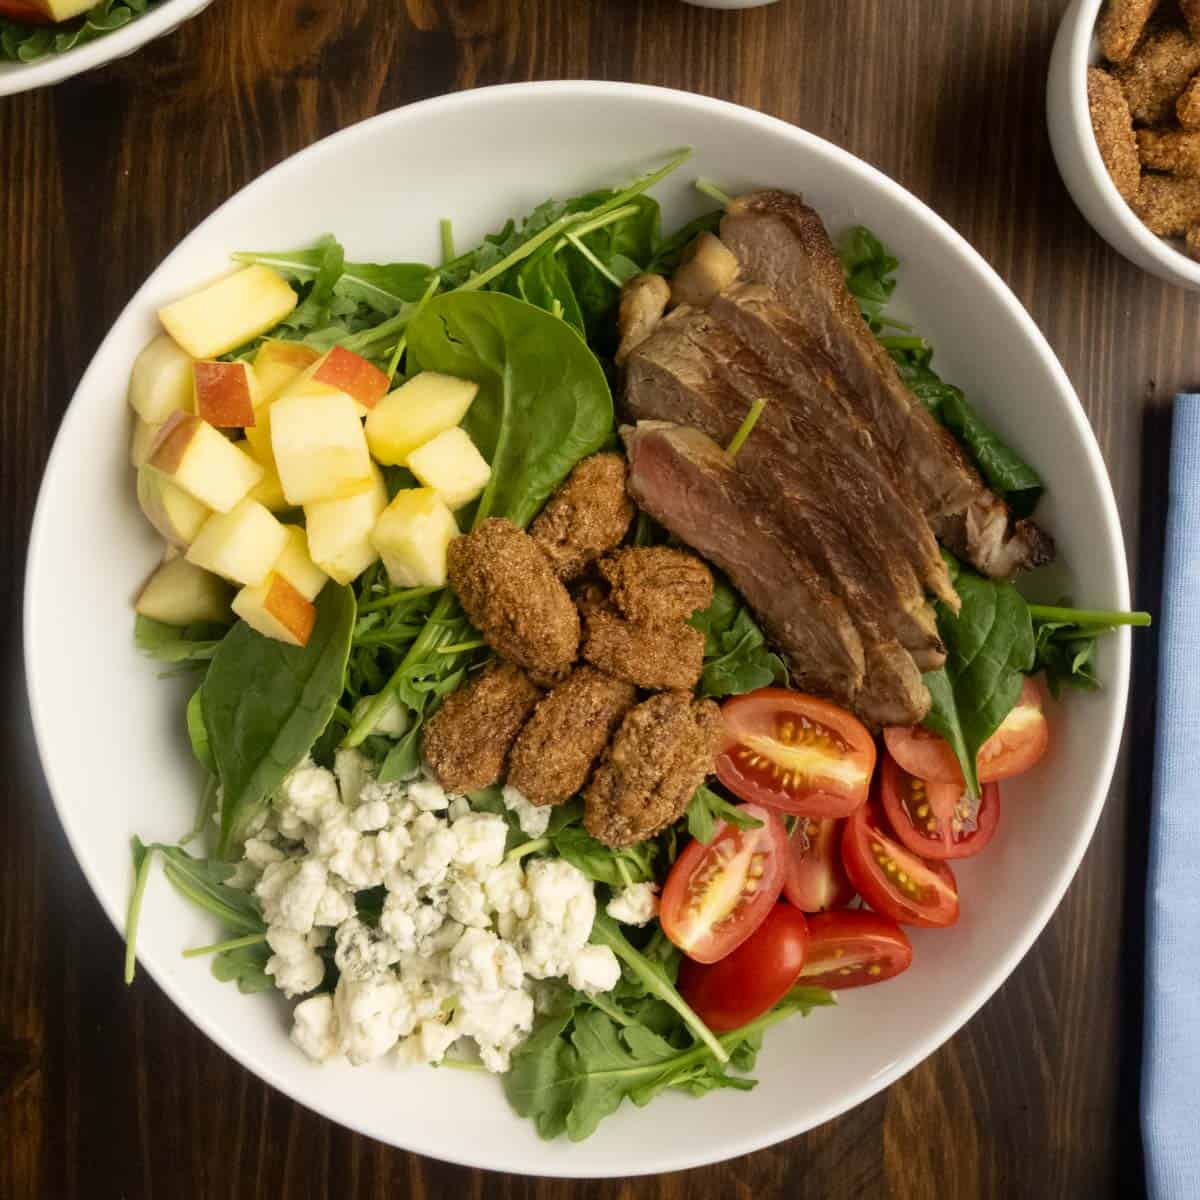
If you’re looking for the flavor of steak without the heaviness of a whole steak dinner, my Arugula and Spinach Salad with Steak, Apples, and Blue Cheese is the perfect way to have steak without the freshness of greens. And if you think that title is a mouthful, just wait until you get a bite of my salad.
Storage and Reheating
Any leftovers can be put in a food safe container in the fridge for up to three days. I eat my steak cold because I don’t like my steak overcooked, but if you want to reheat, I suggest you do it in a pan. You can preheat it, add butter to the pan, and gently heat on both sides. You can watch the coloring inside the meat to see whether it is to your liking.
Tips and Tricks
You need to make sure that the outside of your steak is thoroughly dry before cooking in a cast iron or else you won’t get a crust. If the steak is at all moist after dry brining, blot it with a paper towel again.
Make sure not to touch or move your steak around a lot once it hits the pan. You want the cast iron to create the crust undisturbed. It’s like when you try to fry potatoes in a skillet. If you keep messing with it, it’ll cook, but not have the Maillard reaction, which happens when the surface of the meat is allowed to react with the hot pan.
FAQs
Either type of brining works on the principle of osmosis. Osmosis is when water is moved through a semi-permeable membrane to create equilibrium. So instead of salt being outside of a cut of meat and water inside, osmosis allows the surface and interior of the cut of meat to be equal in salt and water content.
A wet brine is when you submerge a cut of meat in a liquid such as water or juice that is heavily seasoned with salt. This is done typically on whole turkey or chicken. The juice or salted water in pulled into the turkey flavoring it from within and allowing the meat to be juicy.
A dry brine is when you only use salt and spices to coat a cut of meat. By not adding water, the flavor of the meat is intensified, instead of diluted. The meat is also dried, which allows for the high heat of cooking to produce a crust.
24 hours is ideal. It gives the salt enough time to absorb into the steak and thoroughly season it. Shorter times lead to inconsistent or incomplete results. The key to dry brining is time and patience.
I hope you love this recipe as much as I do. Please let me know in the comments if you dry brine your steak and what you thought of it.

Dry Brined Steak
Equipment
- Cast Iron Skillet
Ingredients
Dry Brining and Cooking
- 2 ribeye steaks
- 1-2 teaspoons salt
- 2 tablespoons avocado oil
- 2-3 tablespoons butter
Instructions
Dry Brining the Steak
- Look at the package or weigh your 2 ribeye steaks. Salt your steaks with 1-2 teaspoons salt . You want to use 1 teaspoon of salt per pound of meat.
- Place the steak on a plate and blot both sides with a paper towel to remove excess moisture
- Using one hand to hold the steak and the other to salt, sprinkle salt with a three finger pinch from about a foot above the steak so that it applies evenly on both sides
- Put the steak in the refrigerator uncovered for 24 hours
Cooking the Steak
- Take the steak out 30 minutes before you want to cook it. Do not rinse or wipe away any salt on the surface. You can add pepper on the steak if you want.
- Preheat the cast iron skillet on medium heat for 20 minutes. You want the handle of the cast iron to be warm before you put anything on the skillet.
- Turn the heat up to medium high heat and allow it to heat for 5 minutes. You want to gently warm it up first so the heat is evenly spread throughout the skillet.
- When the pan is thoroughly heated, pour 2 tablespoons avocado oil into the pan. Add a tablespoon of butter.
- Place the steak on the skillet with enough room to add the second steak without them being too close. If they’re too close, the meat will steam instead of get a crust.
- I cook my steak to medium rare. Cook the steak on one side without disturbing it for 5 minutes.
- Flip the steak and cook for another 5 minutes
- At this point, you can add 2 more tablespoons of butter to the pan. Let it melt, then gently baste the top of the steak with the melted butter using a spoon.
- Remove the steak from the skillet and let it rest on a plate for 5-10 minutes to allow the juices in the steak to redistribute.
Notes
- Rare: 125 degrees (bright pink center) 3 minutes per side
- Medium-Rare: 135 degrees (warm red center) 5 minutes per side
- Medium: 145 degrees (warm pink center) 6 minutes per side
- Medium-Well: 150 degrees (slightly pink center) 7 minutes per side
- Well-Done 160 degrees (little to no pink) 8 minutes per side


I was drooling by the time I finished reading this! Great tips too! Putting steak on the menu for next week. I do love a good ribeye, and am going to try dry brining it. Thanks!
Once you try this technique, I swear you’ll never go back. Let me know what you thought and if you’re officially a dry brine convert.