Dry Brined Bone-In Turkey Breast
Turkey is seldom eaten year round. It’s typically reserved for Thanksgiving or Christmas. Turkey breast is an inexpensive protein choice that can be made and then used in a lot of dishes. A bone-in turkey breast gives you all the glory of roasted turkey without the 20-pound commitment. By dry brining the turkey, you get a bird that is juicy and succulent, instead of dry and mealy.
Turkey doesn’t have to wait for a holiday. The skin turns crisp and golden, the meat stays juicy, and your kitchen smells like a holiday morning. This recipe reinvents turkey for everyday meals.

Why You’ll Love this Recipe
- A manageable amount of meat
- Great for meal prep
- Perfect for small holiday gatherings
What You’ll Walk Away Knowing
- How to dry brine and why you should
- How to cook a bone in turkey breast without drying it out
Make sure that you thaw your turkey in the refrigerator before dry brining or it will not season evenly.
Why Should You Dry Brine a Turkey?
Dry brining is the process of putting salt on a protein and allowing it to sit for at least 24 hours so that the protein is salted from within. The salt works through osmosis and mild protein denaturation, both help season the meat deeply and lock in moisture for juicy, tender turkey.
Water wants to be at equilibrium all of the time. The water inside the turkey is pulled to the surface and beads up on the skin. The salt will be drawn into the turkey breast, seasoning it from within. As time passes, salt within the turkey will draw the moisture back into the turkey breast. That’s why time is so important when you dry brine. If you cook it too soon, the water hasn’t had time to go back into the turkey and the meat will be dry.
I’m sure you’ve heard of people using a wet brine to season turkeys. They’re more cumbersome because you have to have a vessel large enough for the turkey and the brine and enough room in the refrigerator to fit all of it. Dry brining gets all of the flavor without the hassle of figuring out where to store it.

How to Dry Brine
There are two ways to dry brine. Either in a sealed container, such as a plastic storage bag, or an open container, such as a plate, in the refrigerator.
I like to dry brine anything that you want to have a crispy skin, such as chicken thighs and turkey, in an open container. That way the skin can dry out from the salt and the air circulating around the meat.
If you are squeamish about having raw meat open in your refrigerator, put it in a closed container. But if you don’t mind having meat out, I prefer to dry brine my turkey on a plate, uncovered in the fridge. The circulating air and salt creates the driest surface possible, which leads to the driest skin possible, which leads to crispy, shattering turkey skin.
I don’t typically measure my salt before applying it to meat. I use a three finger pinch of salt. Put your turkey on a plate or container. Salt generously on both sides and put in the fridge for 24 hours.
Choosing the Right Salt
It is important to use the right salt. Table salt is too harsh. Sea salt, gray salt, pink Himalayan salt, or Redmond Real Salt are perfect. They aren’t stripped of their minerals like table salt is and the flavor is better.
You want kosher salt because the bigger flakes allow it to coat the meat without being too salty. If you only have table salt sized grains, cut the salt down by ¼ to ½ teaspoon. Don’t be shy with the salt here; it’s your secret weapon for flavor and crisp skin.
Roasting the Turkey
Bone in turkey breasts need to cook for about 18 minutes per pound at 375°F. Multiply the weight of your bird by 18 and that will be the amount of time to shoot for.
Turkey breasts need to be cooked to 165°F. Use a digital thermometer to check accurately.

Resting Your Bird
This is where you can make or break the whole process. Resting is very important. When you roast a turkey, the water molecules in it are very active. If you were to cut into the turkey before resting, the juices will all run out, leaving dry, mealy turkey. By allowing the water molecules to calm down, redistribute, your meat remains juicy and tender.
Slicing Tips
Use a very sharp knife to carve the turkey. Always slice against the grain. It makes the difference between tender, melt-in-your-mouth turkey and stringy leftovers.
Slice thin strips at a 45° angle. Depending on what you want to do with the meat, you can carve big hunks or thin slices. For sandwiches, I like to cut thin. For dinner or casseroles, I cut thicker pieces.

Ingredient List
Turkey Breast: The bone acts like a natural heat buffer, keeping the meat tender and moist. If you’re tempted to buy boneless, don’t; the bone is your insurance policy. A bone-in turkey breast will stand up in the oven and cook like a whole turkey. The better quality turkey you get, the better the end product.

Step-by-Step Instructions
Dry Brining the Turkey
- Remove the turkey from its packaging.
- Dry thoroughly with paper towels
- Place on a plate or container with the cavity facing up
- Liberally salt the inside of the cavity
- Flip the bird to the skin side and salt one side of the breast, then flip and do the other side
- Place the turkey upright to get as much skin exposed as possible to dry out in the refrigerator
- Let brine for 24 hours

Cooking the Turkey
- Remove the turkey from the refrigerator 30–45 minutes before roasting to take the chill off for even cooking.
- Preheat the oven to 375°F
- Place the turkey into a roasting pan with or without a rack
- Roast for 2 hours (my breast was 8 lbs) and check the temperature
- If it isn’t 165°F, roast for 30 more minutes and check again
- Remove the turkey from the oven and allow it to rest for 25-30 minutes to allow the juices to redistribute before slicing

Expert Tips
Airflow is everything. If your fridge allows, place the turkey on a wire rack over a plate so air can circulate fully underneath. That’s how you get skin so crisp it almost shatters.
Use a probe thermometer and leave it in.
Instead of constantly opening the oven to check, insert a digital probe into the thickest part of the breast. Cook until it hits 160°F, then rest — carryover heat will bring it to 165°F perfectly.
Rest longer than you think.
Resting for at least 25 minutes allows the juices to redistribute evenly and lets the crust firm up for clean, confident carving.
Salt early, herbs late.
Salt needs time to penetrate; herbs burn if added too early. Brine with salt only, then rub herbs and oil on the skin right before roasting.
Save the carcass.
That leftover bone makes incredible stock or soup base. Roast it again briefly after carving to deepen the flavor before simmering.
Elevate your pan.
If you don’t have a roasting rack, use a bed of quartered onions, carrots, and celery. They’ll flavor the drippings and prevent the turkey from stewing in its own juices.
The skin tells the story.
If it’s bubbling or blistered slightly, you nailed it. If it’s soft, you can pop the turkey under the broiler for 1–2 minutes to crisp it right before serving.

Seasoning Options
This recipe is a simple way to dry brine, but it doesn’t have to end there. You can use herbs just before you roast it. To do so, you can lightly oil the bird and sprinkle dry spices into the cavity and onto the skin as well. I like to use a spice grinder to break thyme and rosemary down a bit so that it is easier to permeate the skin.
You can also use ground spices. My Salt-Free Cajun seasoning will give you a delicious Cajun turkey. You can control how much salt you use because it’s not in the seasoning mix.

What to Serve with Turkey
For a cozy, date night dinner, pair your turkey with my Black Garlic Mashed Potatoes and a drizzle of balsamic glaze.
If you want a holiday meal, Spinach Squares or Herb and Oil Bread Dip are classic yet unique appetizers. My Rosemary Garlic Mashed Potatoes highlight herbs. Cheesy Garlic Mashed Potatoes bring a big hit of cheddar.
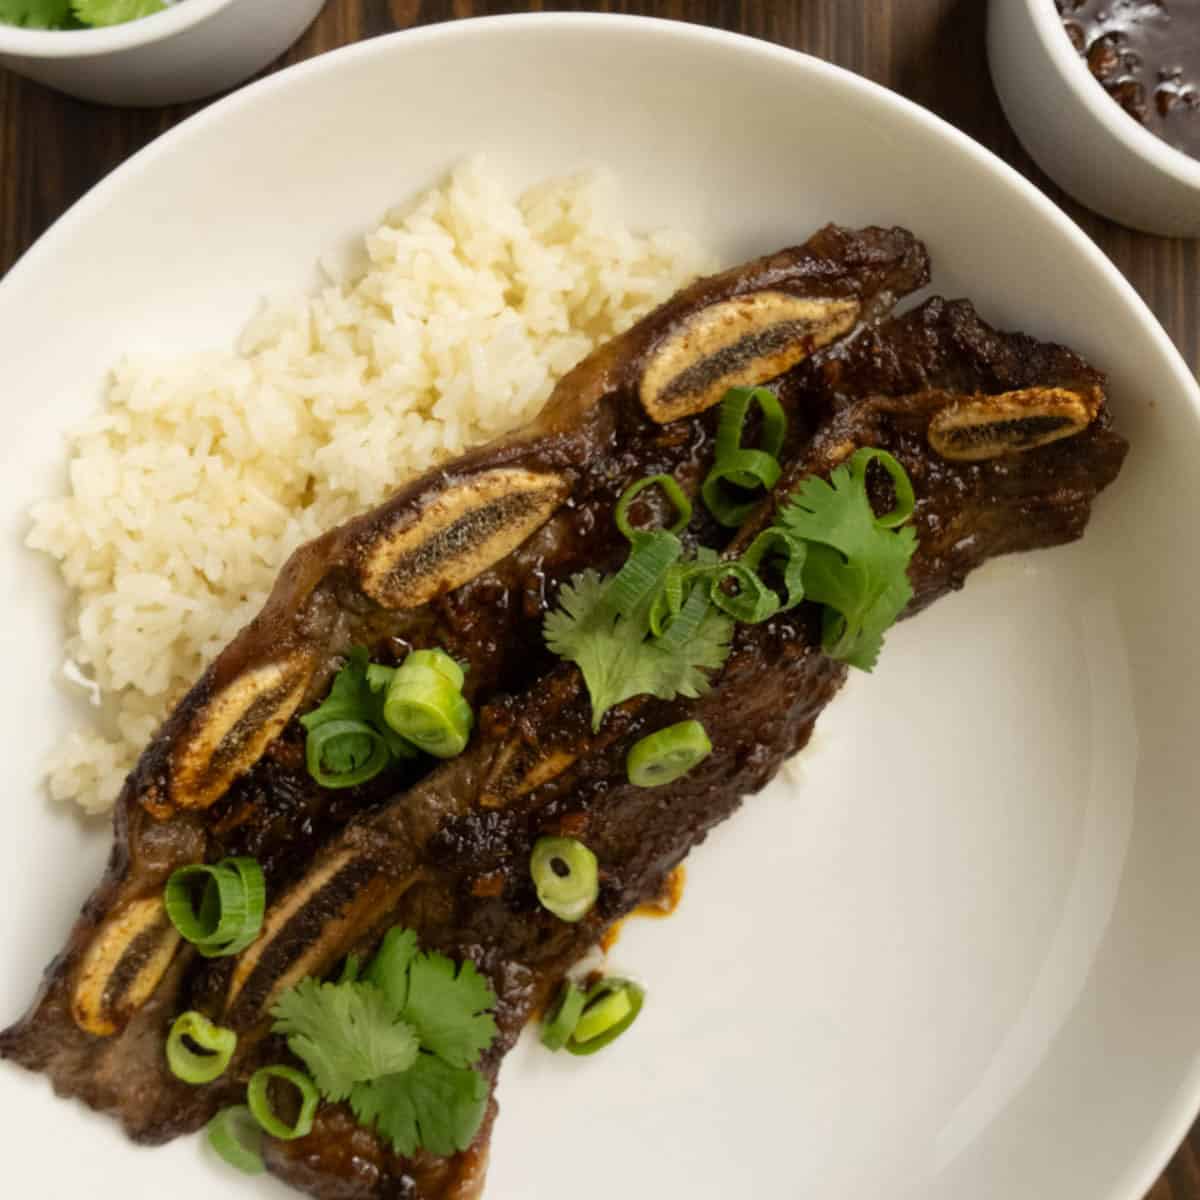
If meal prep is more your goal, turkey sandwiches have never tasted better. Throw it on some sandwich bread or homemade ciabatta with some Avocado Oil Mayonnaise and you are in for a treat. Carolina Mustard Barbeque Sauce on a turkey sandwich adds a sweet and spicy twist to a sandwich. It’s comfort food, refined.
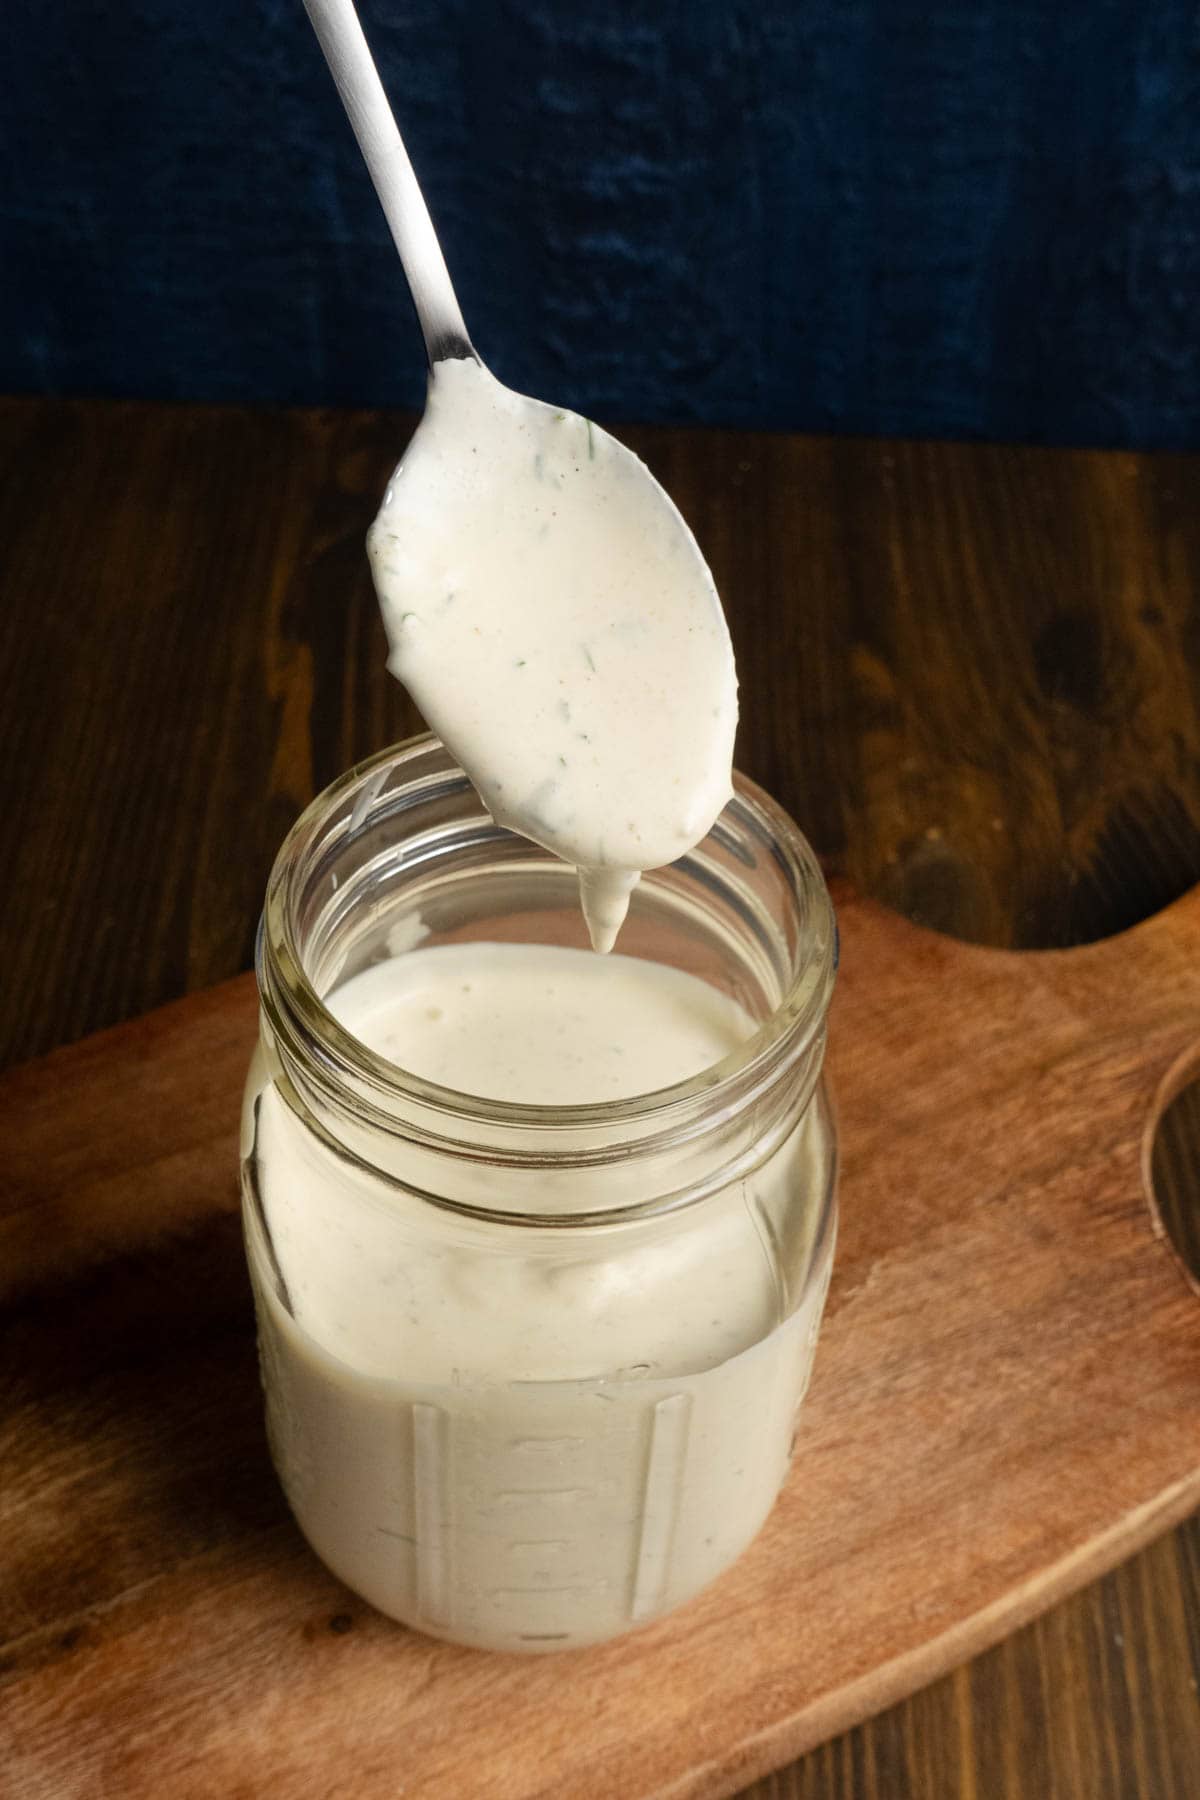
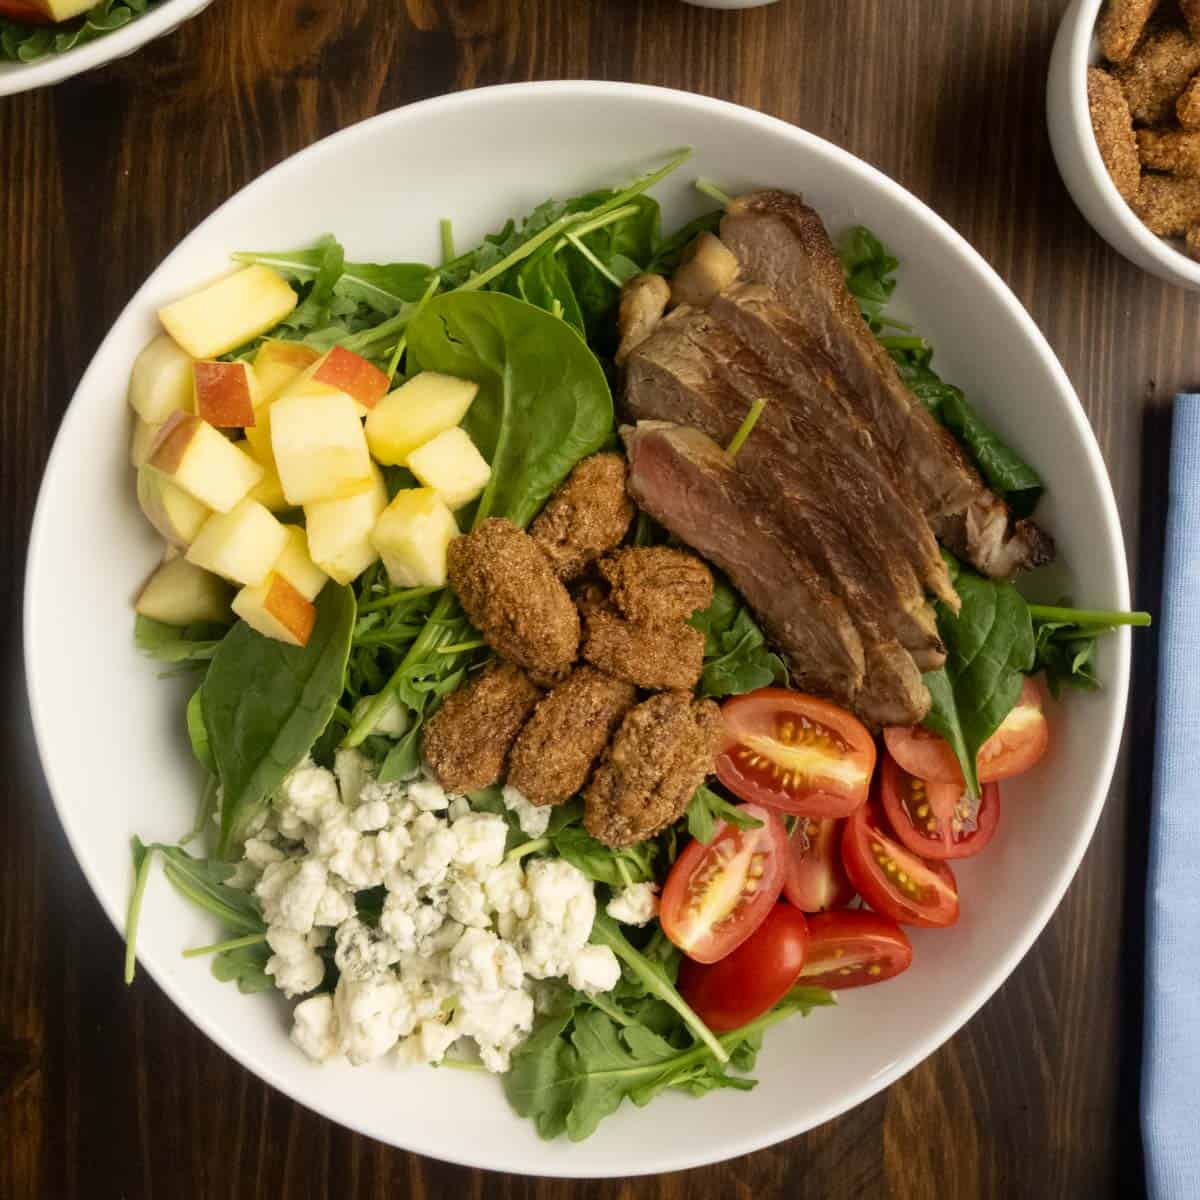
If you want something lighter, a turkey salad is the way to go. For a seasonal topping, Cinnamon Sugar Pecans add sugar and spice in place of croutons. Pair it with my Herby Ranch Dressing and you’ll find a satisfying salad full of flavor.


Storage and Reheating
Cooked turkey can be safely stored in the refrigerator for up to 4 days.
I haven’t found a great way to reheat turkey without drying it out. Luckily cold turkey is delicious on sandwiches, salads, and wraps. If you do reheat in the oven or microwave, keep some gravy handy.
FAQs
Yes, after 48 hours, the salt can start to break down the protein too much and make the texture slightly rubbery. The sweet spot is 24–36 hours for a turkey breast.
No! Rinsing washes away flavor and ruins your chance at crispy skin. Just pat the turkey dry with paper towels to remove excess surface moisture before roasting.
You can, but the results won’t be the same. The salt can’t penetrate ice. For best results, let the turkey fully thaw before brining so the salt can draw moisture out and back in evenly.
Use half the amount of fine salt, but be careful, it dissolves faster and tastes saltier.
That pink hue can come from natural nitrates in the meat or from smoking/roasting reactions. If the internal temp is correct, it’s safe — color isn’t always a perfect doneness indicator.
Absolutely. Herbs and spices (thyme, rosemary, paprika, or pepper) can be added directly to the salt. Just avoid sugar in your dry brine or it’ll burn during roasting.
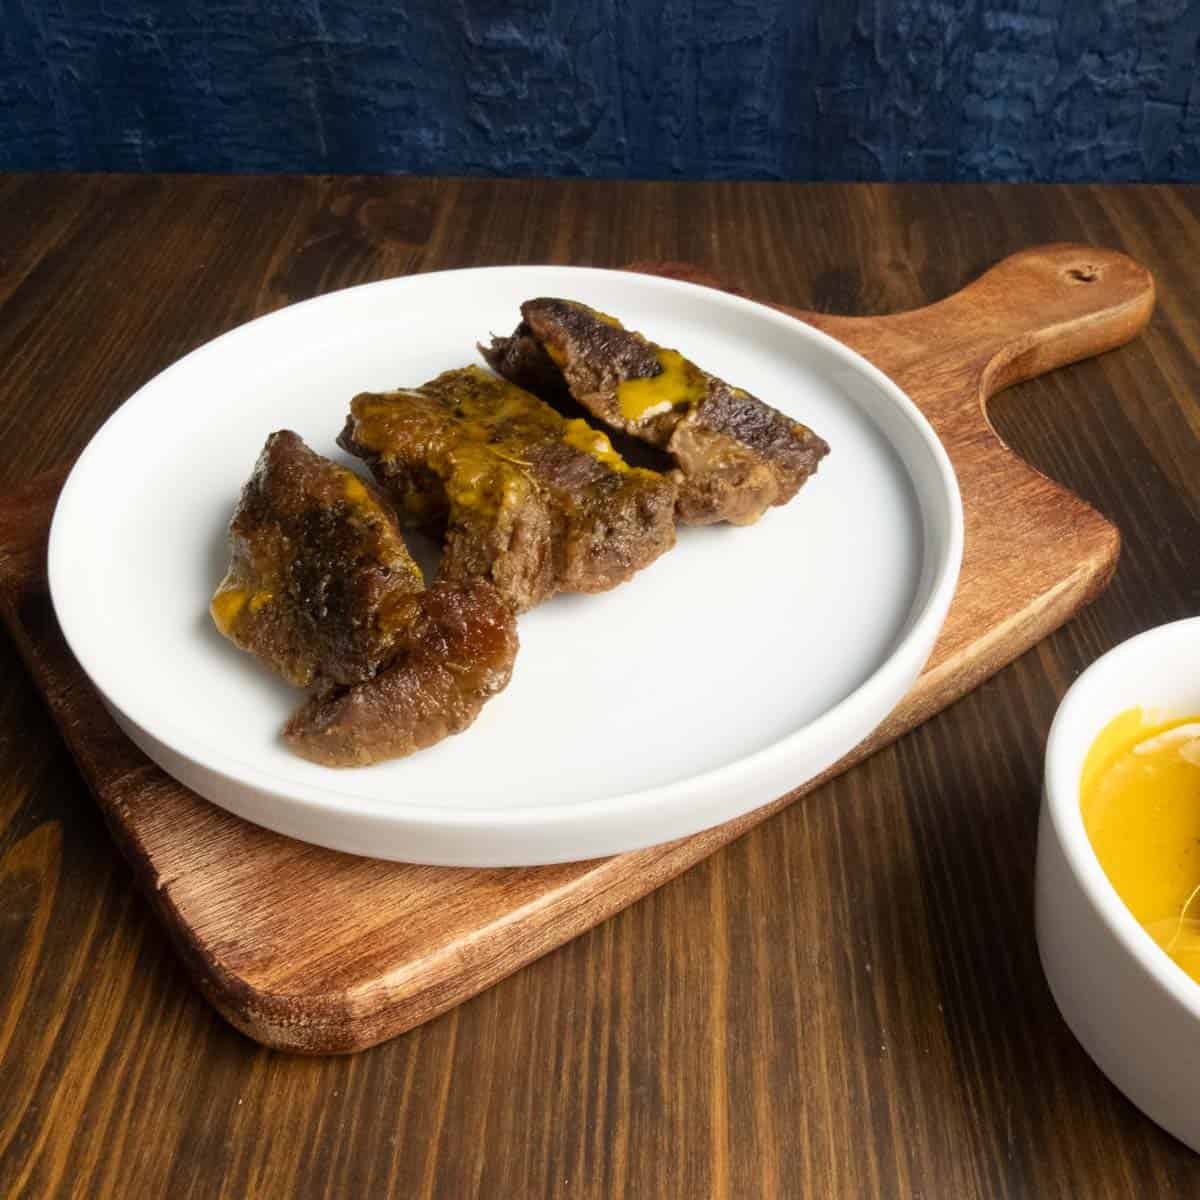
If you enjoy this recipe or are looking for less of a commitment, but want to try dry brining, you should try my Dry Brined Steak.
If this recipe helped you fall a little more in love with turkey, I’d love to hear how you served it! Drop a comment below or join my newsletter for more cozy, from-scratch recipes like this one.

Dry Brined Bone-In Turkey Breast
Equipment
- Roasting Pan
- Roasting Rack optional
Ingredients
- 8 pound bone-in turkey breast
Instructions
Dry Brine the Turkey
- Remove the turkey from its packaging.
- Dry thoroughly with paper towels
- Place on a plate or container with the cavity facing up
- Liberally salt the inside of the cavity
- Flip the bird to the skin side and salt one side of the breast, then flip and do the other side
- Place the turkey upright to get as much skin exposed as possible to dry out in the refrigerator
- Let brine for 24 hours
Cooking the Turkey
- Remove the turkey from the refrigerator 30–45 minutes before roasting to take the chill off for even cooking.
- Preheat the oven to 375°F
- Place the turkey into a roasting pan with or without a rack
- Roast for 2 hours (my breast was 8 lbs) and check the temperature
- If it isn’t 165°F, roast for 30 more minutes and check again
- Remove the turkey from the oven and allow it to rest for 25-30 minutes to allow the juices to redistribute before slicing
Notes
Instead of constantly opening the oven to check, insert a digital probe into the thickest part of the breast. Cook until it hits 160°F, then rest — carryover heat will bring it to 165°F perfectly. Rest longer than you think.
Resting for at least 25 minutes allows the juices to redistribute evenly and lets the crust firm up for clean, confident carving. Salt early, herbs late.
Salt needs time to penetrate; herbs burn if added too early. Brine with salt only, then rub herbs and oil on the skin right before roasting. Save the carcass.
That leftover bone makes incredible stock or soup base. Roast it again briefly after carving to deepen the flavor before simmering. Elevate your pan.
If you don’t have a roasting rack, use a bed of quartered onions, carrots, and celery. They’ll flavor the drippings and prevent the turkey from stewing in its own juices. The skin tells the story.
If it’s bubbling or blistered slightly, you nailed it. If it’s soft, you can pop the turkey under the broiler for 1–2 minutes to crisp it right before serving.


Thanksgiving is just around the corner. Let me know if this recipe will show up on your table or if this will be a new weeknight meal.