Sous Vide Vanilla Extract Recipe
Making your own vanilla extract used to take months and a lot of patience. But with sous vide? You get rich, aromatic, full-bodied vanilla extract in under 24 hours. It’s a perfect make-ahead project for bakers, gift givers, or anyone who loves a good kitchen shortcut that doesn’t compromise quality.
Why You’ll Love this Recipe
- Major time savings; a full 7 cups of extract in less than 24 hours
- Customizable. You need vodka and vanilla beans to make vanilla extract, but you can add other things to change the flavor profile.
- Money savings. High quality extract is expensive per ounce. This is ridiculously cost effective.
What You’ll Walk Away Knowing
- How to sous vide vanilla extract with flavor variations
- How to time and remove secondary flavors like cinnamon
- How to make a dry caramel that is safe to sous vide in an extract
Ingredient List
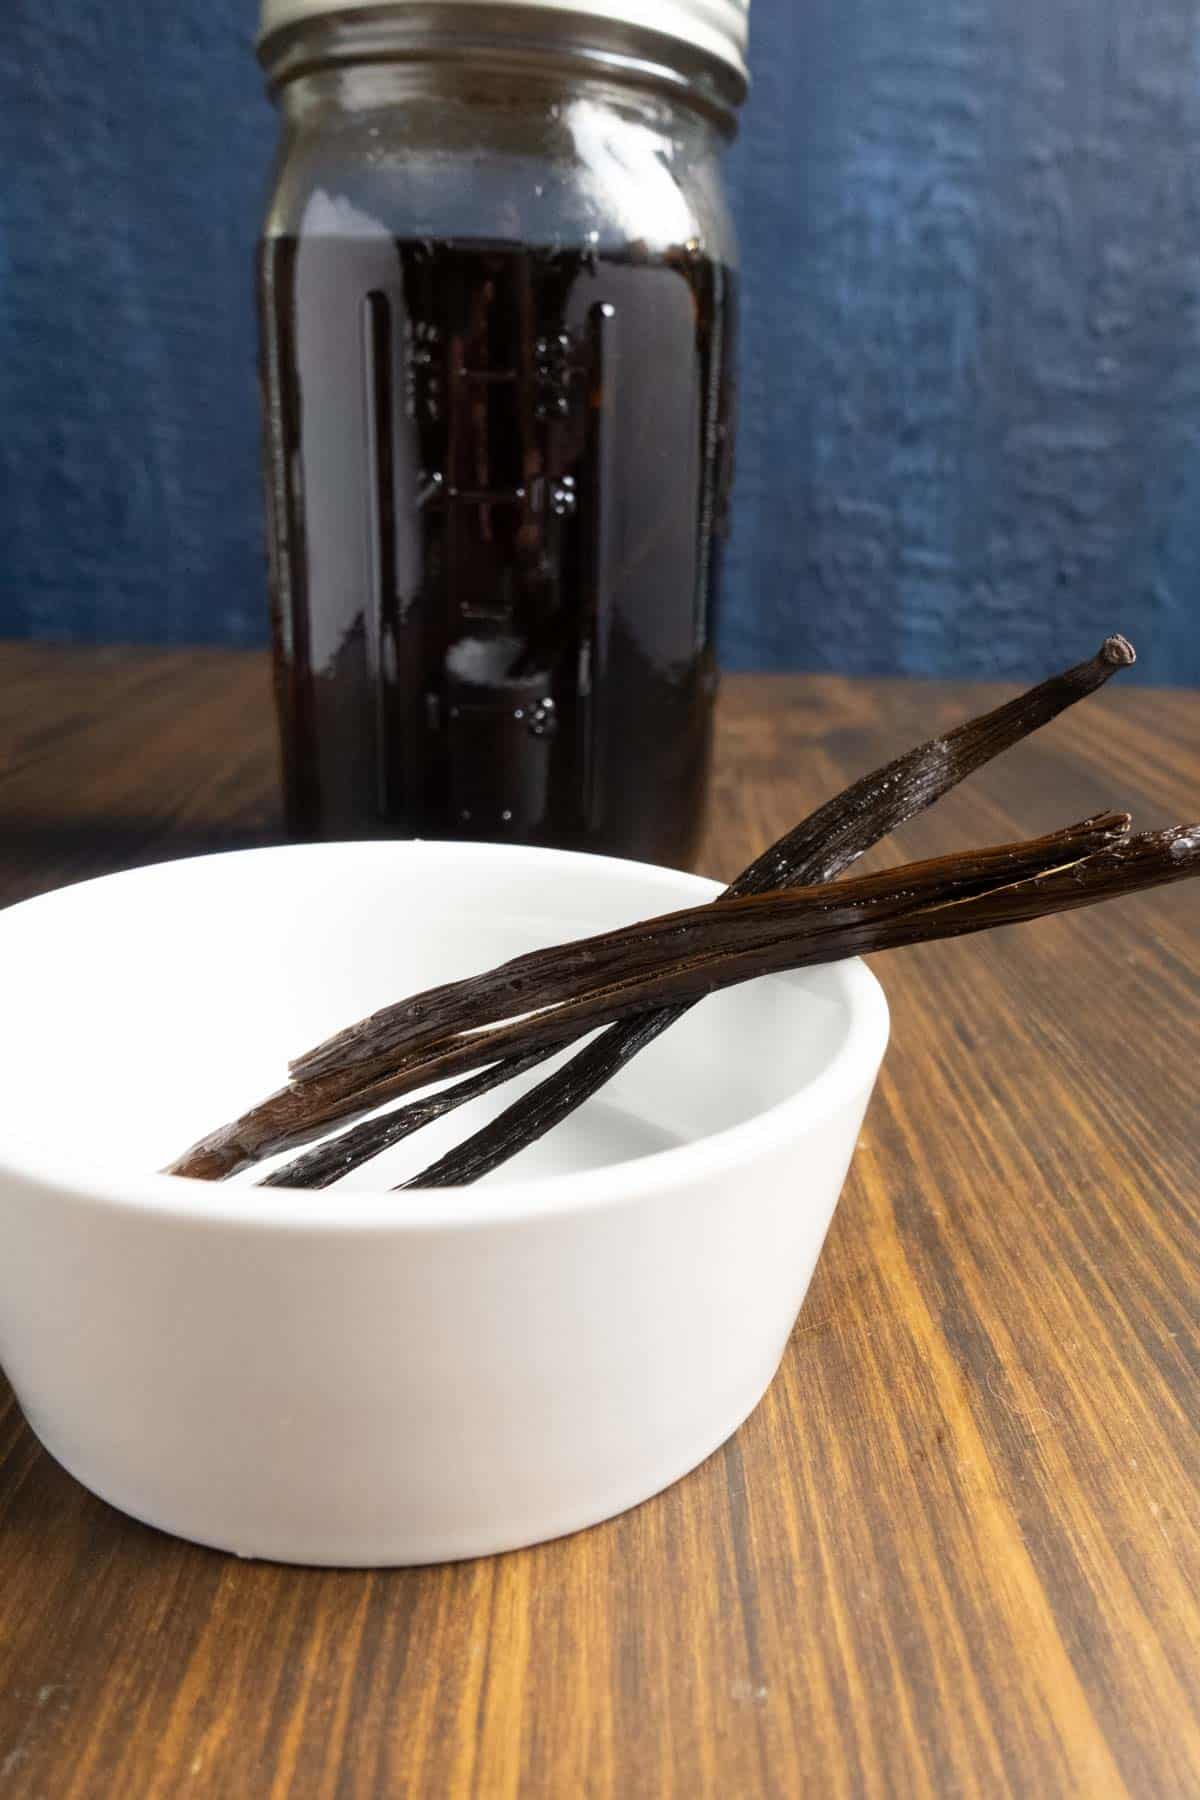
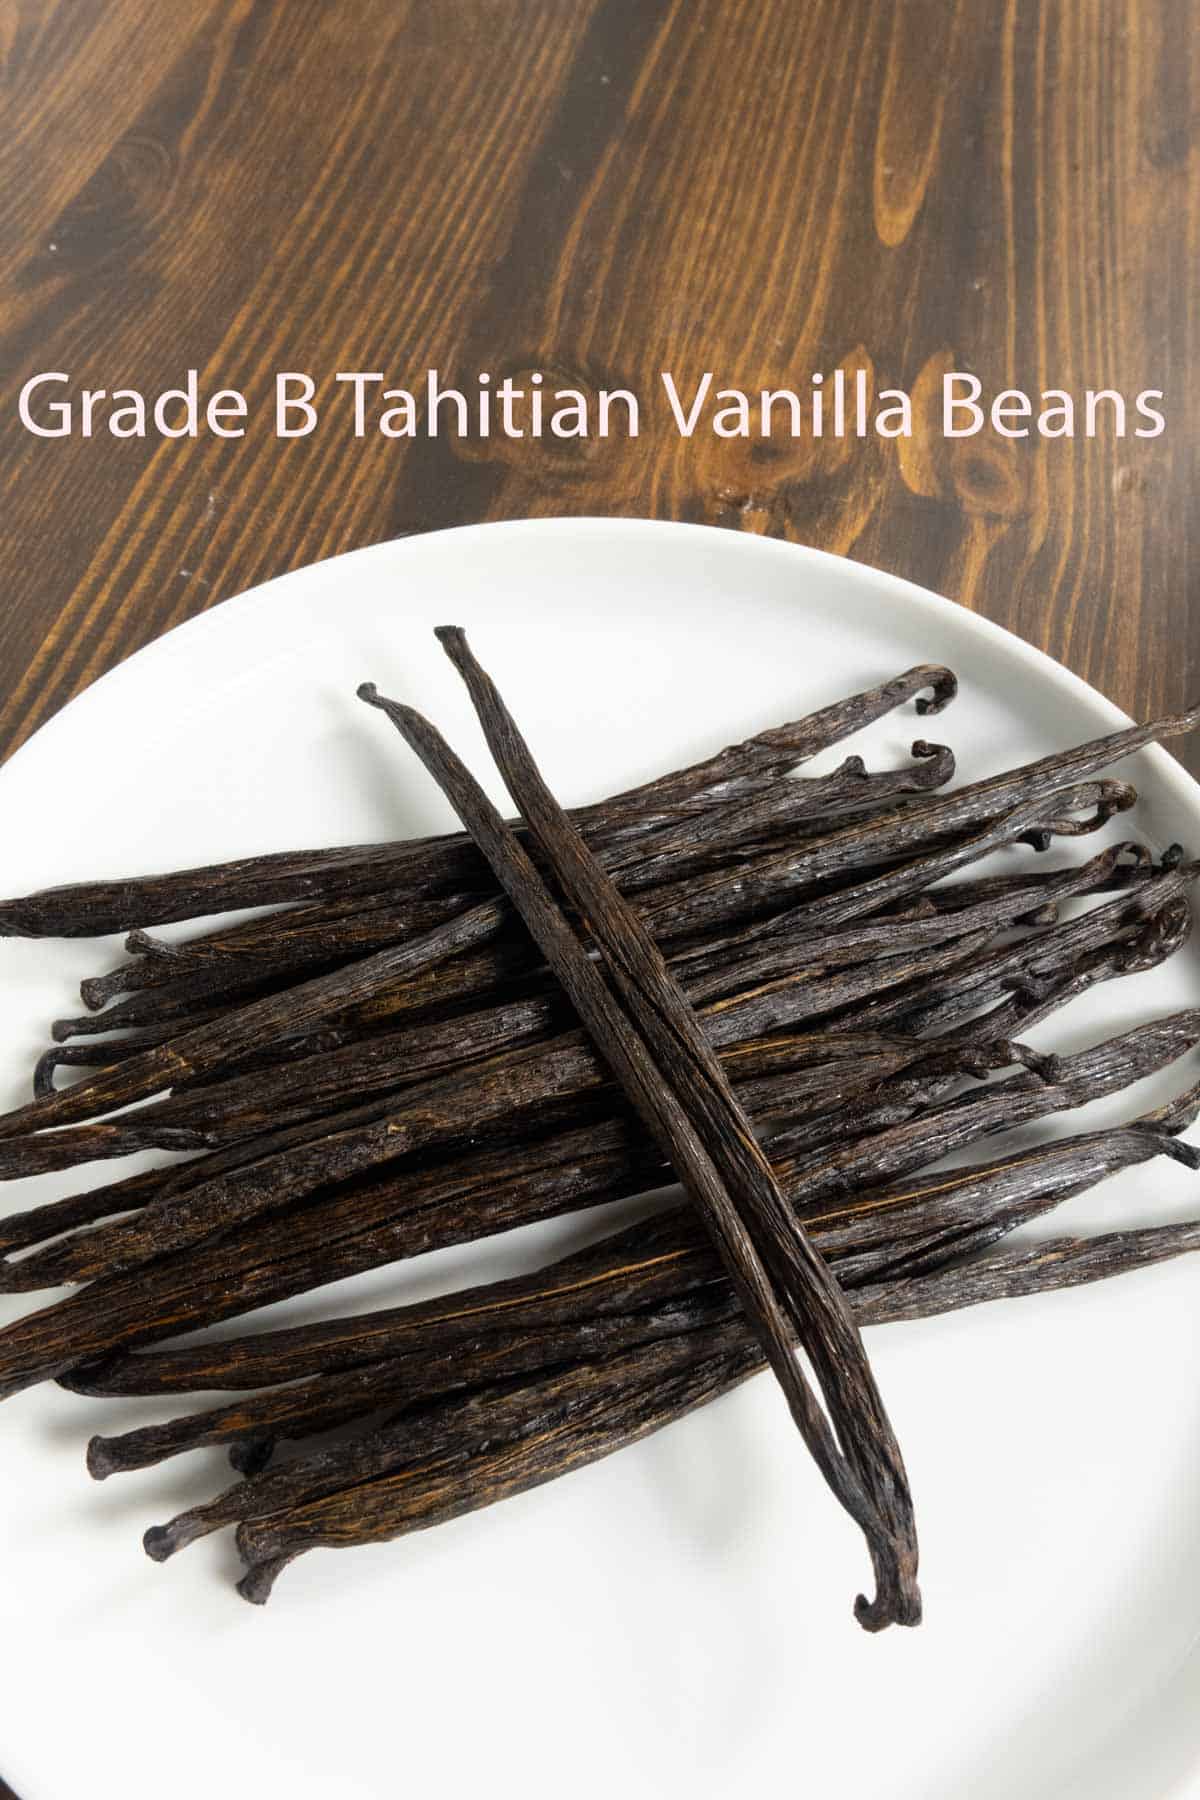
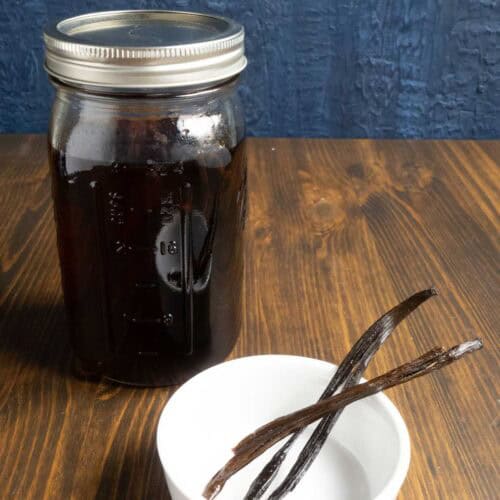
Vanilla Beans: I prefer Tahitian vanilla beans because they are a bit floral, fruity, and sweet. There are also Mexican, which taste spicy, deep, and a bit smoky, and Madagascar, which tastes rich, sweet, and mellow. They need to be spilt length wise so that the vanilla beans can be pulled out into the extract.
For extract, you want Grade B vanilla beans. Grade A vanilla beans are fresh and pretty. For extract, we don’t need them to look good. Grade B are dry and brittle. They have lower moisture so the flavor is more concentrated. They are cheaper than Grade A beans.
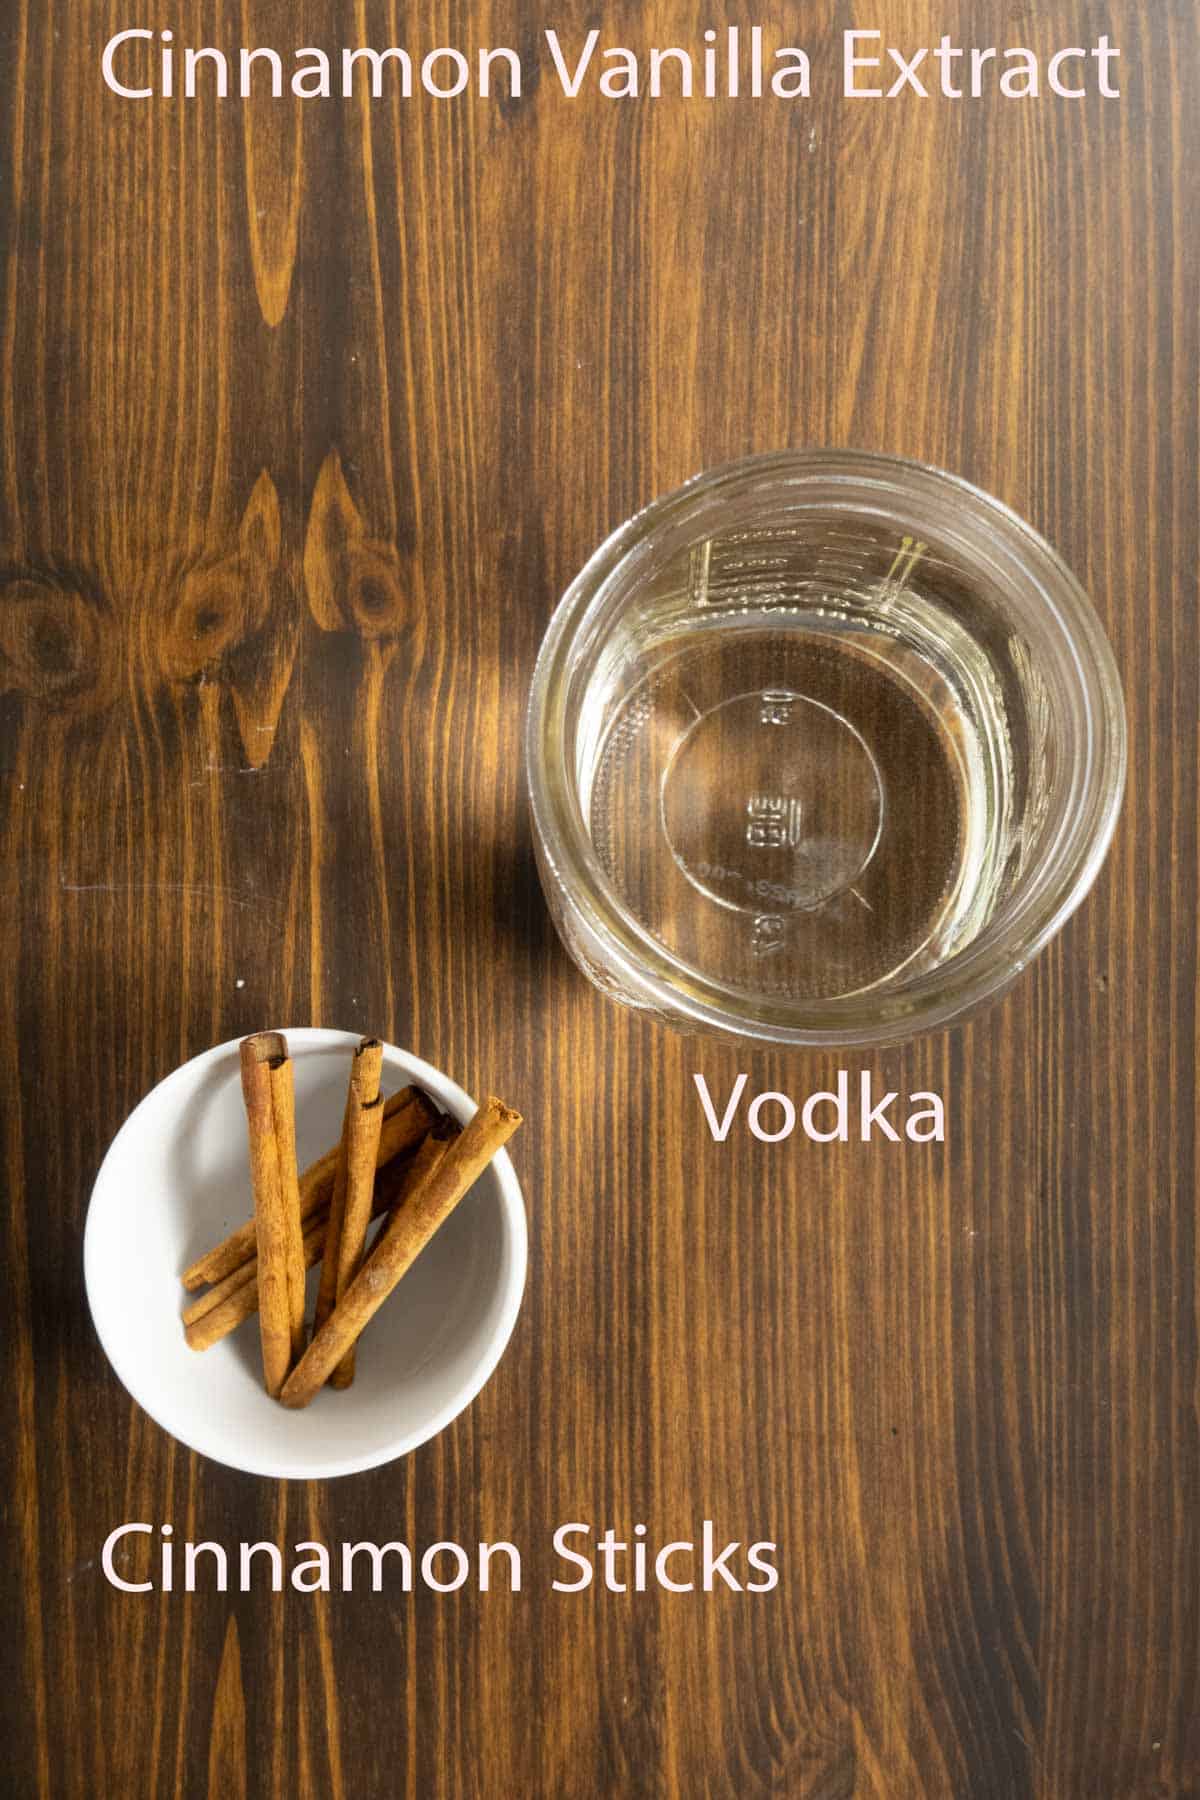
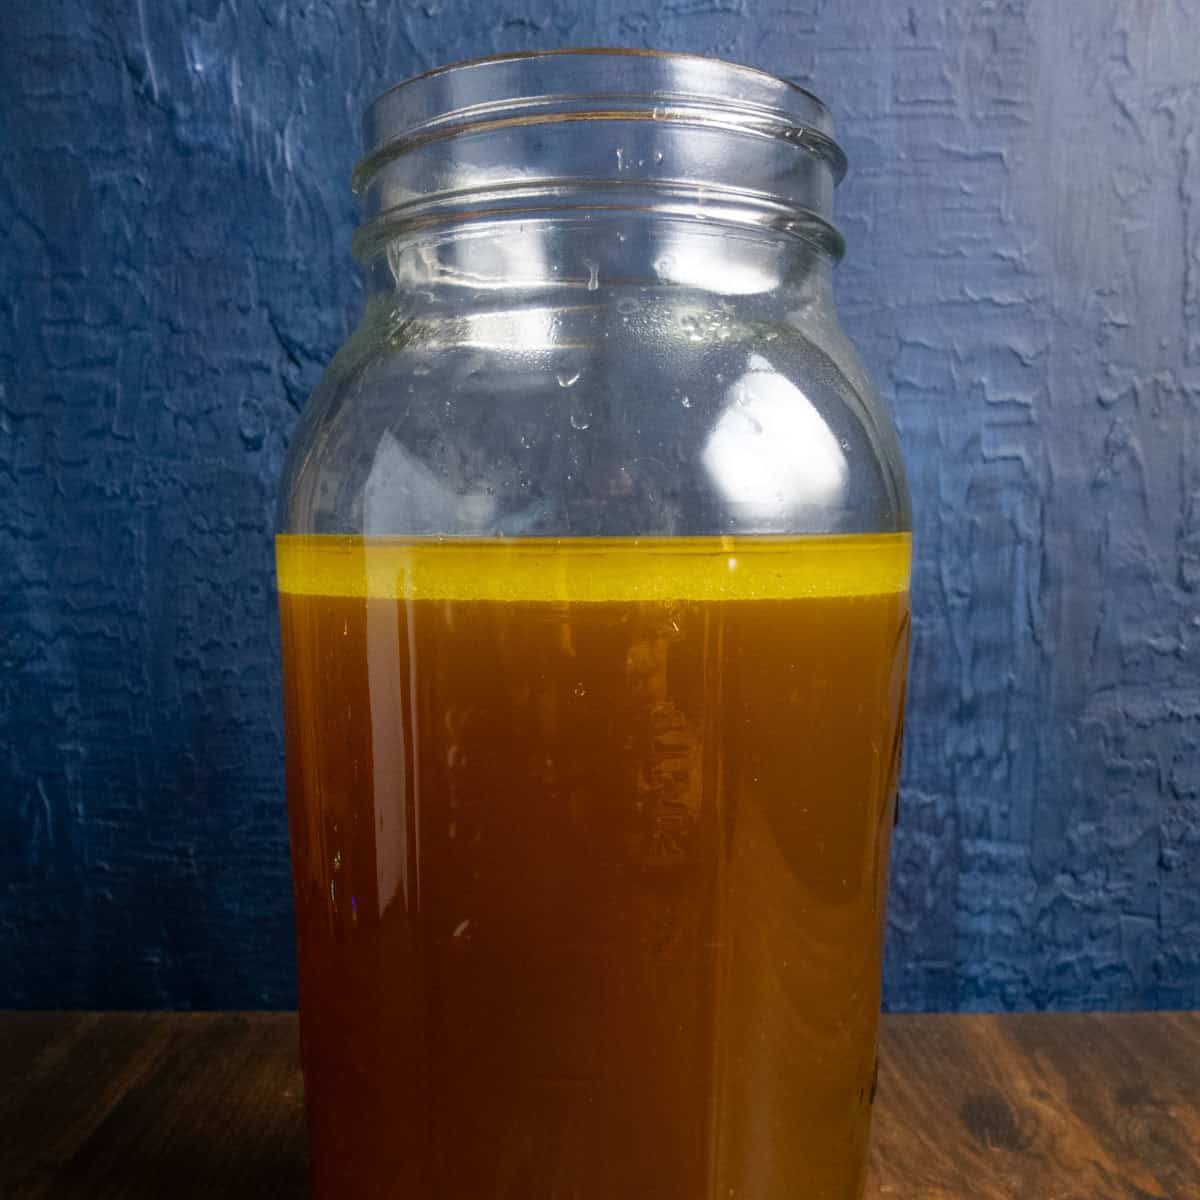
Vodka: We want a vodka that is neutral, clean tasting, and at least 80 proof. 80 proof is high enough to properly extract and preserve the extract. Otherwise you might risk mold, poor flavor, or a weak extract. I use Smirnoff No. 21.
Flavor Variation Ingredients
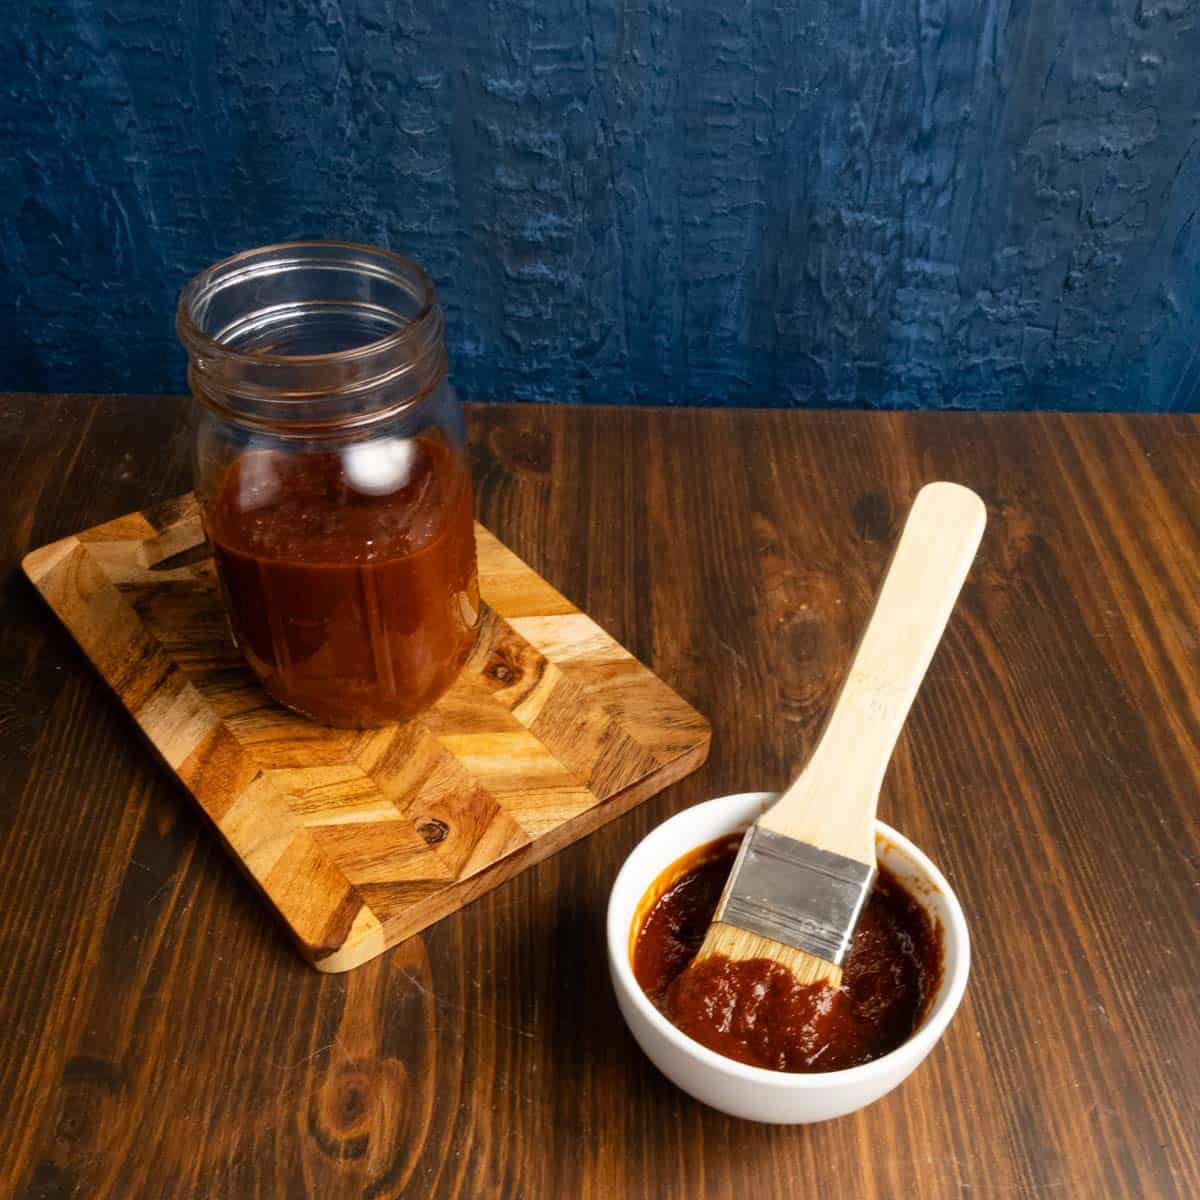
Dry Caramel: You heat sugar in a dry pan until it becomes a caramel. It imparts a bit of a burnt sugar flavor into the extract that is good if you want an extract with a little edge.
Cinnamon Sticks: I use cassia cinnamon (the kind in most grocery stores) because it has that classic warm-spice flavor I grew up with. Ceylon cinnamon is the ‘true’ variety—milder and more delicate—and can be ordered online if you prefer a subtler profile.
Equipment
Immersion Circulator: This tool allows you to warp speed the time it takes to get your extract. When sous viding vanilla extract, you need to make sure that the water covers the lid of the jar by about an inch. This way the heat distribution is even and the extract extracts evenly.
Flavor infusions like cinnamon or caramel extract faster than vanilla and should be removed partway through the cook
We want to do this gently so we don’t evaporate the alcohol.
Water Bath Container: You need a vessel that is large enough and deep enough to hold your jars and cover them with water by 1 inch. I use a 12 quart container with a sous vide lid to keep the temperature steady by keeping the water from evaporating as quickly. If you have a container without a lid, put aluminum foil or plastic wrap around the top so you don’t have to worry about refilling the water.
Mason Jars and Lids: I use a quart sized mason jar for the pure vanilla because I use it more often. I use a half pint mason jar for the dry caramel vanilla extract.
How to Make Sous Vide Vanilla Extract
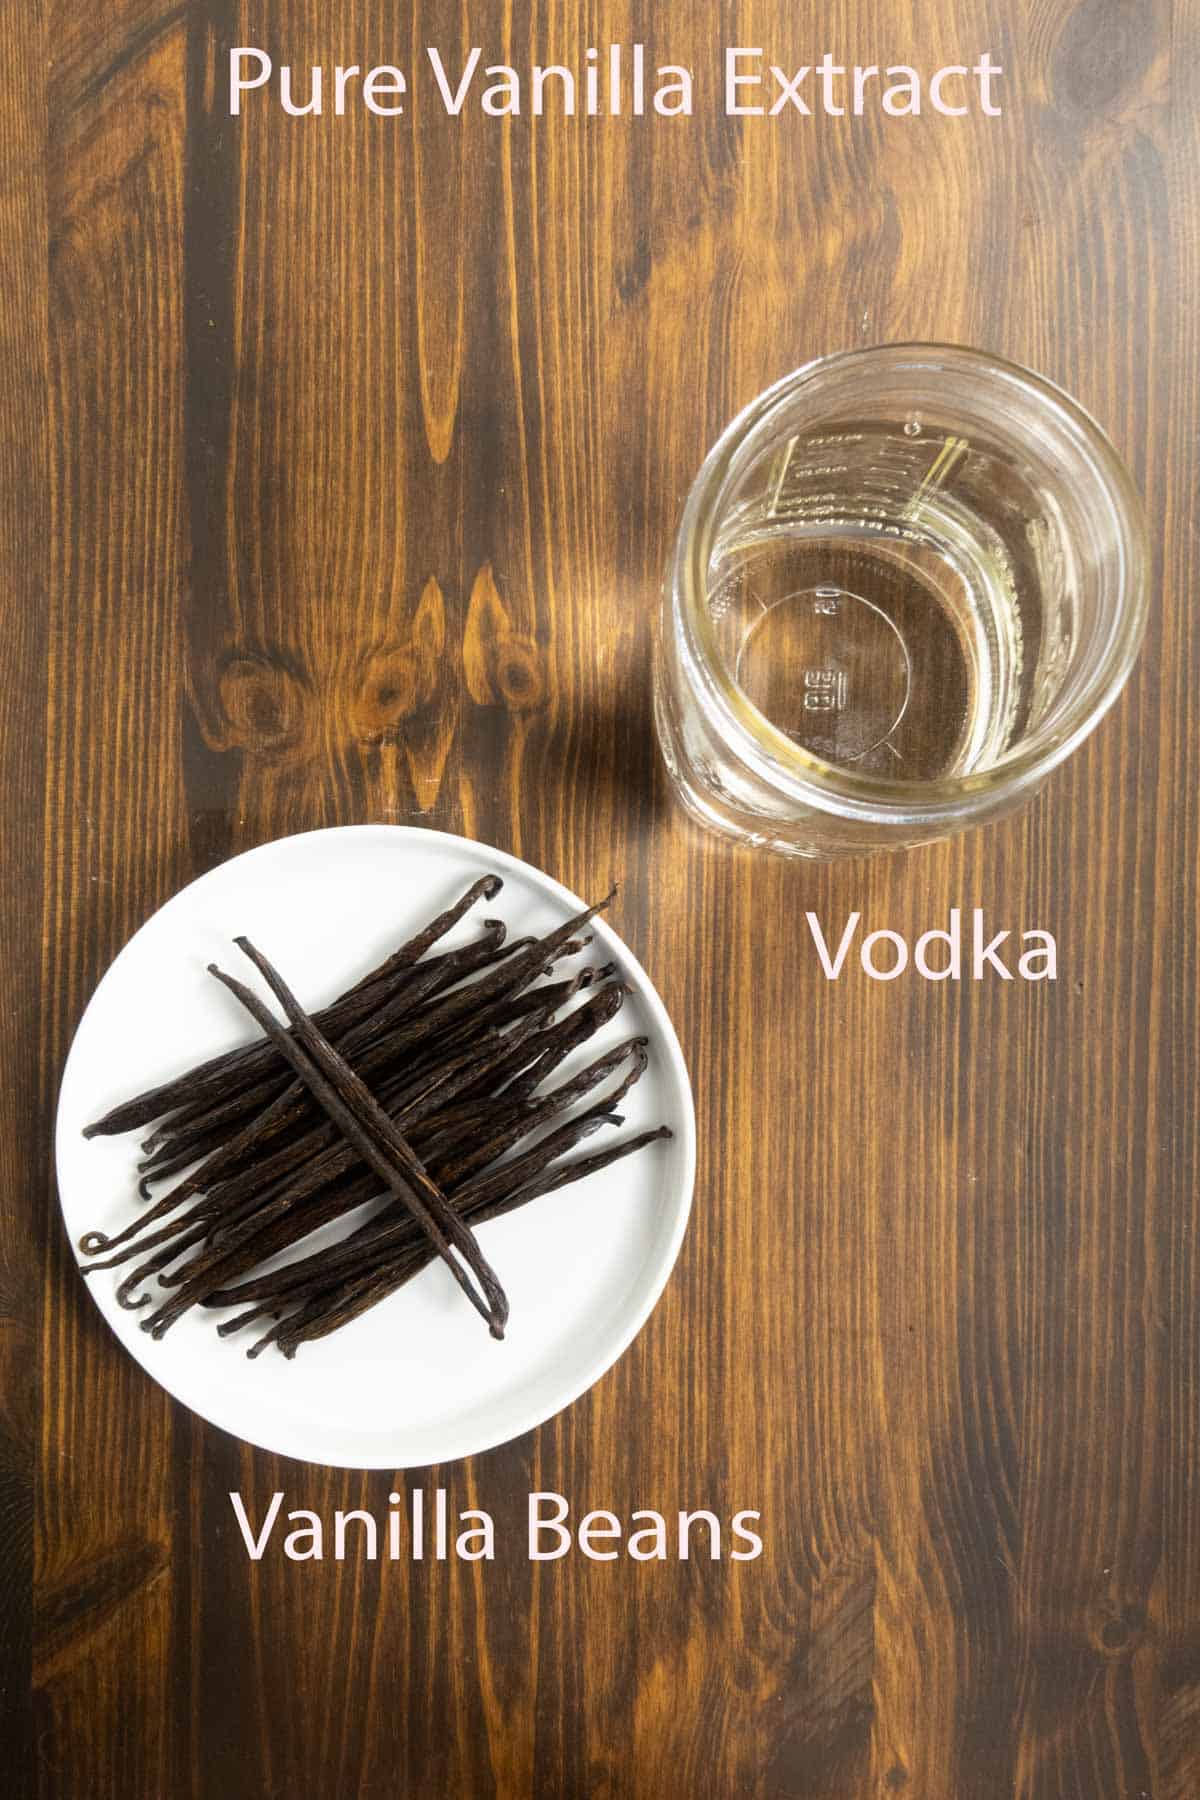
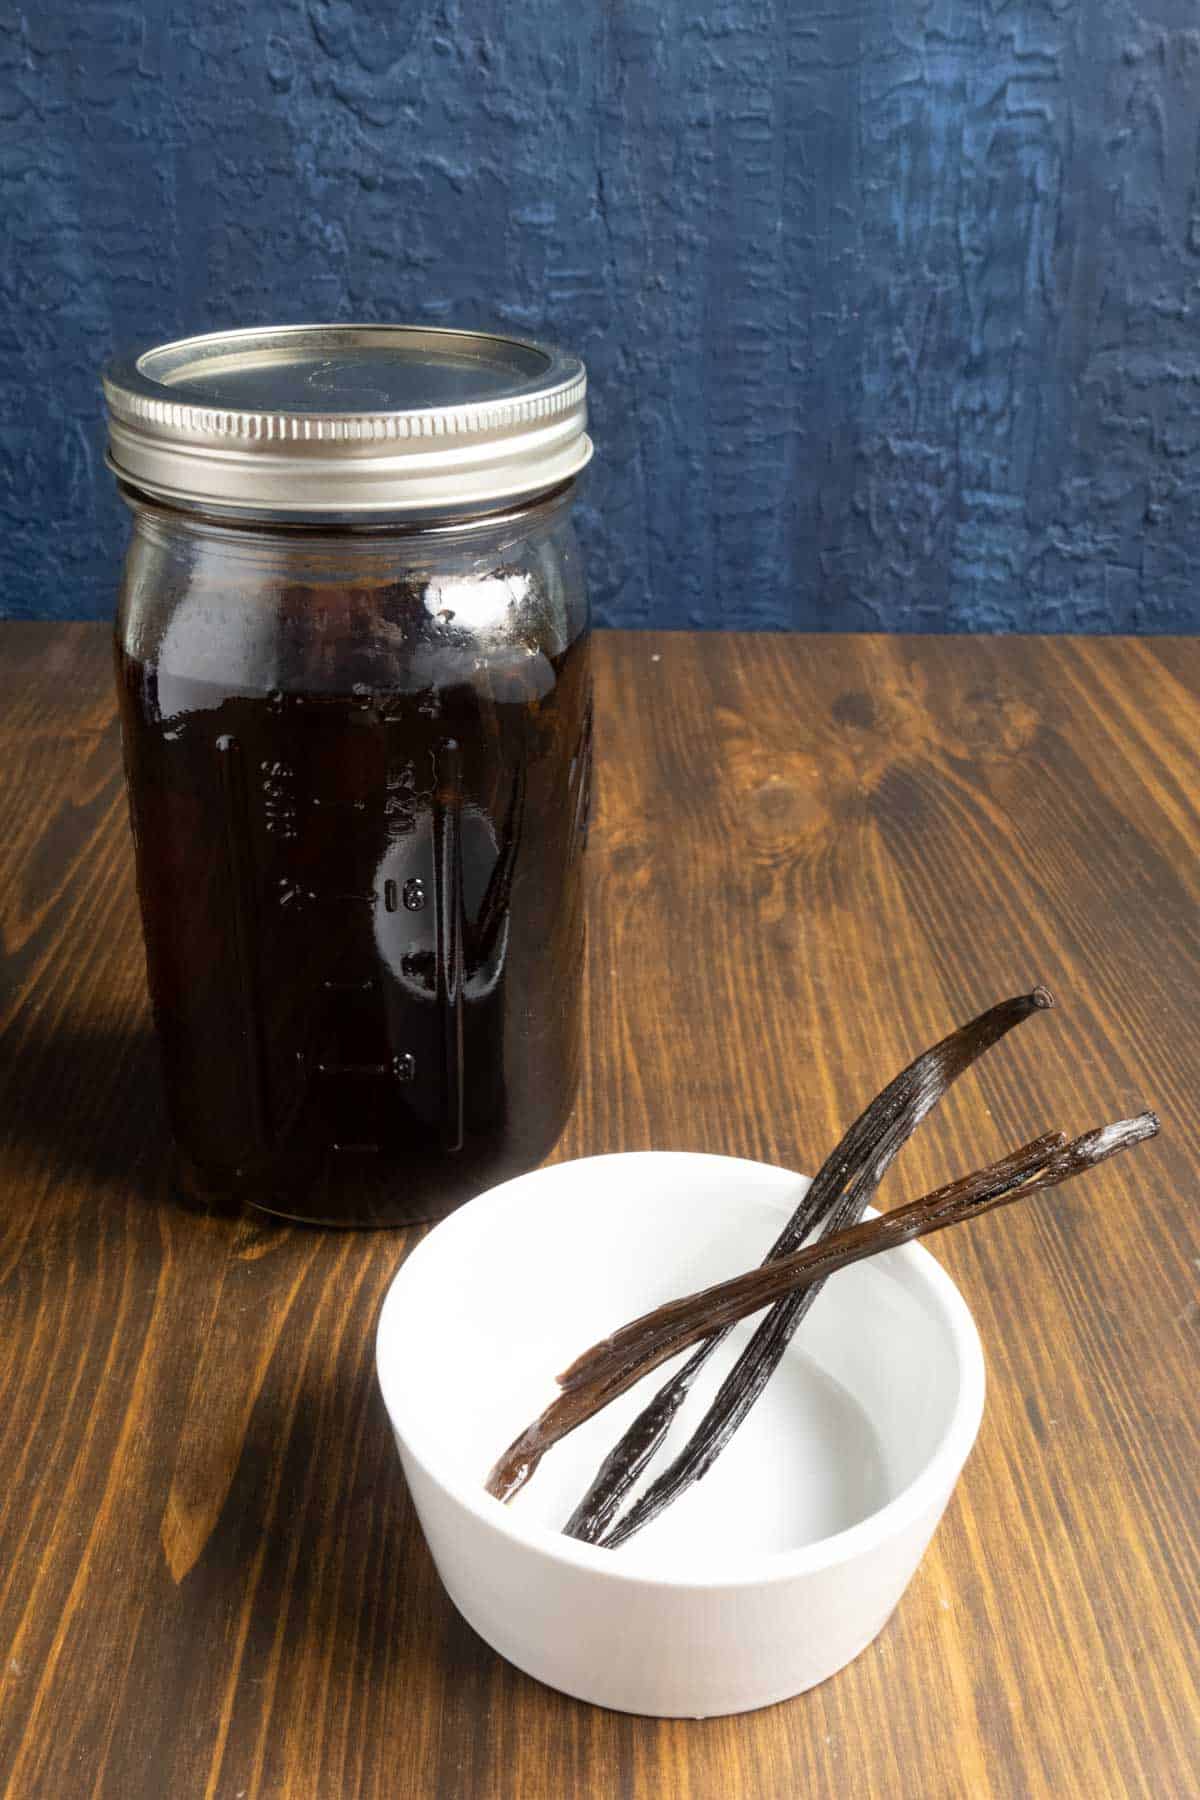
Pure Vanilla Extract
- Set up your immersion circulator in your container to 135°F.
- Split the beans lengthwise with a sharp knife, keeping the ends intact.
- Prepare your jars. In a quart mason jar, put 12-15 split vanilla beans
- Add 3 cups of vodka with an inch of headspace
- Put the lid on and tighten it finger tight
- Finger-Tight: Screw the lid on until it’s just barely snug—tight enough to stay closed, but loose enough to let air escape during cooking. Overtightening risks cracking the jar.
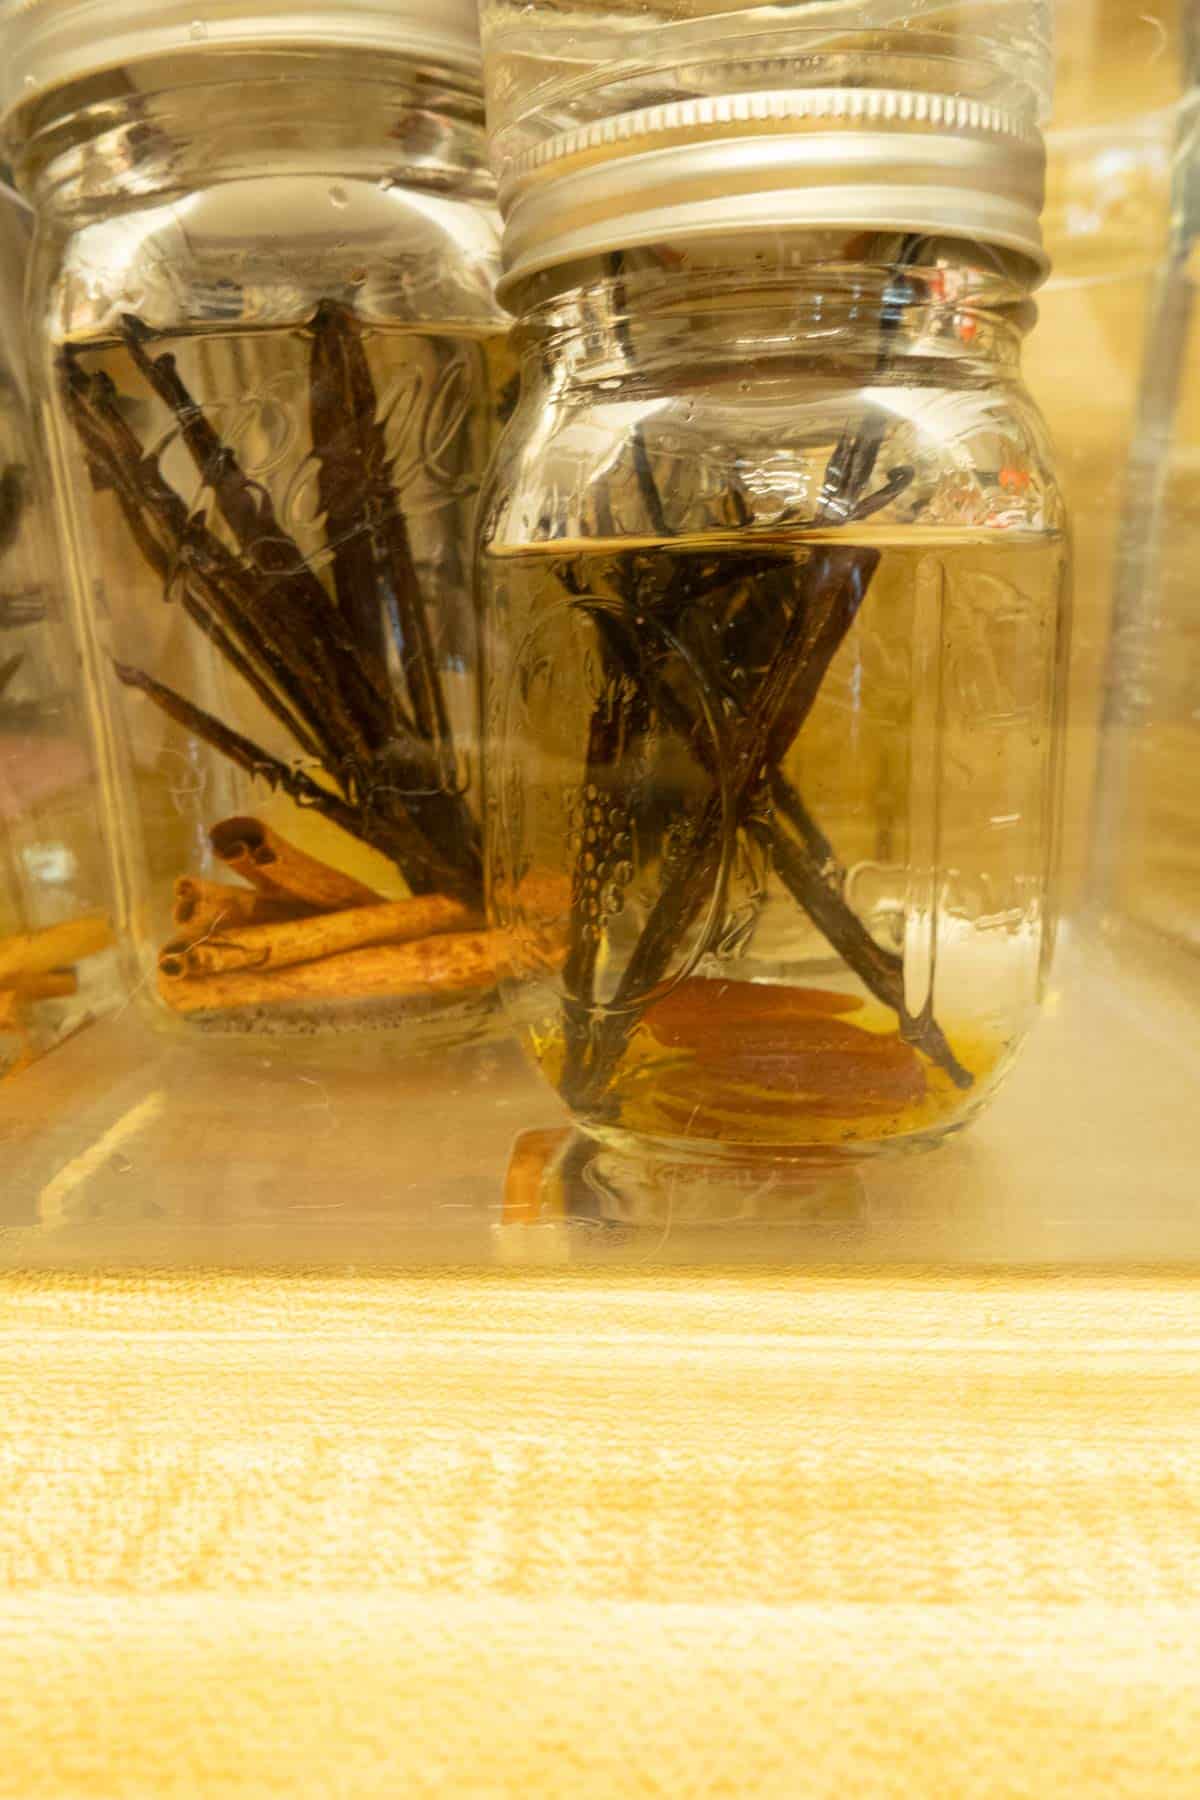
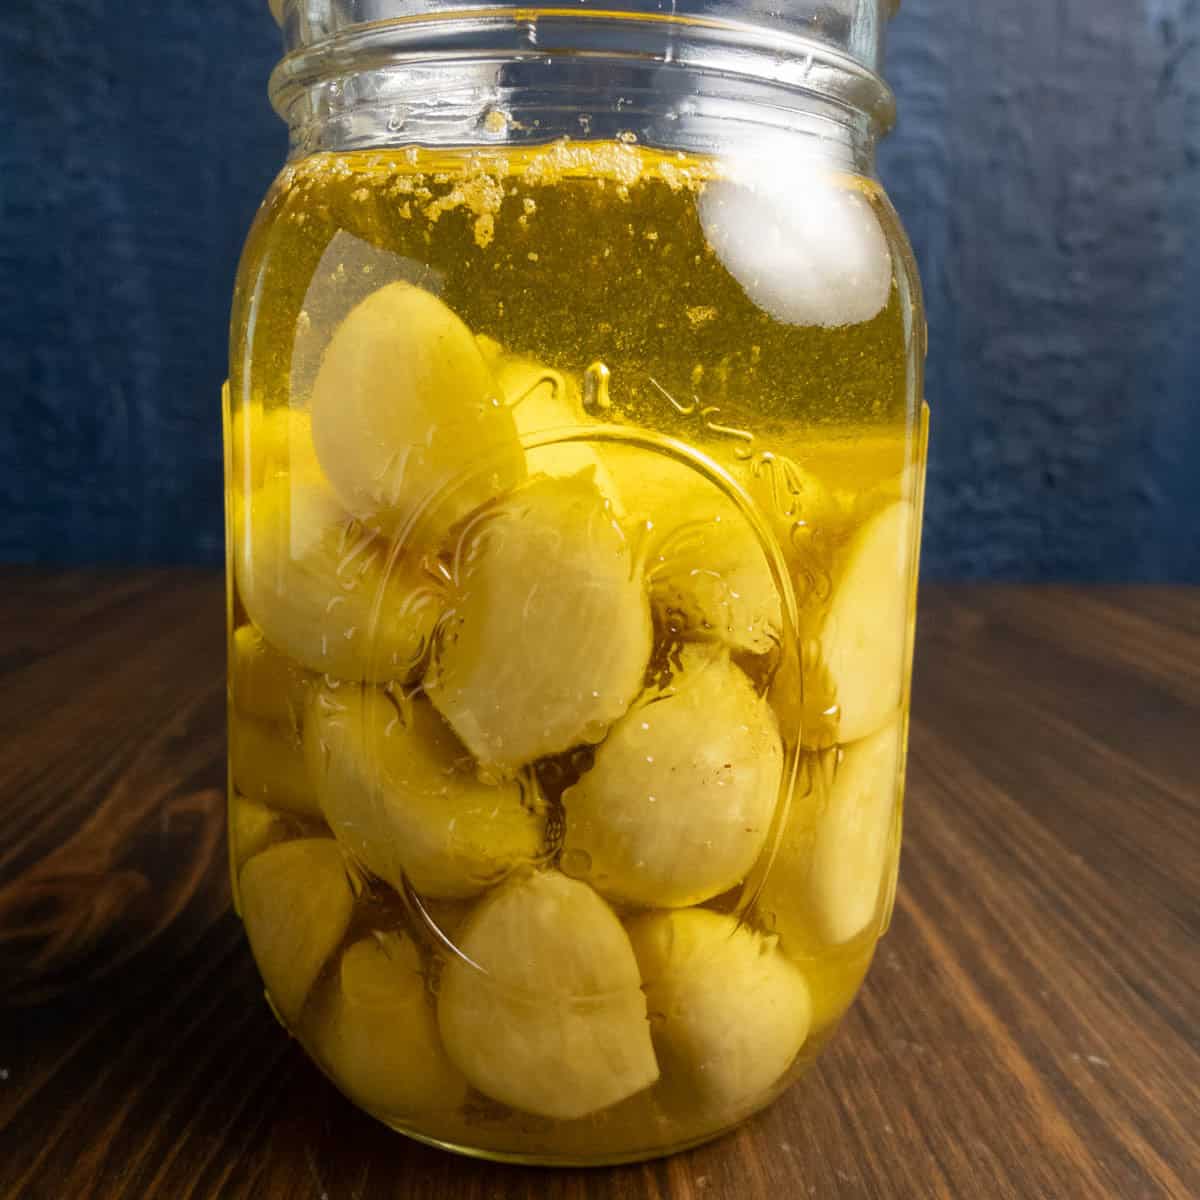
- Carefully lower your jar into the water bath, making sure the water is covering the jar
- Bubbles might come out or your jar might float. If it floats, secure it down with a rack or weight
- Allow the vanilla extract to steep for 16 hours
- Remove it from the water bath and let it come to room temperature.
- You can remove or leave the vanilla bean pods in the extract. Leaving them in intensifies the flavor over time.
- Store in a cool, dry place
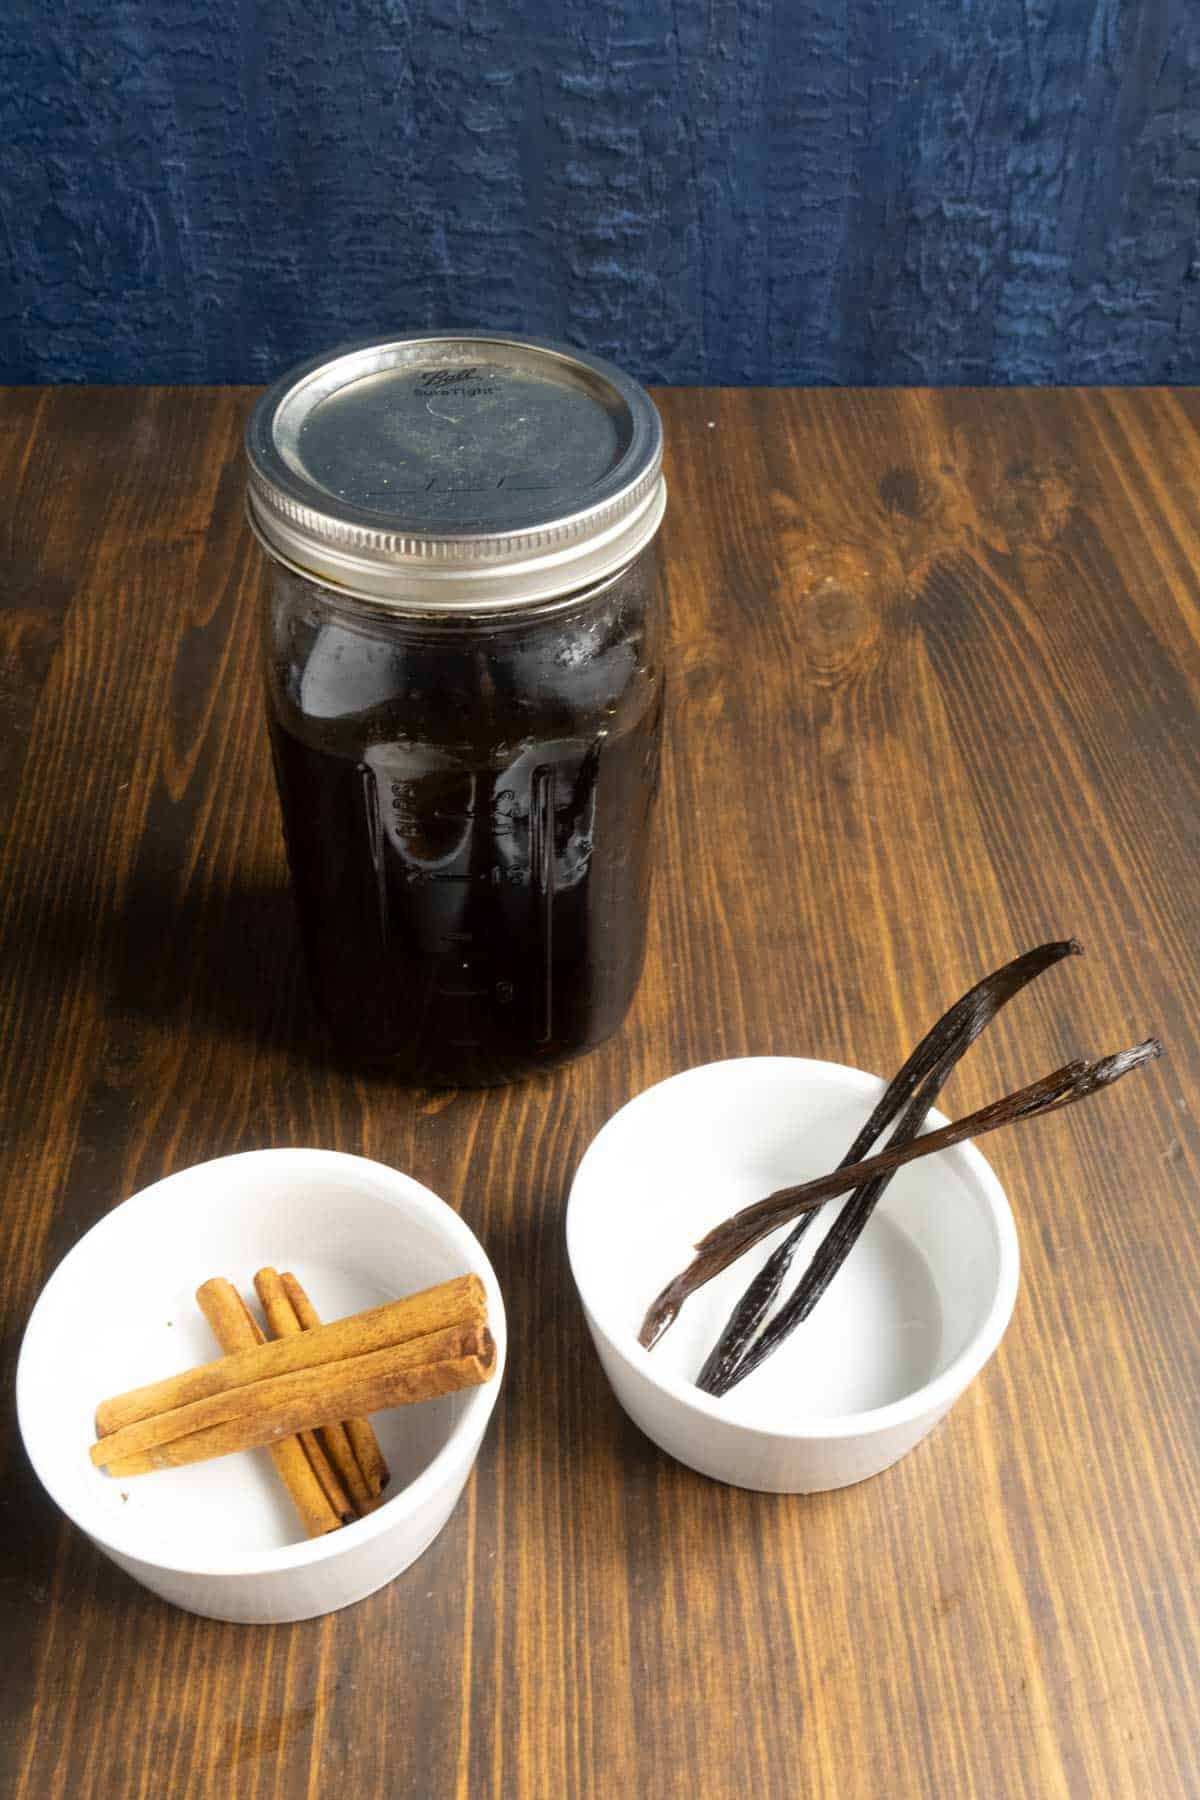
Cinnamon Vanilla Extract
- Follow the above steps and add the cinnamon sticks along with the vanilla beans
- After 10 hours, carefully remove the jar from the water bath
- Remove the cinnamon sticks and replace the lid
- Put the jar back into the water bath for another 6 hours for a total of 16 hours
- Remove the jar from the water bath and let it come to room temperature
- Store in a cool, dry place
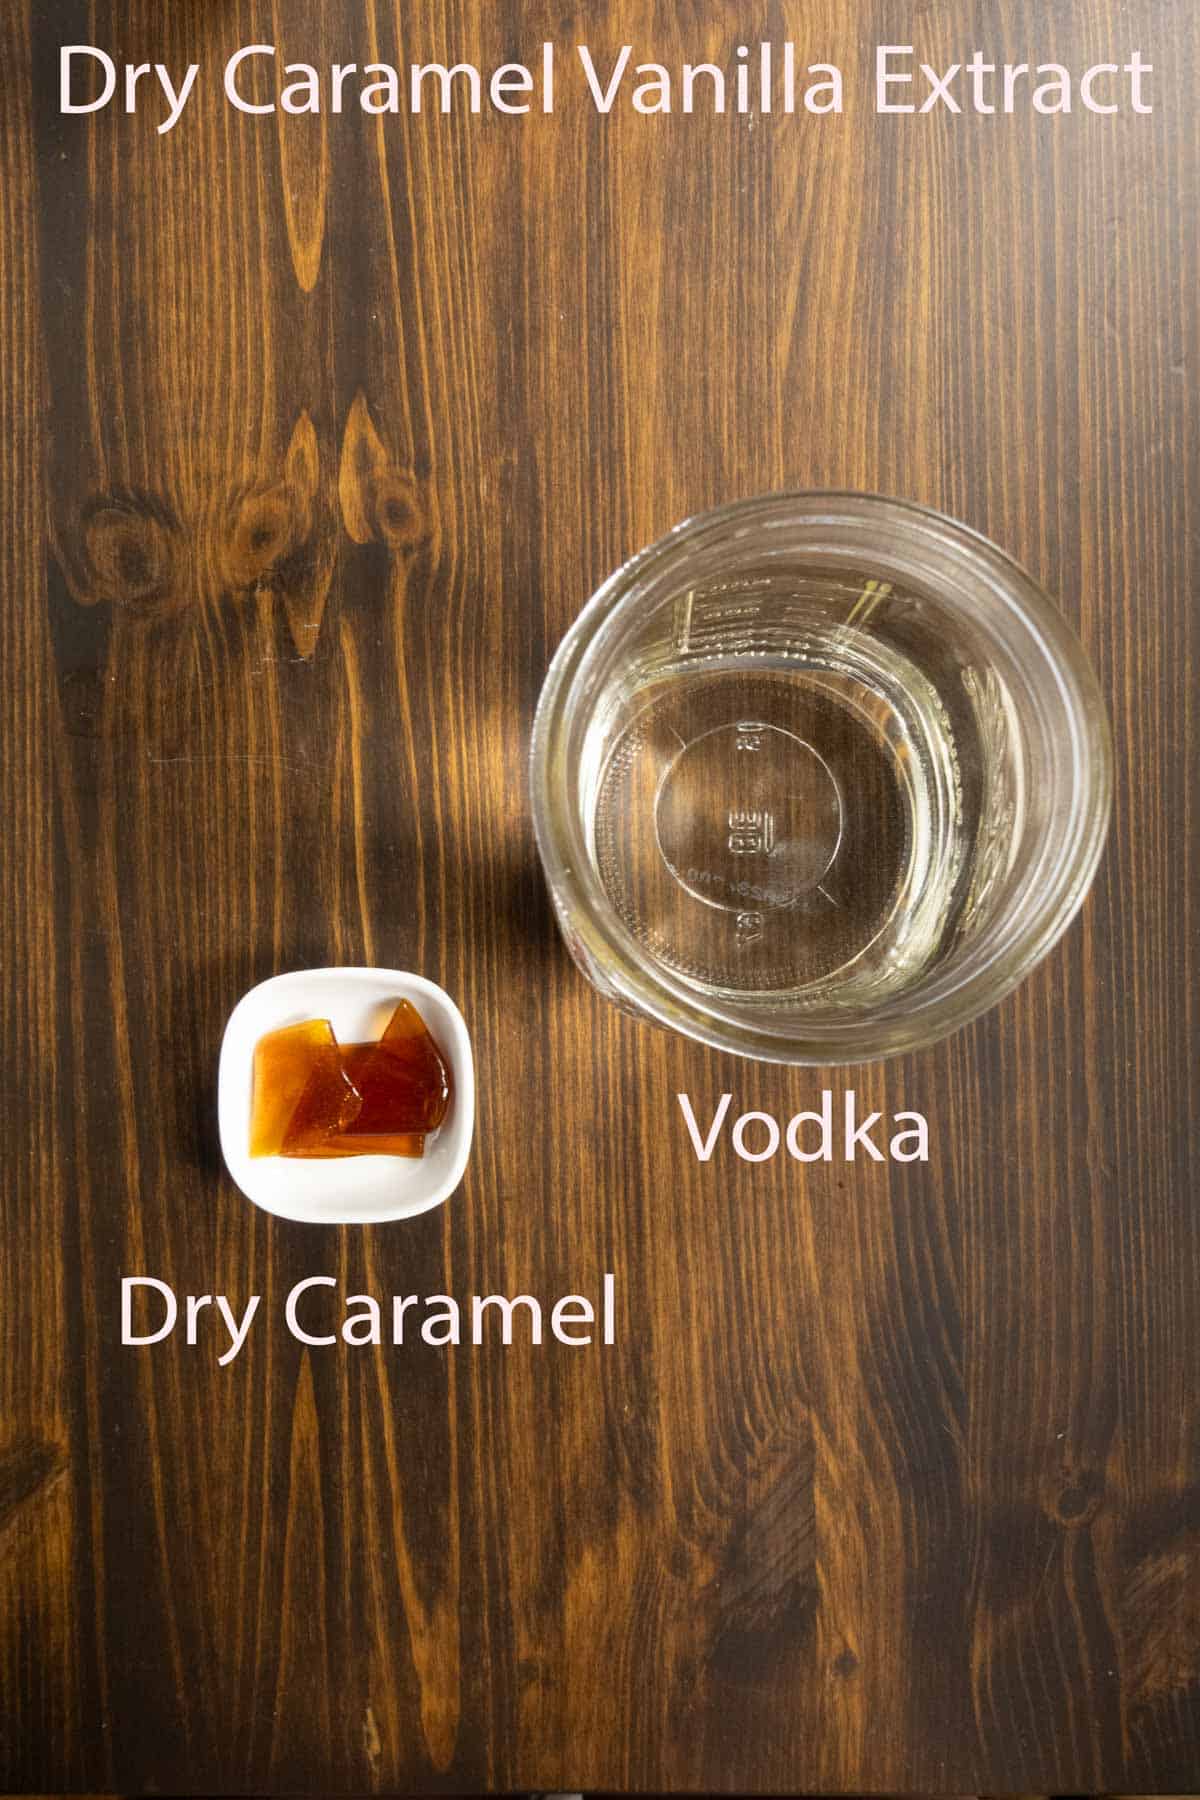
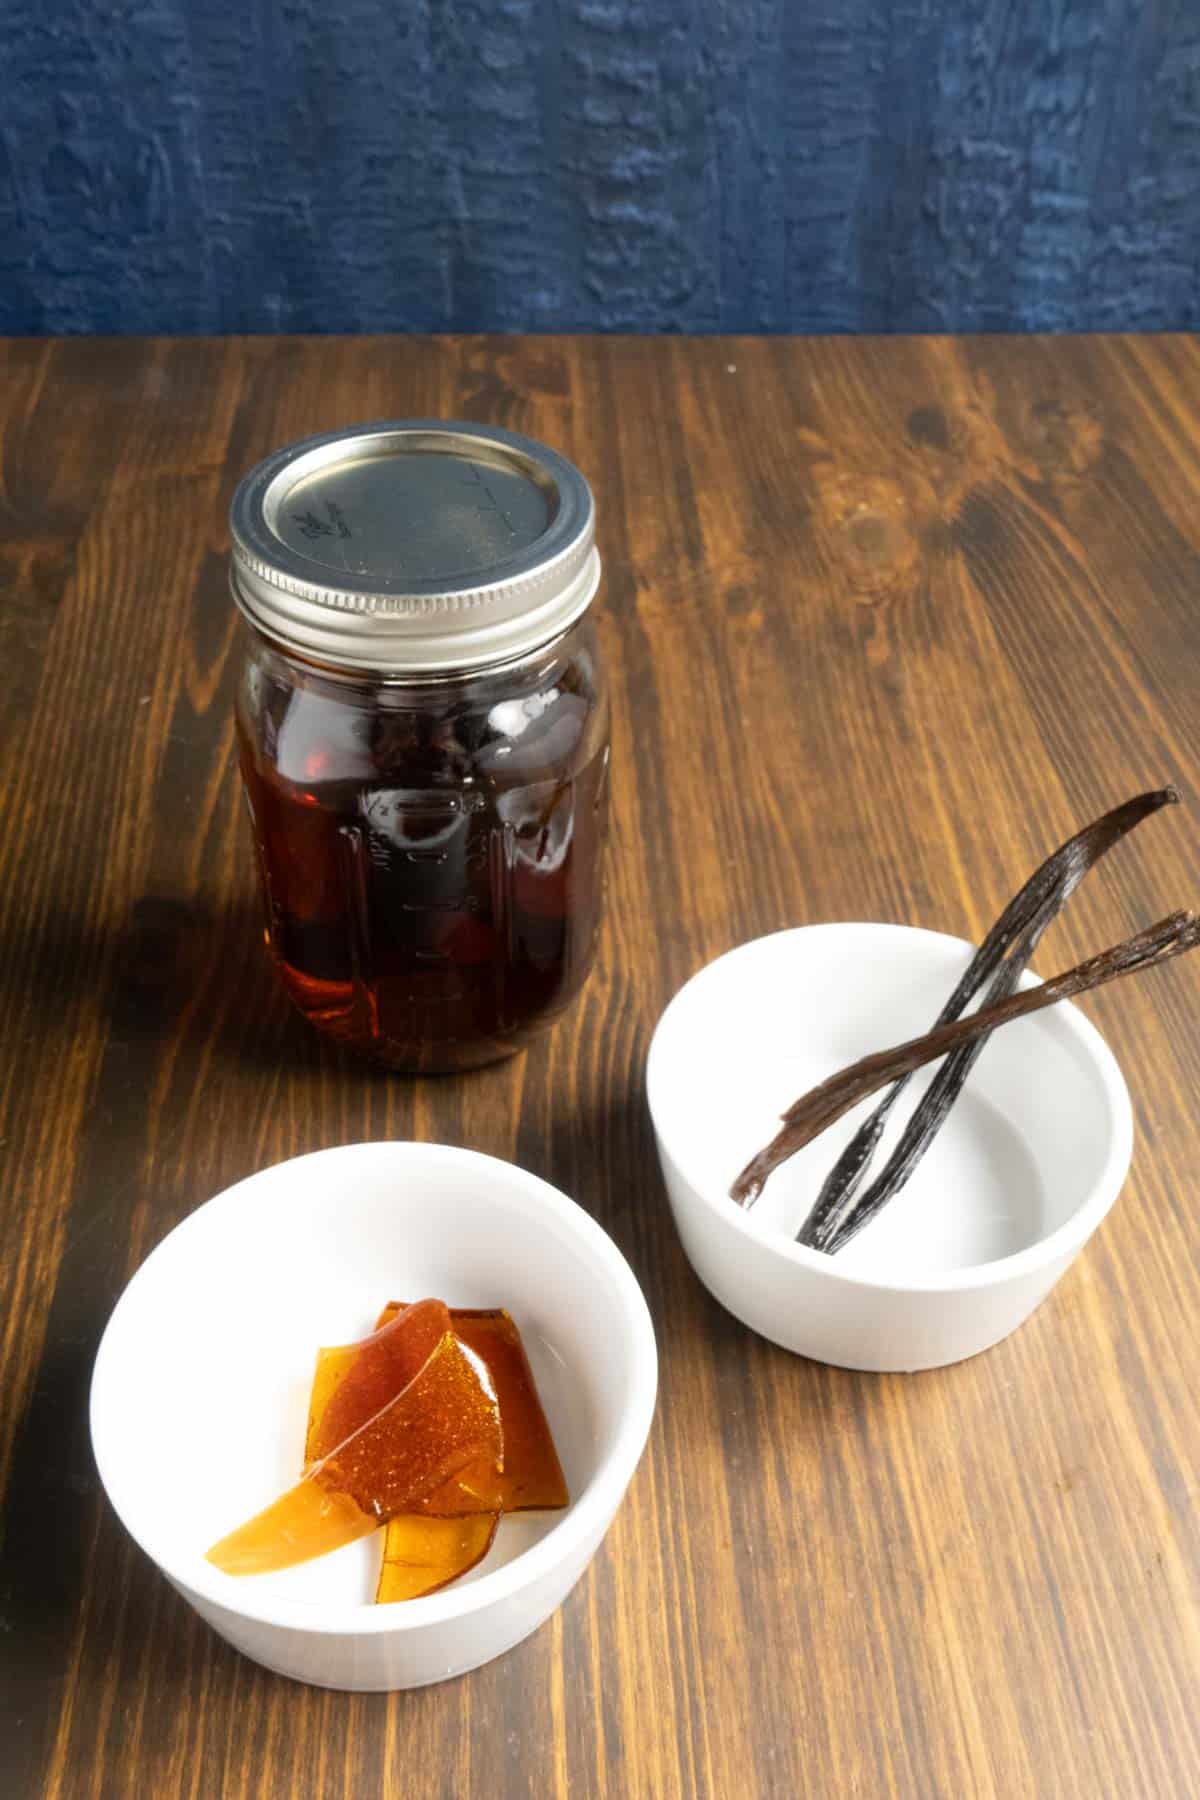
Dry Caramel Vanilla Extract
- Follow the above steps for vanilla extract and add a tablespoon of dry caramel shards to in with the vanilla beans and vodka.
- Steep as above and treat the same after it’s finished.
How to Make Dry Caramel
You need 1/2 cup of sugar.
- Set up a cookie sheet or heat proof container with parchment paper or a silicone baking mat
- Set a light colored skillet on the stove. We need to be able to see the color the sugar is turning.
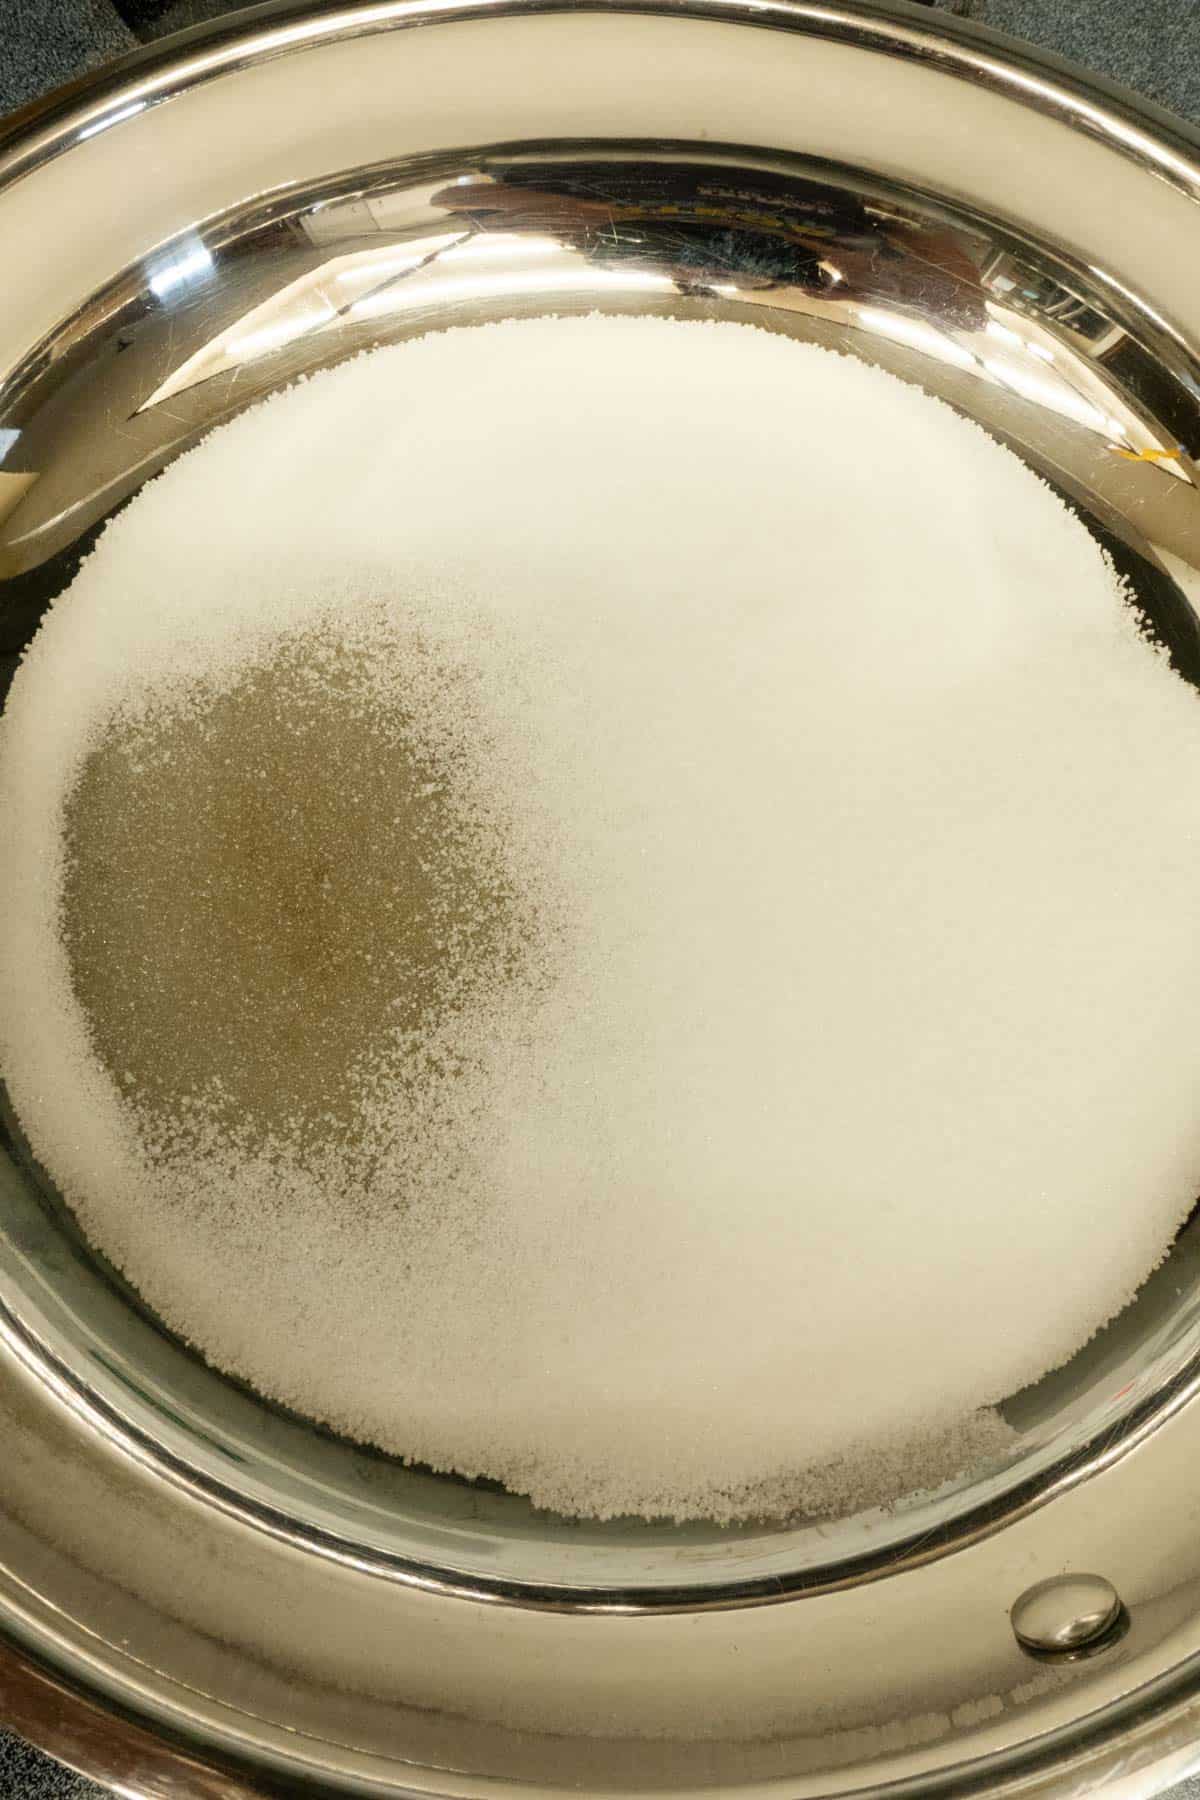
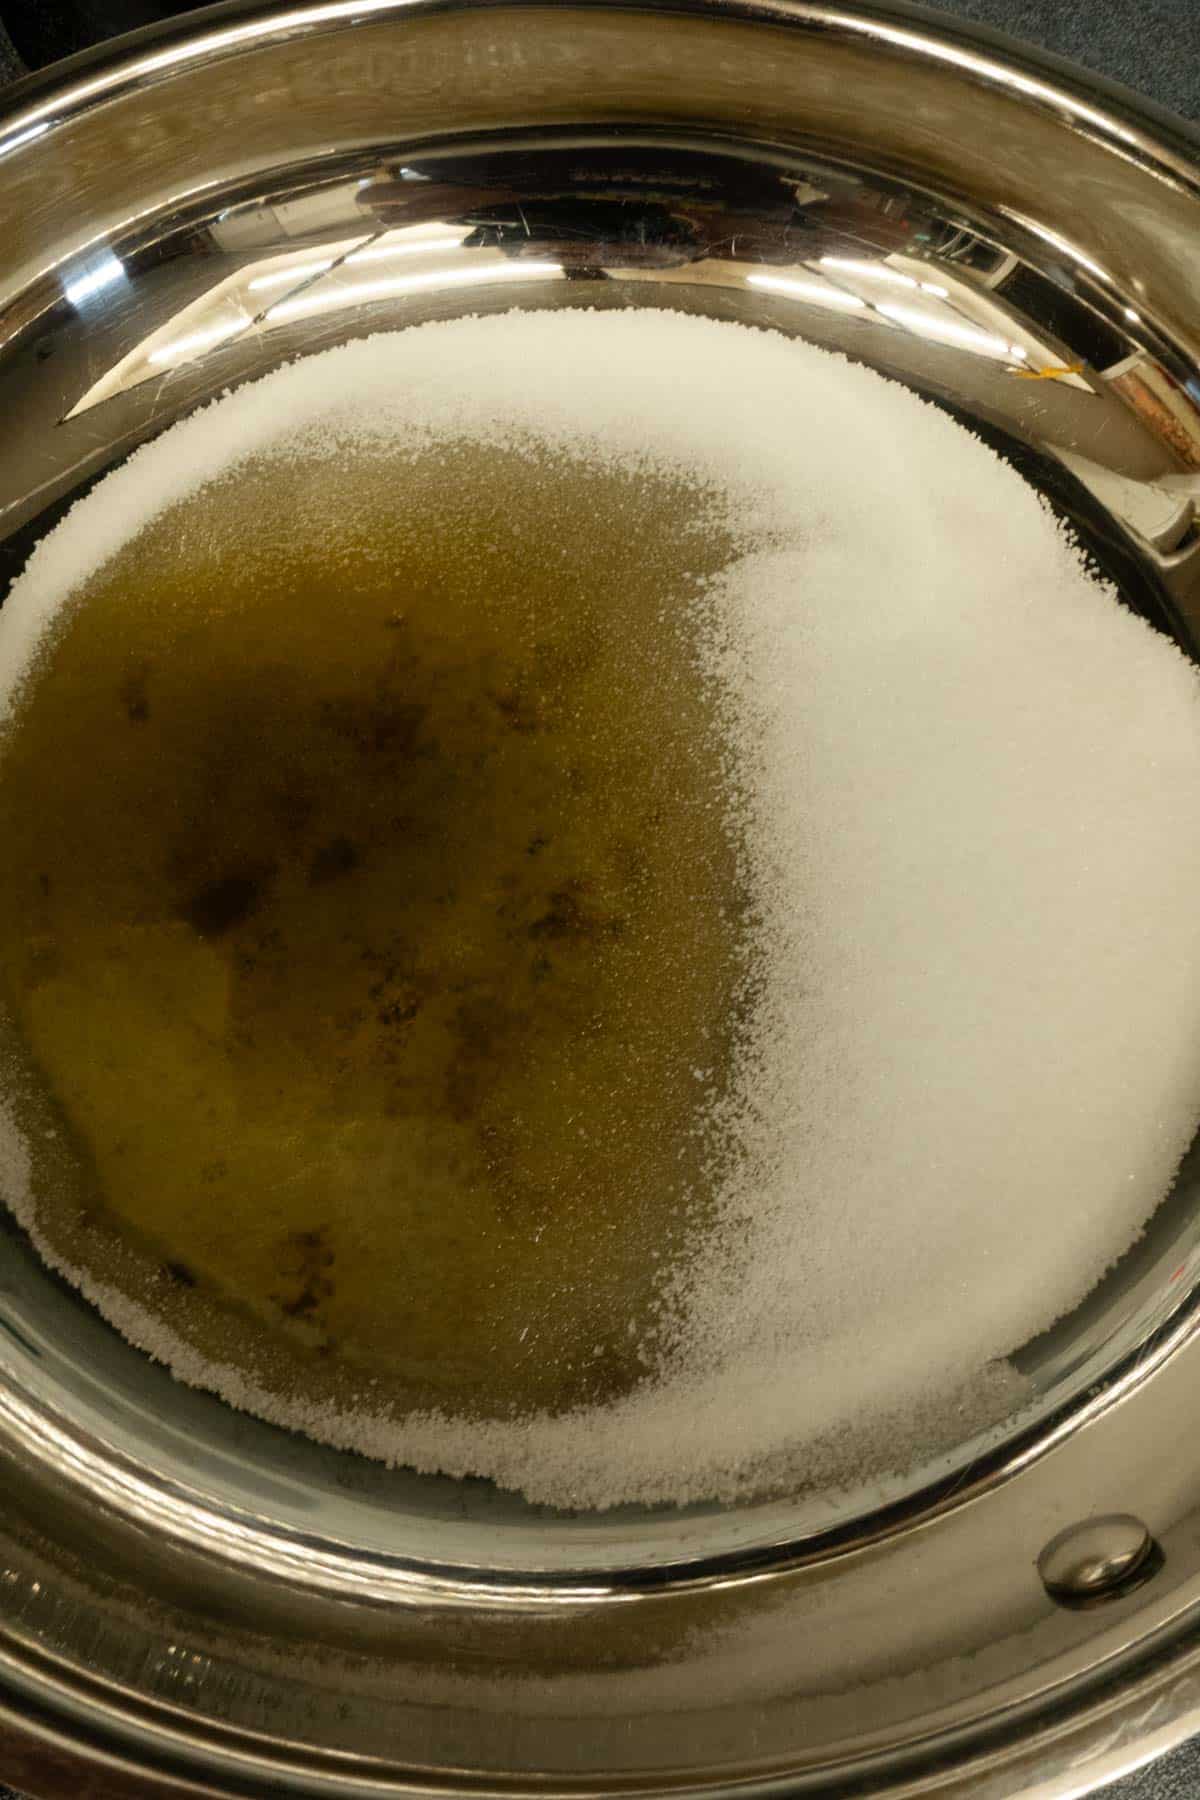
- Place ½ cup of sugar in the pan and shake the pan so it’s in an even layer
- Turn the heat on to medium low. My stovetop is at 3.
- Stay close by and don’t rush this.
- Once the sugar begins to start melting, the clock is ticking.
- Allow the entire pan of sugar to start melting
- At this point you can swirl the pan to incorporate the sugar, but don’t stir as it might cause the caramel to crystalize.
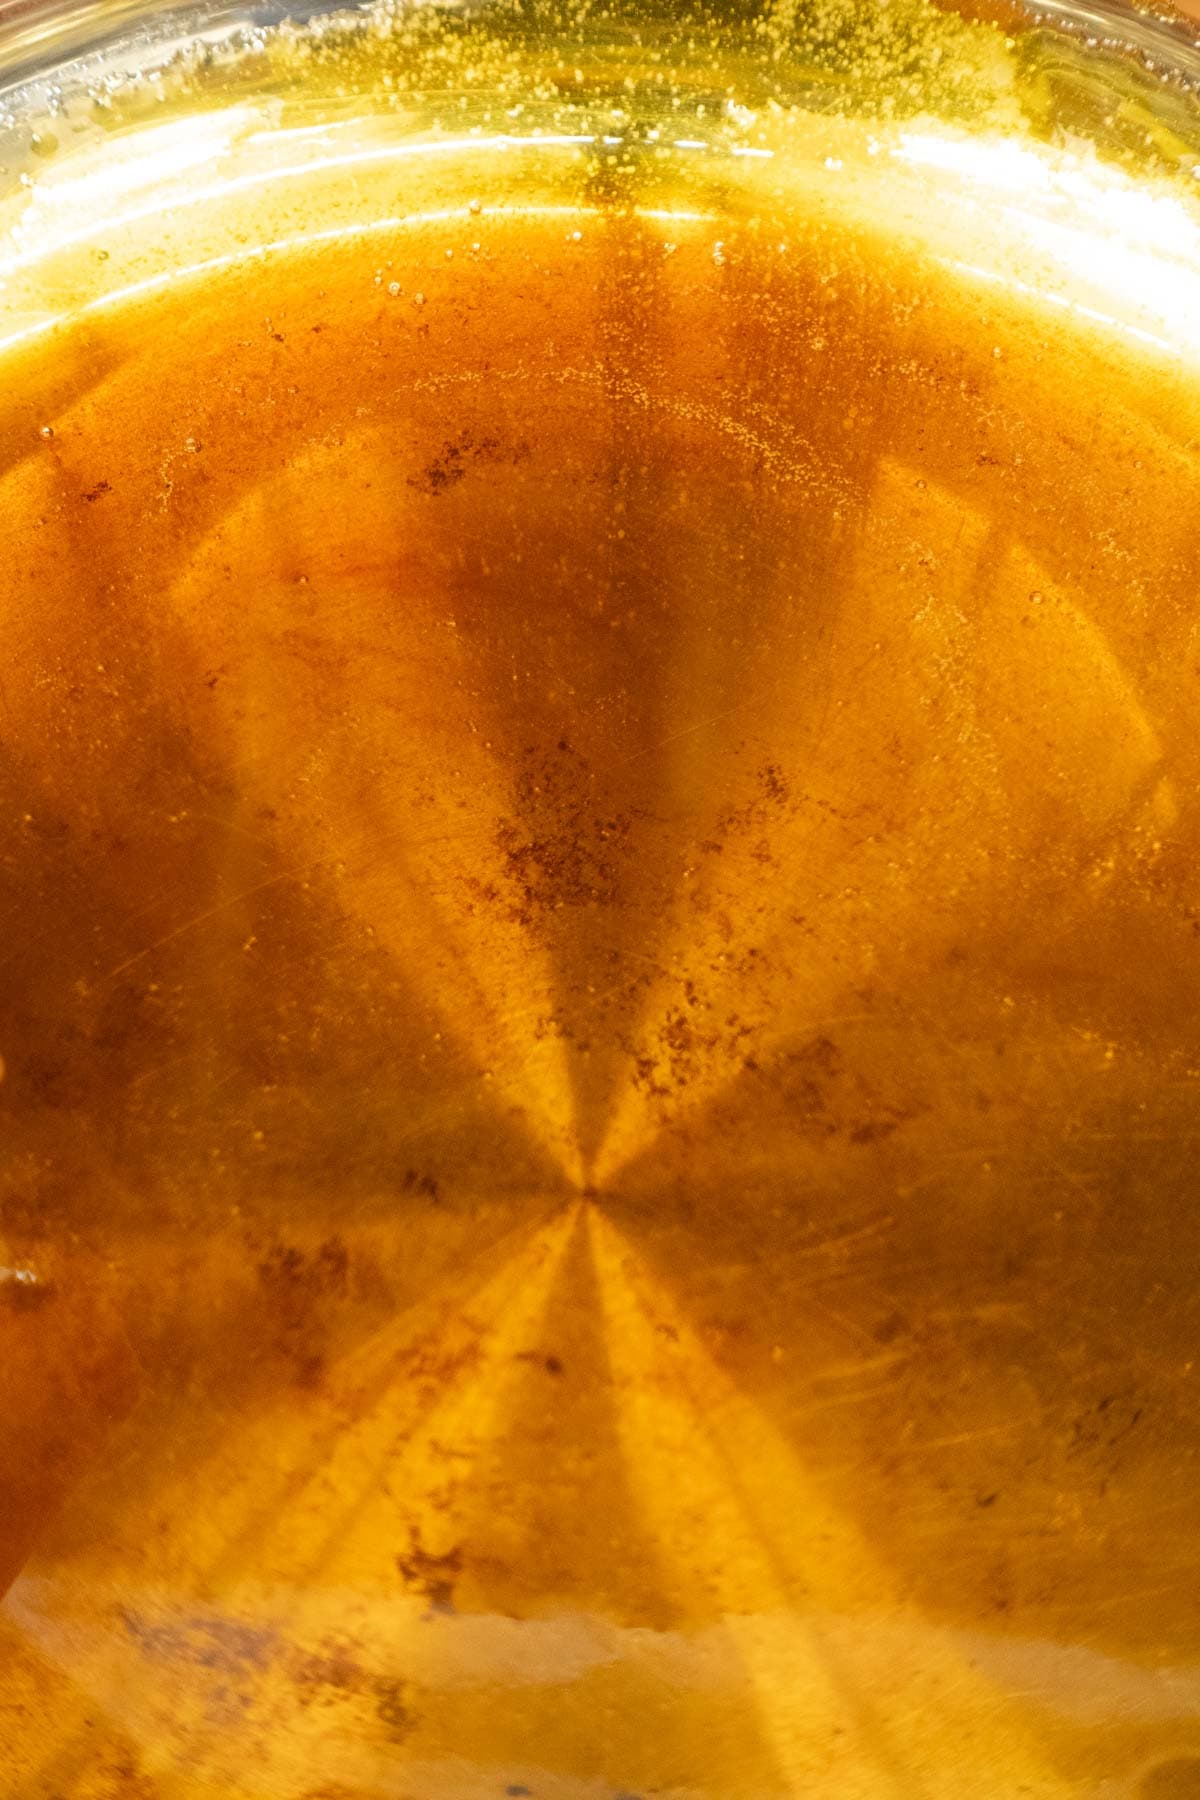
- Once the mixture smells toasty, but not burnt and looks like a deep amber like honey, take it off the heat and pour onto the prepare tray with parchment paper
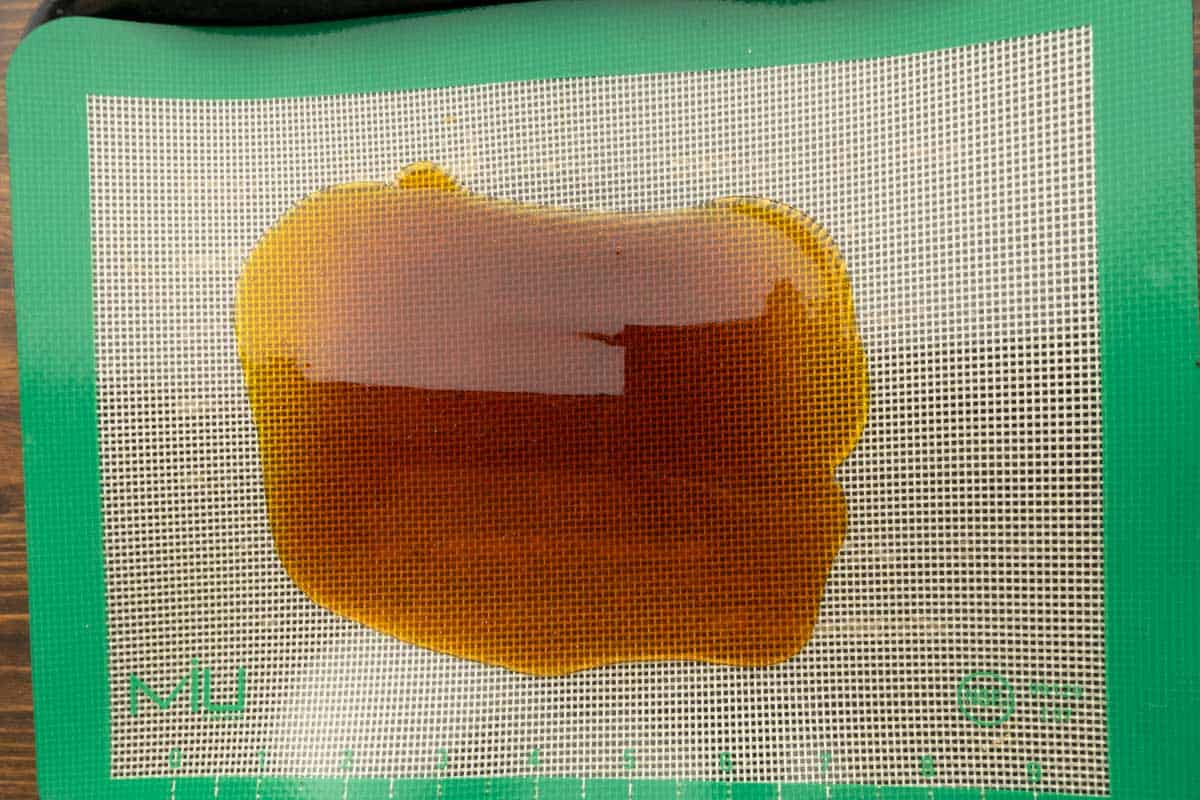
- Allow to cool completely before using
- Break into 1 tablespoon sized shards
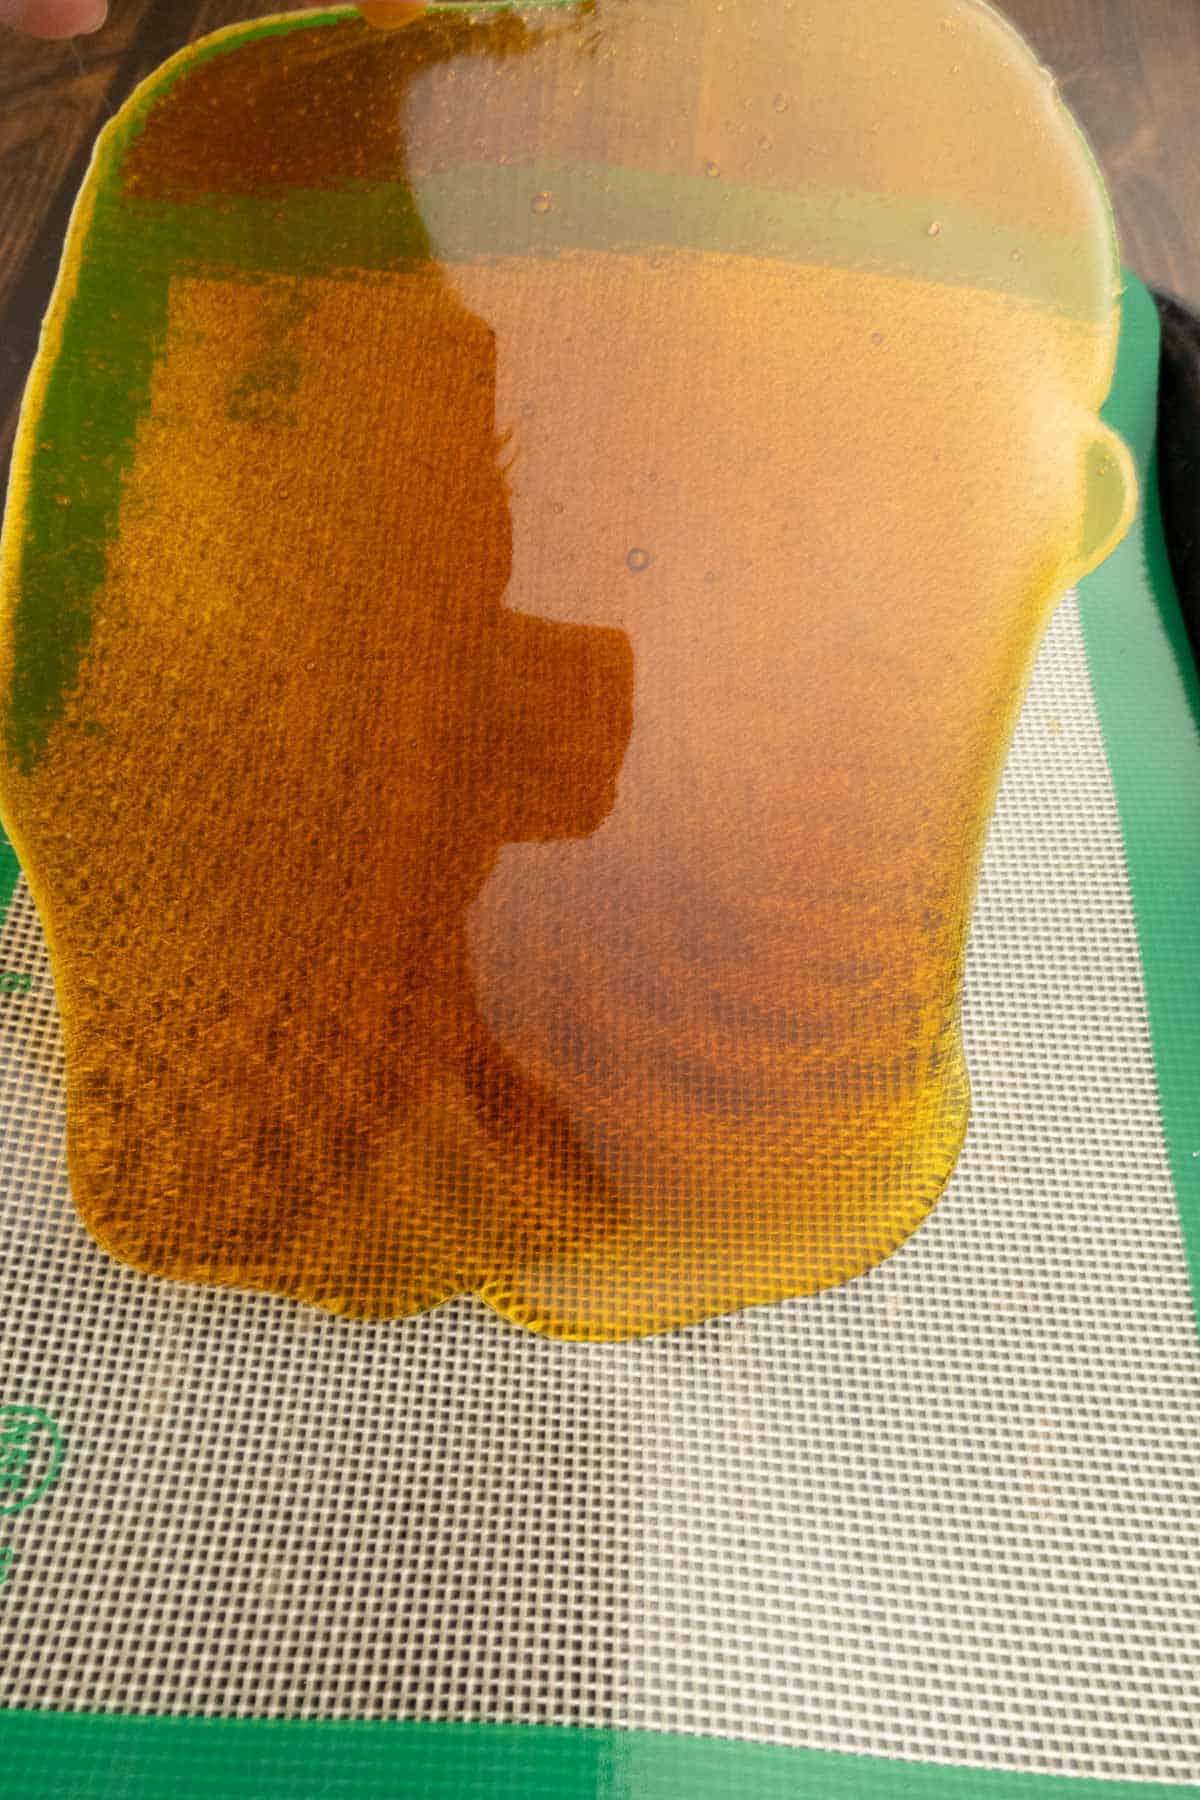
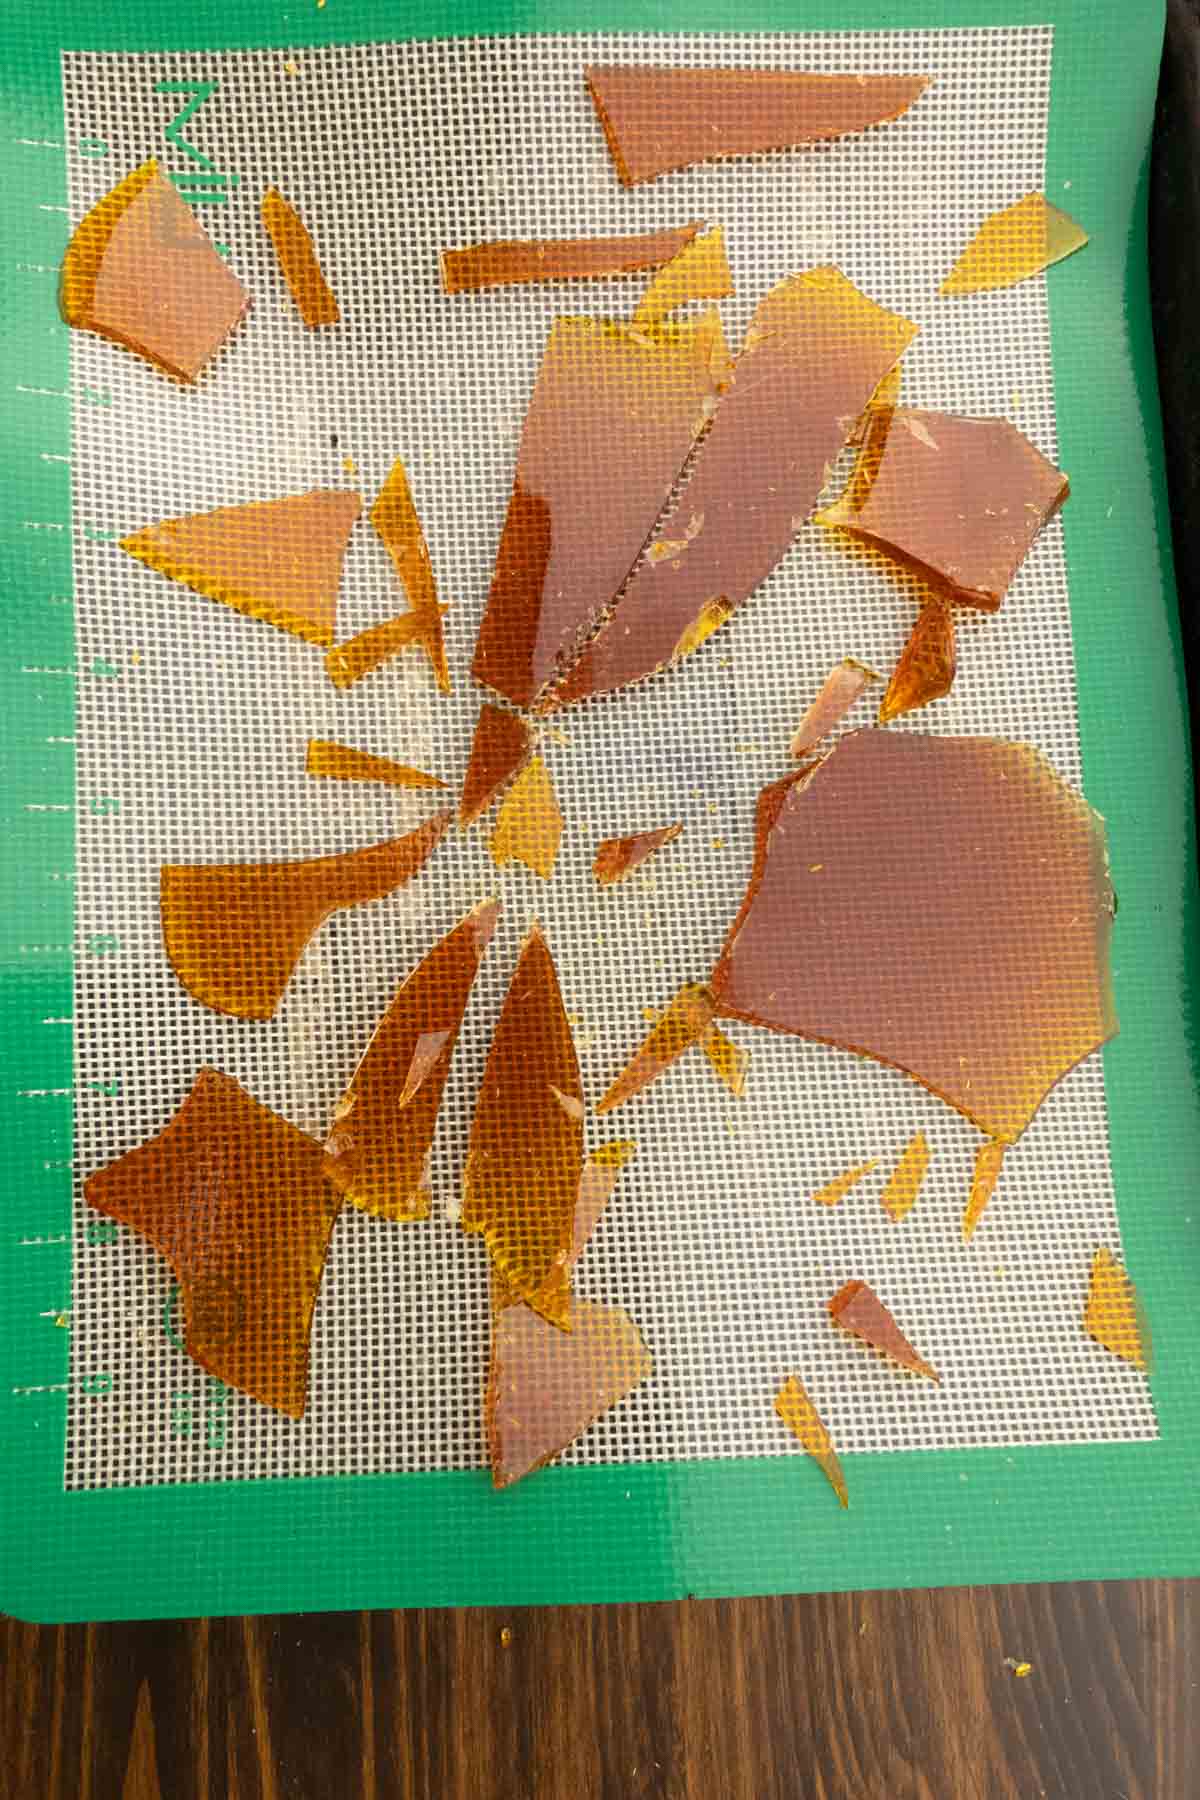
- Taste to make sure it’s not burnt before adding to the vanilla or you risk making a batch that isn’t usable.
Expert Tips
If you leave the vanilla beans in the extract, make sure to shake the jars from time to time.
If you’re gifting the vanilla extract, leave the vanilla beans in for a few weeks. Then strain and put in bottles.
How to Use Each Extract
Vanilla extract is used in many desserts such as cookies, cakes, or ice creams. You can use it how you would store bought vanilla. The variations are best used in dishes where you want that flavor imparted.
For cinnamon vanilla extract, it’s best used for cinnamon rolls, coffee or spice cakes, and apple pie. It works well in cinnamon sugar pecans as well.
The dry caramel vanilla extract is best used in items that need a deeper sugar flavor such as brown butter chocolate chip cookies or banana bread. Wherever you want to accentuate the roasted, buttery, and molasses flavors of a dish.
Storage
Store vanilla extract in the jar you sous vide in or smaller jars in a cool, dry place.
Vanilla extract doesn’t really expire. The alcohol keeps it from spoiling, but the flavor may weaken as time goes on. Don’t store it by the stove or oven as heat will cause it to degrade quicker.
FAQs
Yes. Excess headspace leads to uneven heating, risk of oxidation, and potential flavor loss. Fill the mason jar up at least ⅔ of the way full.
Weigh them down with a sous vide rack, glass weights, or a spoon in the water bath. The water needs to surround the entire jar to heat properly.
If you’ve made sous vide extracts, let me know how you like it compared to store bought. I measure vanilla extract with my heart and love that I can make enough that I don’t feel bad for tipping a little extra into each recipe.
The Bluster and the Burrow
Sous Vide Vanilla Extract
Equipment
- Immersion Circulator Anova
- Water Bath Container 12 quart
- Mason Jars Quart and Half Pint
Ingredients
Pure Vanilla Extract
- 3 cups vodka
- 12-15 vanilla beans split lengthwise
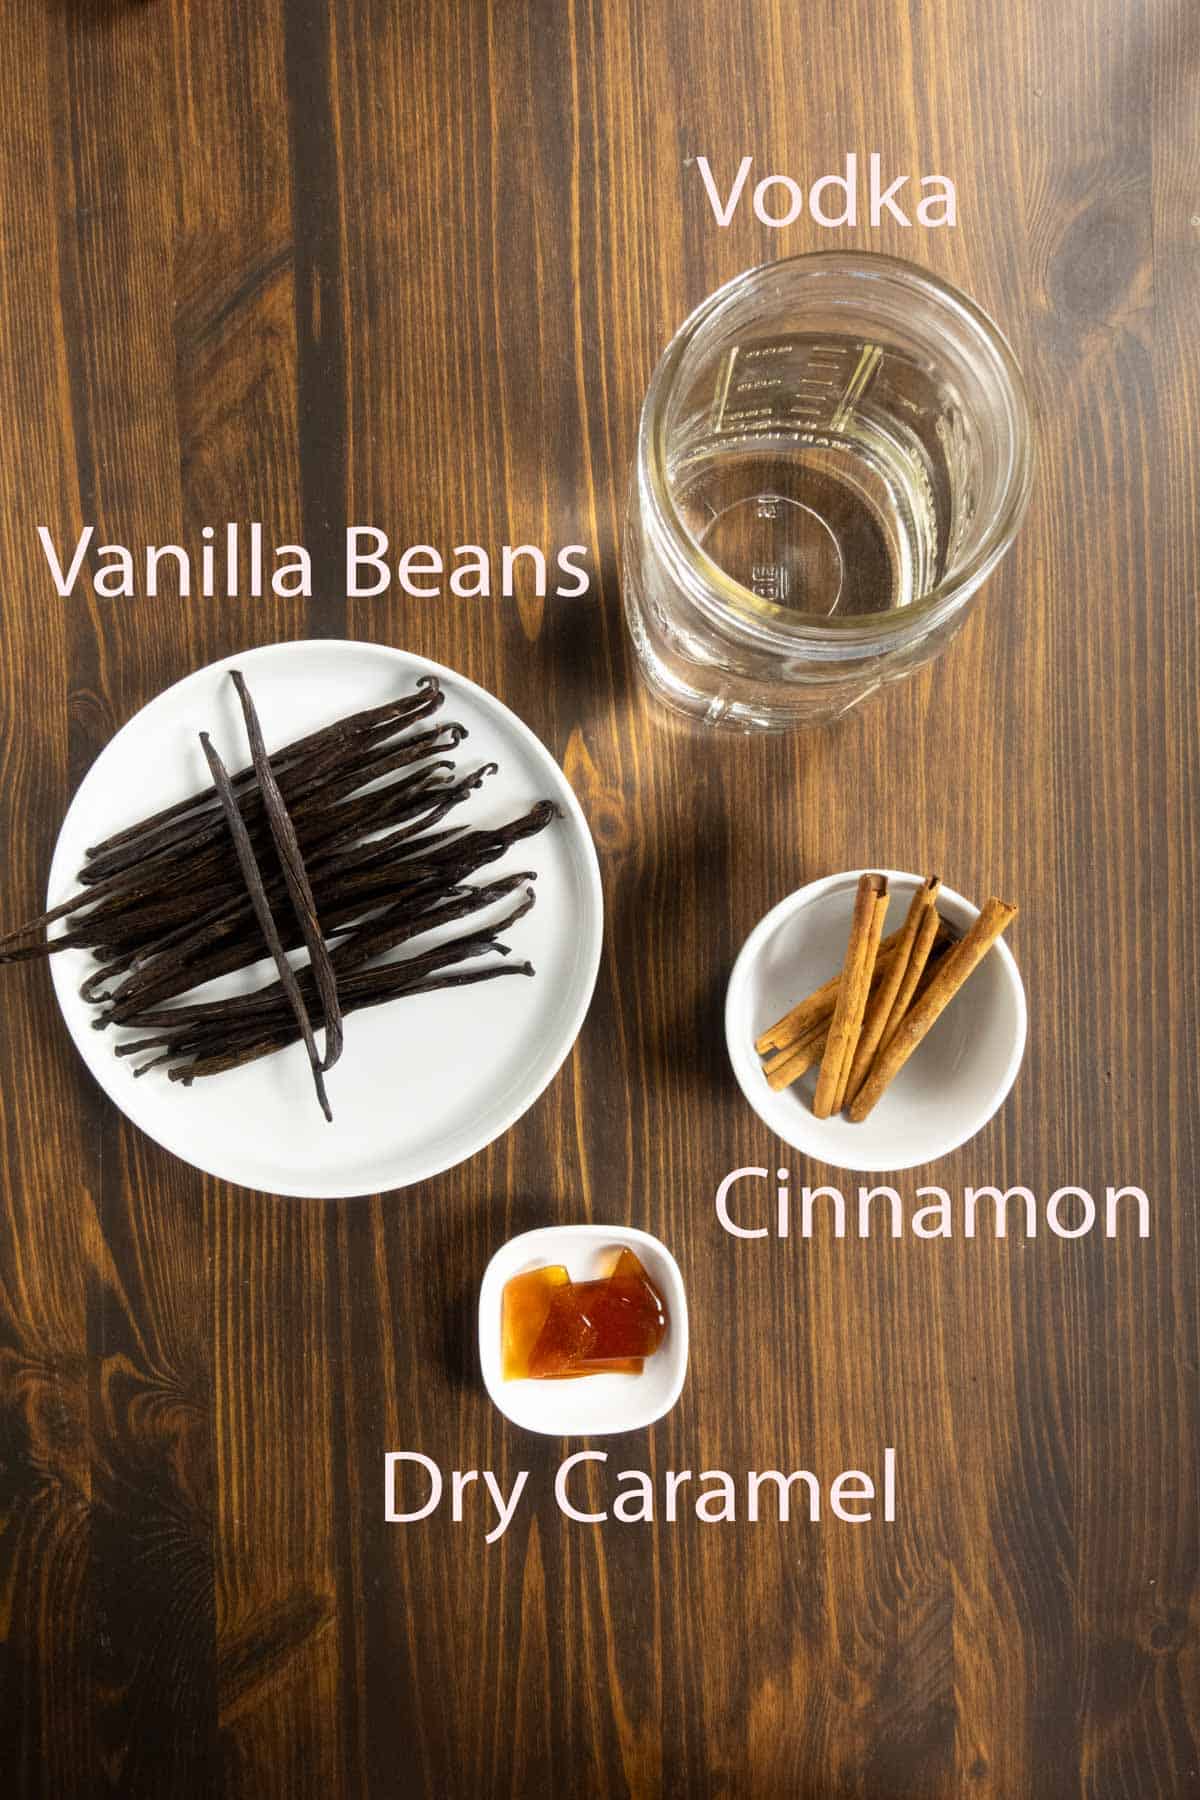
Cinnamon Vanilla Extract
- 3 cups vodka
- 12-15 vanilla beans split lengthwise
- 3 cinnamon sticks broken in half
Dry Caramel Vanilla Extract
- 1.5 cups vodka
- 5 vanilla beans split lengthwise
- 1 tablespoon dry caramel
Instructions
Pure Vanilla Extract
- Set up your immersion circulator in your container to 135°F.
- Split the beans lengthwise with a sharp knife, keeping the ends intact.
- Prepare your jars. In a quart mason jar, put 12-15 split vanilla beans
- Add 3 cups of vodka with an inch of headspace
- Put the lid on and tighten it finger tight
- Finger-Tight: Screw the lid on until it’s just barely snug—tight enough to stay closed, but loose enough to let air escape during cooking. Overtightening risks cracking the jar.
- Carefully lower your jar into the water bath, making sure the water is covering the jar
- Bubbles might come out or your jar might float. If it floats, secure it down with a rack or weight
- Allow the vanilla extract to steep for 16 hours
- Remove it from the water bath and let it come to room temperature.
- You can remove or leave the vanilla bean pods in the extract. Leaving them in intensifies the flavor over time.
- Store in a cool, dry place
Cinnamon Vanilla Extract
- Set up your immersion circulator in your container to 135°F.
- Split the beans lengthwise with a sharp knife, keeping the ends intact.
- Prepare your jars. In a quart mason jar, put 12-15 split vanilla beans
- Add 3 cups of vodka with an inch of headspace
- Put the lid on and tighten it finger tight
- Finger-Tight: Screw the lid on until it’s just barely snug—tight enough to stay closed, but loose enough to let air escape during cooking. Overtightening risks cracking the jar.
- Carefully lower your jar into the water bath, making sure the water is covering the jar
- Bubbles might come out or your jar might float. If it floats, secure it down with a rack or weight
- After 10 hours, remove the jar from the water bath and remove the cinnamon sticks.
- Return the lid and put the jar back in the water bath for another 6 hours.
- Remove it from the water bath and let it come to room temperature.
- You can remove or leave the vanilla bean pods in the extract. Leaving them in intensifies the flavor over time.
- Store in a cool, dry place
Dry Caramel Vanilla Extract
- Set up your immersion circulator in your container to 135°F.
- Split the beans lengthwise with a sharp knife, keeping the ends intact.
- Prepare your jars. In a quart mason jar, put 4-5 split vanilla beans and 1 tablespoon of dry caramel
- Add 1.5 cups of vodka with an inch of headspace
- Put the lid on and tighten it finger tight
- Finger-Tight: Screw the lid on until it’s just barely snug—tight enough to stay closed, but loose enough to let air escape during cooking. Overtightening risks cracking the jar.
- Carefully lower your jar into the water bath, making sure the water is covering the jar
- Bubbles might come out or your jar might float. If it floats, secure it down with a rack or weight
- Allow the vanilla extract to steep for 16 hours
- Remove it from the water bath and let it come to room temperature.
- You can remove or leave the vanilla bean pods in the extract. Leaving them in intensifies the flavor over time.
- Store in a cool, dry place
Dry Caramel
- Set up a cookie sheet or heat proof container with parchment paper or a silicone baking mat
- Set a light colored skillet on the stove. We need to be able to see the color the sugar is turning.
- Place ½ cup of sugar in the pan and shake the pan so it’s in an even layer
- Turn the heat on to medium low. My stovetop is at 3.
- Stay close by and don’t rush this.
- Once the sugar begins to start melting, the clock is ticking.
- Allow the entire pan of sugar to start melting
- At this point you can swirl the pan to incorporate the sugar, but don’t stir as it might cause the caramel to crystalize.
- Once the mixture smells toasty, but not burnt and looks like a deep amber like honey, take it off the heat and pour onto the prepare tray with parchment paper
- Allow to cool completely before using
- Taste to make sure it’s not burnt before adding to the vanilla or you risk making a batch that isn’t usable.

I was beyond excited when I found out I could sous vide vanilla. My baking game has definitely gone up. Let me know how you like the flavor.