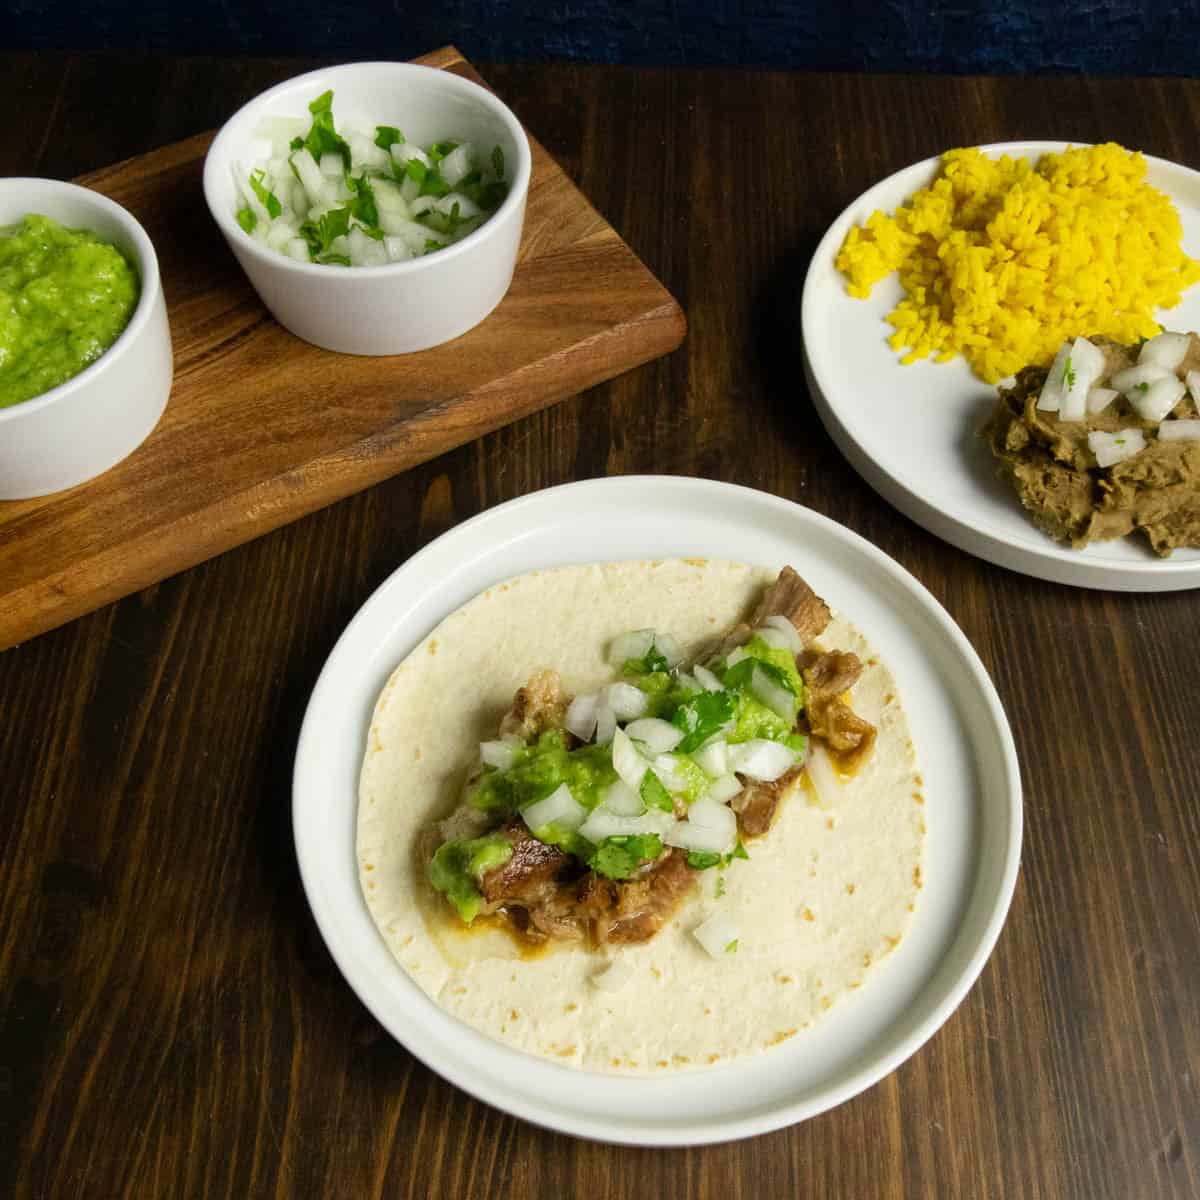
Grinding Beef for Burgers
Grinding your own beef transforms burgers from good to unforgettable. It’s the difference between “backyard barbecue” and “steakhouse at home.” When you control the blend, you control the flavor, texture, and juiciness of every bite. You’ll learn not just what cuts to use, but why they matter, and how temperature, fat content, and grind size work together to create balance. Once you taste the difference, store-bought ground beef will feel like an unseasoned prequel to your main event. Try it with my Guacamole Bacon Burger tonight!

Why You’ll Love this Recipe
- Use your creativity to create a blend that you love
- Master a new skill
- Confidence—knowing your meat blend is fresher, safer, and tastier than store-bought
What You’ll Walk Away Knowing
- How to prepare your meat to grind
- Troubleshooting the grinder
Anatomy of a Great Burger
When we’re crafting a custom beef blend, we want a burger that has a loose crumb, tender chew, and a juicy bite. To achieve this, we want to look at the specifications of what we need to get that result.
Loose Crumb
Minimal shaping: Form patties with a light touch. Just press together enough so it holds. Compacting squeezes out air pockets and makes the crumb dense. I form my meat into a loose ball then use a burger press to shape it into a patty.
Single-direction grind: Push meat through the grinder once (or twice at different plate sizes), but don’t mash it after. Let those long strands stay intact—that’s what gives that “crumbly” steak-burger feel.
You want to grind with the coarse grinding plate first and then the firm grinder plate second. You don’t have to grind twice. Ground once through the coarse plate gives a more rustic burger.
No pre-seasoning with salt: Salt binds proteins and tightens the grind. Always season the outside of the patty right before cooking.

Tender Chew
Fat distribution: You want visible flecks of fat (not smeared). When fat is distinct, it renders slowly and bastes the meat as it cooks, keeping it supple.
Juicy Bite
Fat % Range: a 20% fat range is ideal for burgers to achieve a juicy bite.
15% is a little leaner and can be more dry. 25% can be a little greasy and cause the burgers to shrink when their fat melts off.
Keep it cold: Cold meat = intact fat = juicier end product. Warm fat smears and melts out before the burger even hits the grill.
Cook temp: Medium-rare to medium (135–145°F) is juiciest. Overcooking drives out moisture.
The Best Meat for Grinding Burgers
The beauty of grinding your own meat is that you can choose any combination of cuts of meat that you want. For this recipe I’m just using chuck roast. That’s my go to for grinding meat, but there are other combinations.
The important factors to think about are fat percentage in the meat, the cost of the cut, and the flavor profile you’re looking to create. Lots of pro chefs use a mixture of 2-3 types of beef to balance fat and flavor.
Here are the typical cuts of meat used:
Chuck roast: Chuck (15–20% fat): classic, affordable, mild flavor, blends well.
Brisket: Deep, beefy flavor and a high fat content which adds juiceness. It can be a little chewy if it’s not ground on the fine setting. Best used in a blend. The fat content can cause the meat to flare up on the grill.
Short rib: Rich, buttery, with an intense beefy flavor with good marbling, but it is expensive and should be used in a blend because it’s too fatty to stand alone.
Sirloin: Leaner than chuck roast with a steak flavor. It is good for mixing if you want a less greasy burger, but it is too lean on its own. It can be too dry unless it is combined with a fattier cut.
Ribeye: Luxurious cut with marbling and steakhouse-level flavor. A ribeye burger tastes like steak in burger form. Very expensive to grind into burgers; better as part of a blend than the sole cut.
Skirt/Flanken Steak: Strong beef flavor, with good fat balance. Adds complexity when blended, but not as tender on its own.
Quick Blend Suggestion: 70% chuck + 30% brisket is a famous steakhouse combo (Hannah will feel “in the know”).
Alternative meats: if you really want to experiment, you try alternative meats as well. Lamb, pork, or bacon mixed into the grind can spark creativity and flavor combinations you never knew you needed.
Keep Everything Cold
Keeping the meat and the grinder cold allows the beef to grind instead of smear. The grinding mechanism creates heat and can cause the meat to turn gray if it is running through the machine for too long. When the meat is almost frozen, it is able to break up and be ground down. If it isn’t, then it will have a difficult time going through the machine.
Mention that grinding warm meat = fat smears, leading to a dense, rubbery burger. Cold = airy, juicy patties.
Food Safety
Grinding your own meat can give you ground beef with less germs than already ground beef from the store. So let’s keep it that way
After you grind the beef, cover it and put it into the refrigerator to keep cold.
You don’t want to cross contaminate anything so everything that is used to grind the beef shouldn’t be used for anything else.
After grinding, make sure to take everything apart and clean it thoroughly.
Equipment Types
I have a KitchenAid grinder attachment. It’s a small attachment that I have in my cabinets that’s easy to pull out occasionally to grind meat.
There are standalone electric grinders that take up space, but are workhorses if you get into grinding your own meat.
There are manual grinders that can attach to your counter to grind with your own elbow grease. I’ve never tried one but I could see it because it would be a project that would take a lot of muscle so I prefer an electric option.
You can also try using a food processor. You’ll get a rougher chop, but it gives you an opportunity to see if you like the taste of freshly ground beef enough to purchase another product.
Make sure the meat is semi frozen and pulse through the food processor until it’s chopped to your preference. Don’t let it just run or you’ll end up with beef paste.

Ingredient List
Chuck Roast: You can grind many different types of meat. You want a fatty cut so that the meat is moist. I used 2.5 pounds.

How to Grind Beef for Burgers
- Cut the meat into 1 inch chunks, cutting off sinew but leaving the fat
- Put the chunks on a parchment lined baking sheet or other flat container in a single layer and put in the freezer for 30 minutes until the meat is partially frozen and hard. Put the grinder in the freezer as well
- Set up the grinder with the coarse grind disc and turn it on to level 4 or 6. We don’t want it to go through too fast or too slow
- Put the meat into the hopper and push into the grinder into a bowl
- After it goes through put the meat back on the baking sheet and freeze for about 15 minutes along with the grinder
- Put the fine disc in and run the meat through again


- Use immediately for burgers, meatloaf, or pasta sauce or store in the refrigerator
Expert Tips
It is best to wait to season your meat after you grind it. Adding salt will cause the meat to tighten up, which will affect the meat’s texture.
I like to grind my meat twice; once through the coarse grinding plate and once through the fine grinding plate. You don’t have to though. If you just want a coarse, rustic grind just do it once. If you do want a fine ground beef, you have to do the coarse setting then the fine setting. Don’t start with the fine setting.
Sometimes you’ll see grayness in the meat. This is the heat of the grinder partially cooking the meat. To keep this from happening make sure everything is as cold as possible and you’re working quickly.
Don’t overwork the meat when forming patties to keep a looser texture.
Grind into a chilled metal bowl if possible.
If using brisket/short rib, trim excess fat caps first.
Forming Patties for Burgers
Don’t overwork the meat or it will become dense.
Add salt after forming patties, not before grinding, to avoid tough texture.
You can grab a handful of meat or weigh it for about 4 ounces. I like to form the meat into the size of a large golf ball. Put it on a cutting board and gently press down into the shape of a patty or use a patty shaping tool.

Storage
Refrigerator for 1-2 days and in the freezer for 3-4 months. Cooked ground beef can be kept in the refrigerator for 3-4 days.
FAQs
Yes, cold meat and equipment keep fat from smearing, which gives you distinct pieces of fat and beef for juicier burgers. Pop your grinder parts in the freezer for 20–30 minutes beforehand.
One grind through a coarse plate gives a loose, steakhouse-style texture. Two grinds (coarse then medium) make a finer, more uniform blend. It depends if you want rustic or tender.
Yes, but pulse in short bursts with small batches. It works best if the meat is nearly frozen; otherwise, it turns mushy.
Yes, as long as it’s thawed safely in the fridge. But don’t re-freeze after grinding unless you cook it first—quality and safety both take a hit.
Around 20% is the sweet spot for burgers (think chuck). For chili or sauces, you can go leaner—15% fat or less.
I hope you try grinding your own meat at least once or twice. It’s fun to practice and gain that skill. It’s a great way to use deals on beef to their full potential. Let me know in the comments if you tried a blend of different cuts of beef and what you prefer.
The Bluster and the Burrow

Grinding Beef for Burgers
Equipment
- KitchenAid Grinder Attachment
Ingredients
- 2.5 pounds chuck roast
Instructions
- Cut the meat into 1 inch chunks, cutting off sinew but leaving the fat
- Put the chunks on a parchment lined baking sheet or other flat container in a single layer and put in the freezer for 30 minutes until the meat is partially frozen and hard. Put the grinder in the freezer as well
- Set up the grinder with the coarse grind disc and turn it on to level 4 or 6. We don’t want it to go through too fast or too slow
- Put the meat into the hopper and push into the grinder into a bowl
- After it goes through put the meat back on the baking sheet and freeze for about 15 minutes along with the grinder
- Put the fine disc in and run the meat through again

Grinding your own beef can seem intimidating, but it doesn’t have to be. Let me know if you need anymore clarification on the steps and how you grinding adventure went.