Pie Crust Using a Food Processor
As an Amazon Associate, I earn from qualifying purchases. This post may contain affiliate links. If you purchase through them, I may earn a small commission at no extra cost to you.
I’ll admit it: pie crust used to intimidate me.
All you ever hear is that everything must be COLD, you must barely touch it, and if you roll it one millimeter too far, you’ve somehow ruined everything forever. I felt paralyzed before I even started—afraid to warm the butter, afraid to overwork the dough, afraid to look at it the wrong way.
Which is ridiculous, because at the end of the day… It’s flour and butter. No one’s performing surgery here.
Once I finally pushed past that mental block (mostly out of a deep craving for chicken pot pie), I started paying attention to what actually helped me feel confident instead of tense. I wanted a dough that worked with me, not one that demanded monk-like discipline and a refrigerated marble countertop.
This recipe is the result.
It’s an all-butter pie dough that’s flaky and rich, yes—but more importantly, it’s forgiving. It rolls easily, holds its shape, and gives you a little breathing room if your kitchen is warm or your hands aren’t made of ice. And because I can only summon pie-making courage a few times a year, this recipe makes enough dough for four single-crust pies or two double-crust pies, so one effort pays off multiple times.
If pie crust has ever made you feel nervous, this one is here to calm you down, not test you.

Why You’ll Love this Recipe
- Makes 2 double-crust pies or 4 single-crust pies, perfect for batching
- All-butter flavor with a structure that’s easier to handle
- Freezes beautifully, so future you gets a win without extra effort
- Ideal for savory pies like chicken pot pie, but just as good for sweet filling
What You’ll Walk Away Knowing
- How to roll pie dough confidently without cracking or panic
- Why egg and apple cider vinegar make an all-butter crust easier to work with
- How to handle pie dough without turning it tough or fragile

Ingredient List
Flour: Use standard all-purpose flour.
Salt: Enhances flavor and gently strengthens the dough, giving it enough structure to roll and hold its shape without becoming tough.
Sugar: A small amount encourages browning in the oven and balances flavor without making the crust sweet.
Unsalted Butter: This is an all-butter crust, so quality matters. I like Kerrygold for its richness and higher butterfat, which contributes to flakiness and flavor. Unsalted butter gives you full control over seasoning.
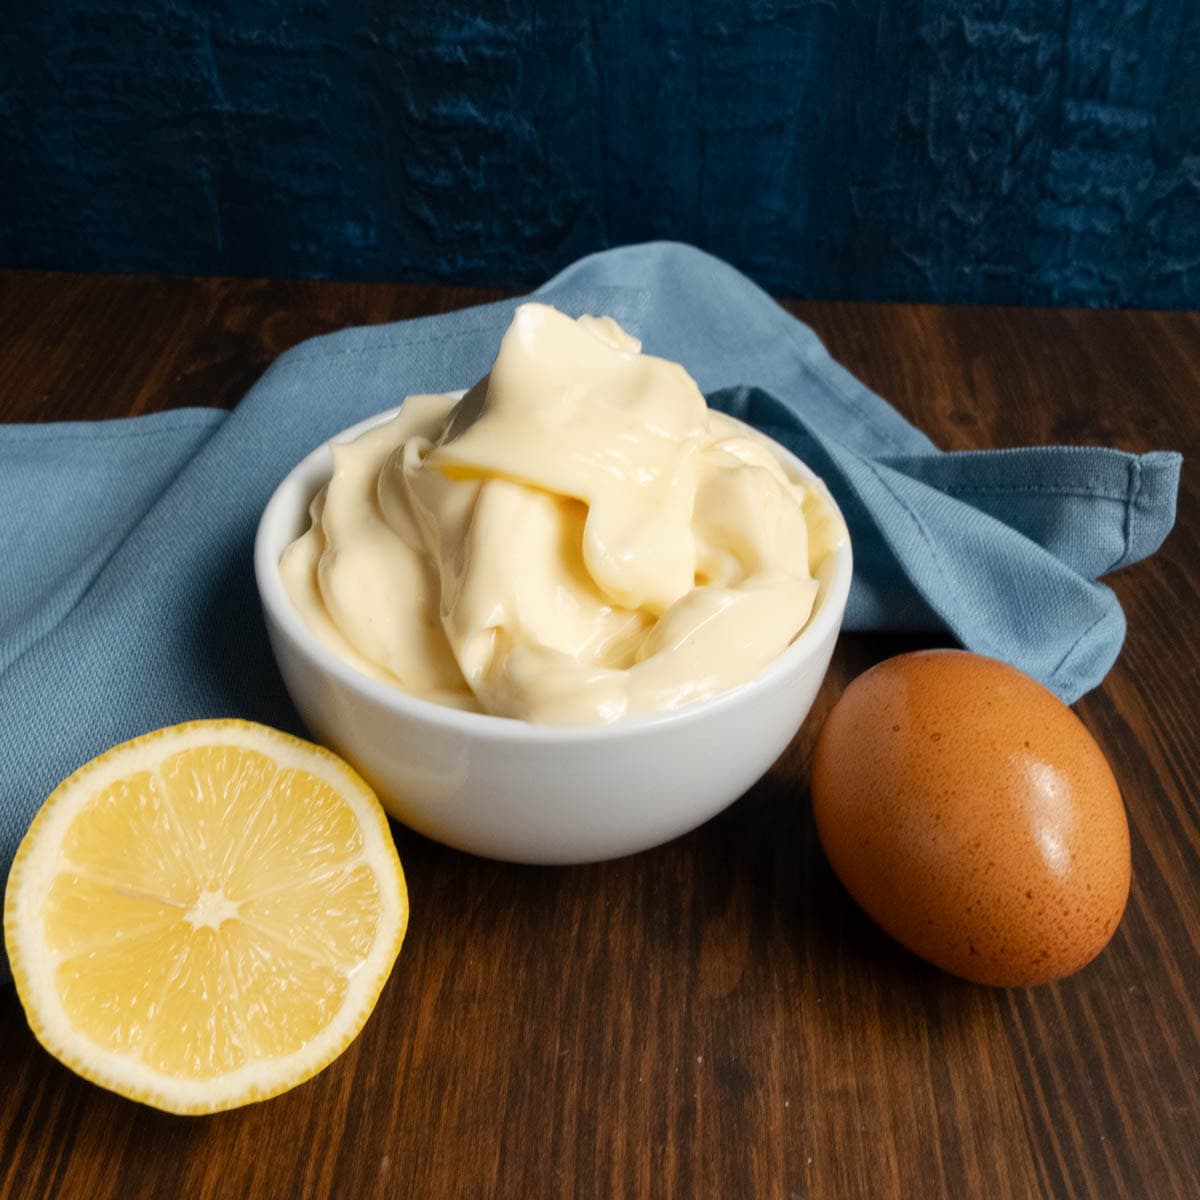
Whole Egg: A whole egg is doing important work here.
- Water hydrates the flour so the dough comes together without excessive mixing
- Fat (from the yolk) adds richness and tenderness
- Protein gently sets during baking, giving the dough enough structure to roll smoothly, resist cracking, and hold decorative edges
The result: a crust that’s more forgiving, less fussy, and still beautifully flaky.
Apple Cider Vinegar: You won’t taste it, I promise. A small amount of acid slows gluten development, which keeps the crust tender instead of bready. It also slightly weakens protein bonds, meaning you can handle the dough a bit more without toughening it. Think of it as built-in insurance against overworking.
Why the Extra Ingredients?
Classic pie dough is often taught as a strict three-ingredient formula: flour, butter, water. And yes, you can make a lovely crust that way.
But this recipe is for people who don’t want to feel like they’re defusing a bomb.
All-butter doughs are glorious, but they can also be temperamental. They crack, slump, or melt if conditions aren’t just right. Adding egg and apple cider vinegar gives the dough a little backbone and a little grace.
Together, they:
- Make the dough easier to roll
- Reduce shrinkage during baking
- Keep flakes distinct instead of crumbly
- Buy you flexibility if your kitchen is warm or your hands are impatient
This isn’t about cutting corners—it’s about building confidence. And once you feel that confidence, pie crust stops being scary and starts being… kind of fun.
How to Make All-Butter Pie Dough in the Food Processor
Make the Dough
- Prepare the butter: Cut the cold butter into rough 1-tablespoon chunks.
- Break it down: Add the butter to a food processor and pulse a few times to break it into smaller pieces.
- Add dry ingredients: Add the flour, salt, and sugar. Pulse until the butter pieces are about pea-sized.
- Add liquids: Add the lightly beaten egg, apple cider vinegar, and 3 tablespoons of ice water. Pulse until the dough begins to clump.
- Adjust hydration: Add additional ice water 1 tablespoon at a time, pulsing between additions, just until the dough comes together. (You’ll usually need about 11–12 tablespoons total.)
- Rest the dough: Turn the dough out into a bowl, cover with plastic wrap, and refrigerate for at least 30 minutes. This allows the flour to fully hydrate and the gluten to relax.


Portion and Store
- Once rested, divide the dough into four equal portions. For accuracy, weigh the total dough and divide by four, then weigh out each portion.
- Shape each portion into a round disc and wrap tightly in plastic wrap.
- Refrigerate until ready to use, or freeze for longer storage.


Roll the Dough for a Pie Pan
- Remove the dough directly from the refrigerator—it should be cold but pliable.
- Lightly flour your work surface (by hand or with a flour duster).


- Place the dough disc in the center, lightly flour the top, and rub the flour evenly across the surface.
- Using a rolling pin, start in the center and roll outward, lifting the pin before reaching the edge to avoid thinning the edges too much.
- Rotate the dough a quarter turn and repeat. A bench scraper can help lift and rotate the dough cleanly.
- Continue rolling and rotating until the dough is large enough to fit your pie pan.
- Gently transfer the dough to the pan, easing it into the corners without stretching.
- Refrigerate the dough uncovered for at least 15 minutes to firm the butter back up before filling.
If you’re using the dough for something other than a pie pan, simply roll it to your desired thickness and cut as needed.
Bake the Pie
- Preheat the oven to 375°F.
- Remove the chilled bottom crust from the refrigerator and add your filling (lukewarm or cool).
- Roll out the top crust using the same method, place it over the filling, and cut steam vents with a sharp knife.
- Pinch the top and bottom crusts together to seal.
- Bake on the middle rack for 15 minutes, then reduce the oven temperature to 350°F.
- Continue baking for 35–40 minutes, or until the crust is deeply golden brown.

Expert Tips
Roll between parchment if you’re nervous. If pie dough makes you tense, roll it between two sheets of parchment paper. Place a large sheet on the counter, lightly flour it, set the dough on top, dust with flour, and add a second sheet of parchment. Roll from the center outward, lifting and rotating as usual. The dough won’t stick, and the parchment peels away easily—no panic, no patching.
Cold dough is helpful, not sacred. Your dough should be cold but pliable. If it cracks while rolling, let it sit at room temperature for 2–3 minutes. If it feels greasy or soft, pop it back in the fridge. You’re allowed to adjust.
Cold butter is what creates flaky layers—when it melts in the oven, it releases steam that separates the dough into distinct flakes. Those pockets of butter melt and steam as the pie bakes, which is what gives you lift and flakiness rather than a dense crust.
Don’t stretch the dough into the pan. Always lift and gently settle the dough into the pie plate. Stretching activates gluten and leads to shrinkage during baking.
Chill before baking—always. Once your crust is in the pan (or fully assembled), refrigerate it for at least 15 minutes. This firms the butter back up and helps the crust hold its shape in the oven.
Storage:
- Refrigerator: Wrapped dough keeps well for up to 4 days.
- Freezer: Wrap each disc tightly in plastic wrap, then place in a gallon freezer bag. Freeze for up to 3 months.
- Thaw overnight in the refrigerator before using.
- Freeze in the pie plate: You can also line a pie plate with the dough and freeze it fully shaped—perfect for future pot pies or last-minute dinners.
Serving Suggestions
This crust shines in cozy, savory pies—especially mini chicken pot pie, where a sturdy but tender crust really matters. It also works beautifully for quiches, hand pies, and freezer-friendly dinner pies you can bake straight from cold.
FAQs
Nope. Cracking usually means the dough is too cold or slightly under-hydrated. Let it rest for a few minutes at room temperature, then keep rolling. Small cracks can be patched easily—this dough is forgiving.
That means the butter is warming up. Slide the dough onto a sheet pan and refrigerate for 10–15 minutes before continuing. Cold butter equals flakiness.
Yes. You can cut the butter in by hand using a pastry cutter or your fingertips. Work quickly and stop when the butter is pea-sized. The egg and vinegar still help keep the dough manageable.
You won’t taste the egg. It adds moisture, fat, and structure, making the dough easier to roll and less prone to cracking or shrinking, especially helpful for beginners.
Apple cider vinegar is mild and balanced. It tenderizes the dough without leaving a sharp flavor behind.
Absolutely. This dough works beautifully for both savory and sweet pies. If you prefer a sweeter crust, you can increase the sugar slightly without affecting the structure.
Only for very wet or custard-style fillings. For chicken pot pie, quiches, and double-crust pies, blind baking isn’t necessary. If blind baking, dock the crust lightly with a fork or use pie weights as needed.
Look for a deeply golden crust, not pale blonde. If the edges brown too quickly, tent loosely with foil and continue baking. Sugar and butter work together to help the crust brown deeply, giving you a golden, savory finish rather than a pale shell.
If pie crust has ever made you nervous—or if you want more recipes that actually explain the why behind the how—I’d love to have you in my kitchen.
Join my newsletter for:
- Confidence-building recipes that don’t assume perfection
- Cozy, from-scratch meals that feel intentional and doable
- Gentle technique lessons that make cooking feel calmer, not louder
No pressure. No judgment. Just good food and steady guidance—one recipe at a time.
Sign up below and let’s make cooking feel a little less intimidating and a lot more satisfying.
The Bluster and the Burrow

Pie Crust Using a Food Processor
Ingredients
- 4 sticks butter
- 4 cups flour
- 1 tablespoon sugar
- 1 tablespoon salt
- 1 tablespoon apple cider vinegar + 1 teaspoon
- 1 egg
- ½ cup ice water
Instructions
Make the Pie Dough
- Prepare the butter: Cut the cold butter into rough 1-tablespoon chunks.
- Break it down: Add the butter to a food processor and pulse a few times to break it into smaller pieces.
- Add dry ingredients: Add the flour, salt, and sugar. Pulse until the butter pieces are about pea-sized.
- Add liquids: Add the lightly beaten egg, apple cider vinegar, and 3 tablespoons of ice water. Pulse until the dough begins to clump.
- Adjust hydration: Add additional ice water 1 tablespoon at a time, pulsing between additions, just until the dough comes together. (You’ll usually need about 11–12 tablespoons total.)
- Rest the dough: Turn the dough out into a bowl, cover with plastic wrap, and refrigerate for at least 30 minutes. This allows the flour to fully hydrate and the gluten to relax.
Portion and Store
- Once rested, divide the dough into four equal portions. For accuracy, weigh the total dough and divide by four, then weigh out each portion.
- Shape each portion into a round disc and wrap tightly in plastic wrap.
- Refrigerate until ready to use, or freeze for longer storage
Roll the Dough for a Pie Pan
- Remove the dough directly from the refrigerator—it should be cold but pliable.
- Lightly flour your work surface (by hand or with a flour duster).
- Place the dough disc in the center, lightly flour the top, and rub the flour evenly across the surface.
- Using a rolling pin, start in the center and roll outward, lifting the pin before reaching the edge to avoid thinning the edges too much.
- Rotate the dough a quarter turn and repeat. A bench scraper can help lift and rotate the dough cleanly.
- Continue rolling and rotating until the dough is large enough to fit your pie pan.
- Gently transfer the dough to the pan, easing it into the corners without stretching.
- Refrigerate the dough uncovered for at least 15 minutes to firm the butter back up before filling.
- If you’re using the dough for something other than a pie pan, simply roll it to your desired thickness and cut as needed.
Bake the Pie
- Instructions will vary by recipe, but here is a general baking guideline.
- Preheat the oven to 375°F.
- Remove the chilled bottom crust from the refrigerator and add your filling (lukewarm or cool).
- Roll out the top crust using the same method, place it over the filling, and cut steam vents with a sharp knife.
- Pinch the top and bottom crusts together to seal.
- Bake on the middle rack for 15 minutes, then reduce the oven temperature to 350°F.
- Continue baking for 35–40 minutes, or until the crust is deeply golden brown.
Notes
Storage
- Refrigerator: Wrapped dough keeps well for up to 4 days.
- Freezer: Wrap each disc tightly in plastic wrap, then place in a gallon freezer bag. Freeze for up to 3 months.
- Thaw overnight in the refrigerator before using.
- Freeze in the pie plate: You can also line a pie plate with the dough and freeze it fully shaped—perfect for future pot pies or last-minute dinners.


This pie dough recipe has made me confident in making more pastries from scratch. Let me know how it worked out for you and if you need any help troubleshooting.