Salt Cured Egg Yolks
I love a good project recipe. The kind you don’t need, but want to experience for yourself anyway. Something that asks for patience more than effort, and rewards you over time.
There are plenty of project recipes that take an afternoon or even a whole weekend; this salt cured egg yolk recipe isn’t one of them. It comes together in minutes and then steps out of the way, letting salt, time, and restraint do the work.
What you get at the end isn’t flashy. It’s concentrated. Savory. Something that feels almost old-world in how simple and deliberate it is. A small ingredient that teaches you how much transformation can happen when you stop fussing and let a process unfold.
Salt cured egg yolks grate into light, feathery shavings with a microplane and melt into hot food rather than sit on top of it. They’re subtle, deeply savory, and just a little indulgent. The kind of thing you don’t use every day, but reach for when you want a meal to feel intentional.

Why You’ll Love This Recipe
- It’s a true set-it-and-wait project with minimal hands-on time and a meaningful payoff
- Easy to scale, whether you want to cure a single yolk or a whole batch
- Uses a simple, reliable 2 parts salt to 1 part sugar ratio by volume
- Creates a versatile finishing ingredient that instantly elevates everyday food
- Teaches you how preservation, not cooking, can transform flavor and texture
What You’ll Walk Away Knowing
- How salt curing works on a structural level, not just a surface one
- Why time is doing more work here than technique
- How to approach food safety thoughtfully when working with raw egg yolks
- What to look for, smell for, and feel for at each stage of the process
- How to turn a simple ingredient into something that feels subtly special
Food Safety and Salt Curing
Salt curing is not about cooking; it’s about preservation. Salt pulls moisture out of the egg yolk and lowers water activity, which makes the environment inhospitable to most bacteria. As moisture leaves, the yolk firms and the flavor concentrates.
While these yolks are never heated, they are not the same as eating a raw egg. Extended contact with salt followed by prolonged drying fundamentally changes the ingredient.
Because there are so few ingredients, quality matters. Use eggs you trust, handle the yolks gently, and keep everything refrigerated throughout the process. If you are immunocompromised, pregnant, or particularly risk-averse, this may not be the right project for you. For everyone else, careful handling and patience are the safety net.
Trust your senses. This approach mirrors traditional salt-curing methods used to preserve foods by reducing moisture and water activity rather than applying heat. When done correctly, curing changes the environment around the ingredient in a way that prioritizes stability over speed, which is why patience matters more here than precision.
Properly cured yolks smell savory and clean. If you notice wet spots, fuzzy growth, or sharp, ammonia-like odors at any point, discard them without debate.

Ingredient List
Salt: Salt pulls water out of the yolk and becomes absorbed into it. Avoid table salt; its fine grind and additives can create a harsh, metallic cure and uneven dehydration. I use Redmond Real Salt, but sea salt or kosher salt work well too.
Sugar: Sugar balances the salt while also contributing to dehydration. It moderates harsh salinity and creates a smoother, more balanced cure. You can skip it, but the yolks will be sharper and more one-note.
Egg Yolks: When there are few ingredients, quality matters. Use the best eggs you can find and eggs you trust. Remove as much egg white as possible when placing the yolks into the salt mixture.
The yolk membrane is what holds everything together during curing. If a yolk breaks while separating, it won’t cure properly. Set it aside for another use and move on without guilt.
Cheesecloth: Cheesecloth is functional, not decorative. It protects the yolks from condensation while still allowing airflow during the drying stage.
How to Make Salt Cured Egg Yolks
- Mix the salt and sugar together thoroughly.
- Spread half of the mixture evenly in the bottom of a shallow dish or container with a lid.
- Create shallow craters using your thumb or the back of a spoon.
- Gently nestle one yolk into each crater, taking care not to break the membrane.
- Cover the yolks completely with the remaining salt mixture.
- Cover and refrigerate for 7–10 days.


After the Cure
After 7–10 days, remove the yolks from the cure. Gently brush off excess salt or rinse briefly under cold water, then pat dry thoroughly.
At this stage, the yolks should feel firm all the way through and hold their shape when lifted. If they feel soft or slump, return them to the cure for a few more days.
How to Wrap and Hang Salt Cured Egg Yolks
Start by laying a piece of cheesecloth flat on your work surface, then fold it over itself so it’s double-layered. This gives the yolks enough support while still allowing airflow.
Gently place the cured egg yolks in a line on the cheesecloth, leaving a little space between each one. Fold the long sides of the cheesecloth inward toward the center, covering the yolks, then fold the short ends in to fully enclose them. You should end up with a tidy bundle, with the yolks cushioned inside the cloth.
Secure the bundle by wrapping rubber bands around the outside of the cheesecloth to hold everything together. Then, add an additional rubber band between each yolk, wrapping it around the bundle three times to create gentle dividers. This keeps the yolks from touching each other while they dry.
To hang the yolks, attach a chip clip to the top of the bundle. Loop the top rubber band around the chip clip, then clip the whole thing onto a refrigerator shelf so the bundle hangs freely. The fridge provides steady airflow and a cool environment, which helps the yolks dry evenly.
Once hung, all that’s left to do is wait another 7-10 days. Time does the rest; the yolks firm up slowly, concentrating in flavor and texture as they dry.


Expert Tips
Focus on texture more than time. Finished yolks should grate cleanly without smearing. If they smear, they need more time.
Be careful not to puncture the yolk during separation. Gently juggle the yolk between the shell halves and let the white fall into a bowl. If a yolk breaks, start with a new one. The surface tension of an intact yolk is what allows it to dehydrate properly.
Airflow matters more than precision. Avoid sealed containers and areas with condensation during drying.
Keep yolks away from strong-smelling foods while drying; subtle ingredients absorb odors easily.
Store finished yolks in an airtight container in the refrigerator. They will keep for several weeks and can be frozen or vacuum-sealed for longer storage.Grate off cheese cloth fuzz. If a little cheesecloth fiber sticks to the yolk, simply grate off the outer layer before using it over food.

Serving Suggestions
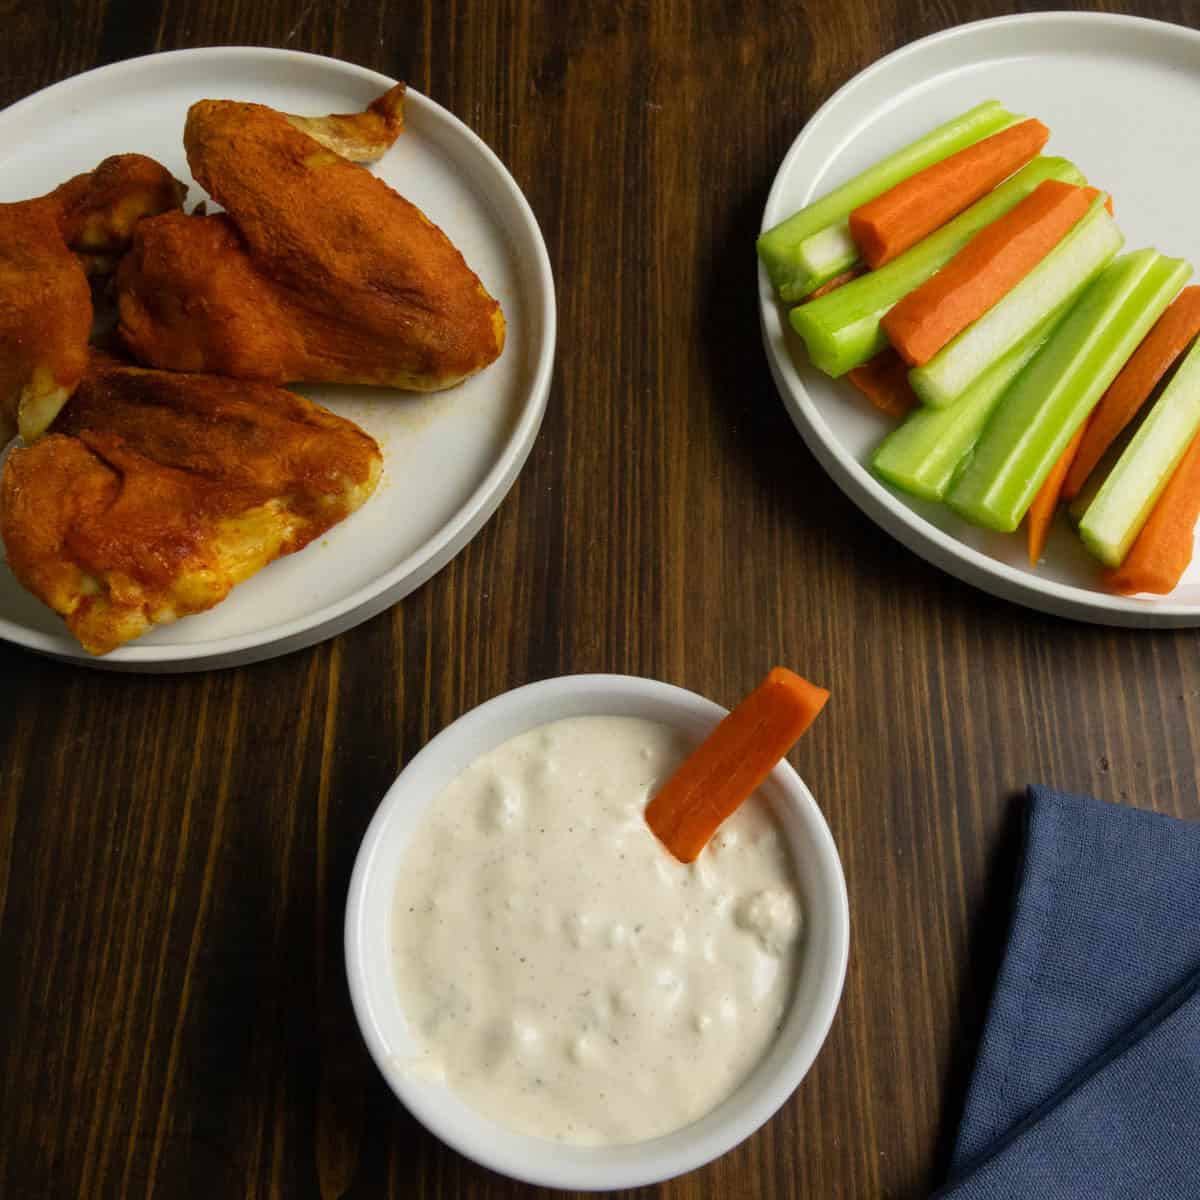
Salt cured egg yolks have a parmesan-like quality. They deepen already rich foods and add savoriness without overwhelming them.
Use a microplane to grate the yolks onto hot food.
- Dry-brined steak
- Dry brined roasted chicken
- Rosemary garlic mashed potatoes
- Mushroom risotto
- Crispy roasted potatoes
FAQs
Overhandling the yolks. The cure does the work; your job is to leave them alone.
No. It’s damp, unevenly salty, and potentially contaminated. Discard it or repurpose it for non-food uses.
A broken membrane, shallow salt bed, or refrigerator temperature fluctuation. Cosmetic, not dangerous.
No. Standard refrigerator conditions work well. Airflow matters more than precision.
Darkening color and some early tackiness are normal. Fuzzy growth, wet spots, or ammonia smells are not.
No. Less handling is better.
Slow, cold drying preserves aroma and avoids cooked flavors. This method favors depth over speed.
This is not a recipe you make because you have to. It’s one you make because you’re curious about what time can do to simple ingredients, and because you enjoy the quiet satisfaction of seeing a process through.
If this kind of cooking speaks to you; patient, intentional, and grounded in understanding rather than shortcuts; you’ll feel at home in my newsletter. That’s where I share recipes like this, along with what I’m testing, learning, and thinking about in the kitchen each week.
If you’d like to cook with me more often, you can sign up below. I’d love to have you there.
The Bluster and the Burrow

Salt Cured Egg Yolks
Equipment
- Cheesecloth
- Rubber Bands
- Chip Clip to hang the cheesecloth
Ingredients
- 1 cup salt Redmond, sea salt
- ½ cup white sugar
- 3 egg yolks
Instructions
Curing
- Mix the salt and sugar together thoroughly.
- Spread half of the mixture evenly in the bottom of a shallow dish or container with a lid.
- Create shallow craters using your thumb or the back of a spoon.
- Gently nestle one yolk into each crater, taking care not to break the membrane.
- Cover the yolks completely with the remaining salt mixture.
- Cover and refrigerate for 7–10 days.
- After 7–10 days, remove the yolks from the cure. Gently brush off excess salt or rinse briefly under cold water, then pat dry thoroughly.
Drying
- Lay cheesecloth flat and fold it over itself to create two layers.
- Place cured egg yolks in a line on the cheesecloth, leaving space between each one.
- Fold the long sides inward, then the short ends, to fully enclose the yolks.
- Secure the bundle with rubber bands around the outside.
- Wrap an additional rubber band three times between each yolk to keep them from touching.
- Attach a chip clip to the top rubber band and clip the bundle to a refrigerator shelf so it hangs freely to dry for 7-10 days


I used to see “fresh grated salt cured egg yolks” on restaurant menus and was intrigued. I was so excited to see how easy they are to make, but make every recipe sound fancier than it is.