Home Fries Recipe
As an Amazon Associate, I earn from qualifying purchases. This post may contain affiliate links. If you purchase through them, I may earn a small commission at no extra cost to you.
Home fries have always been deceptively simple for me. Three ingredients; one pan; what could go wrong? Apparently… everything.
They would either turn out golden and perfect or glue themselves to the skillet in a starchy mutiny. Crisp one day; steamed and stubborn the next. I couldn’t understand why the same potatoes behaved so differently.
The shift happened when I stopped treating them casually and started paying attention. Heat. Moisture. Fat. Timing. Browning isn’t luck; it’s chemistry. The Maillard reaction only happens when moisture is controlled and heat is steady. Once I understood what was actually happening in the pan, I could replicate that crisp exterior and tender center without prying them loose like I was excavating tile.
This crispy home fries recipe isn’t flashy. It’s not reinventing breakfast. It’s the same classic home fries you already love; just built on a few deliberate techniques that remove the guessing and give you control. Whether you call them home fries or breakfast potatoes, the goal is the same; crisp edges, tender centers, and clean release from the pan.

Why You’ll Love this Recipe
- Same classic home fries you love with a few techniques
- Teaches you how to control sticking instead of hoping it won’t happen
- Uses simple tools to create restaurant-level texture at home
- Builds deep golden crust without parboiling or complicated steps
- Gives you repeatable results; not just a good batch once
What You’ll Walk Away Knowing
- Why moisture is the enemy of crust and how to eliminate it
- How to properly preheat a skillet so potatoes release naturally
- The role of starch in sticking and how rinsing changes the outcome
- How fat layering, oil plus butter, builds flavor without burning

Ingredient and Equipment List
Russet Potatoes: Russets create the strongest contrast between crisp exterior and fluffy interior. Their higher starch content helps form a defined crust. Red or Yukon Gold potatoes can be used, but they will be slightly creamier and less dramatic in texture.
Salt: Salt the potatoes at the beginning so it penetrates the interior. Taste and adjust at the end if needed. Potatoes require more salt than most people expect.
Butter: Butter provides flavor and promotes browning through its milk solids. It should not be used alone; it can burn.
Oil: A neutral oil raises the smoke point and protects the butter. Together, oil and butter create stable heat and better crust development.
Seasonings: Onion powder, garlic powder, and cayenne add warmth and depth. Add them at the end of cooking to prevent burning and bitterness. Spices bloom in residual heat without scorching.
Salad Spinner: Removing surface moisture is critical. After rinsing, spin the potatoes until completely dry. Dry surfaces sear; damp surfaces steam. Paper towels can work, but they are less efficient and rarely dry the potatoes thoroughly.
Fish Spatula: A thin, flexible metal spatula slides cleanly under the crust without tearing it. Thicker spatulas often break the potatoes and disturb the browning you’ve built.

How to Make Home Fries
- Preheat the skillet: Place a large skillet over medium heat and let it preheat for a full 10 minutes. This step matters. A properly heated pan prevents sticking and builds crust from the moment the potatoes hit the surface. Cast iron or stainless steel works best for strong heat retention.
- Cut the potatoes uniformly: Dice 3 russet potatoes into ½-inch cubes. Keep the pieces as even as possible so they cook at the same rate. Uneven cuts cause some pieces to burn while others stay underdone.
- Rinse and dry thoroughly: Rinse the diced potatoes under cold water to remove excess surface starch. Drain well, then dry completely; a salad spinner works beautifully. The potatoes must be fully dry before they hit the pan; moisture blocks browning.
- Add fat to the hot pan: Once the skillet is fully preheated, add 2–3 tablespoons neutral oil and 1–2 tablespoons butter. Let the fat melt and shimmer before adding the potatoes.
- Add potatoes in a single layer: Place the potatoes into the skillet and gently shake the pan for 2–3 minutes to coat them in fat and prevent early sticking. Arrange in a single layer and avoid overcrowding.
- Let the first crust develop: Cook for 8–10 minutes, shaking the pan occasionally to loosen; do not stir. Stirring interrupts browning. The potatoes are ready to flip when they release easily from the pan.
- Flip and continue building crust: Use a thin fish spatula to gently turn the potatoes. Cook another 8–10 minutes, flipping occasionally to brown more sides. Adjust heat if needed and add a little oil if the pan looks dry. Repeat this cook-and-flip cycle until deeply golden on all sides and fork-tender in the center; usually about four turns total.
- Season at the end: Sprinkle onion powder, garlic powder, and cayenne over the potatoes. Toss gently and let the spices bloom in the residual heat for 1–2 minutes before serving.

Expert Tips
Preheat Longer Than You Think You Need To: A properly heated skillet is the foundation of crust. Heat your pan over medium for a full 10 minutes before adding fat. When potatoes hit a hot surface, the exterior begins to sear immediately, forming a crust that naturally releases from the pan. If the pan is underheated, starch bonds to the surface and creates sticking. Patience at this stage prevents frustration later.
Remove Surface Starch and Eliminate Moisture
Rinsing diced potatoes under cold water removes excess surface starch, which is the main culprit behind sticking and uneven browning. After rinsing, dry the potatoes thoroughly.
Moisture is the enemy of crispness. Water turns your skillet into a steamer. A salad spinner removes water from every cut surface efficiently and consistently. If using towels, take extra time to ensure the potatoes are truly dry before they ever touch the pan.
Dry potatoes have an equal defined crust.
Use Fat Strategically: Combining oil and butter gives you both stability and flavor. Oil raises the smoke point and protects the butter from burning; butter contributes richness and deep browning.
Add the fat to the hot pan, allow it to shimmer, then add the potatoes. Shake the pan immediately to coat the cubes and prevent initial sticking.
Give the Potatoes Space: Crowding traps steam between the cubes. Steam softens the exterior and prevents browning. Arrange the potatoes in a single layer and resist the urge to pile them up. If your skillet is small, cook in batches. Space allows airflow; airflow builds crust.
Let the Crust Form Before Flipping: Once the potatoes are in the pan, leave them alone. Movement interrupts browning. After about 8–10 minutes, test one piece gently with a thin fish spatula. When a crust has formed, the potatoes release easily. If they resist, give them more time. Properly developed crust detaches cleanly without tearing.
Season in Stages: Salt early so it penetrates and enhances the interior of the potatoes. Powdered spices should be added toward the end of cooking. Garlic powder, onion powder, and cayenne can burn if exposed to direct heat for too long, which can create bitterness and sticking.
Adding them at the end allows the residual heat to bloom their flavor without scorching.
Avoid Trapping Steam: Do not cover the pan. A lid captures steam and softens the crisp exterior you are building. Keep the skillet uncovered so moisture can evaporate as the potatoes cook.
Storage: Store leftovers in an airtight container for up to 4–5 days. They will soften in the refrigerator. To re-crisp, reheat in a hot skillet with a small amount of oil rather than microwaving; this restores texture.
Plating and Finishing Touches
Smear roasted garlic across the plate before adding the potatoes. It perfumes the dish before the first bite and creates depth without extra ingredients.
Grate a salt-cured egg yolk over the top for savory intensity and a whisper of umami.
If you want heat, finish with chili oil rather than cooking it in. The contrast between crisp potato and silky spice is worth it.

Serving Suggestions
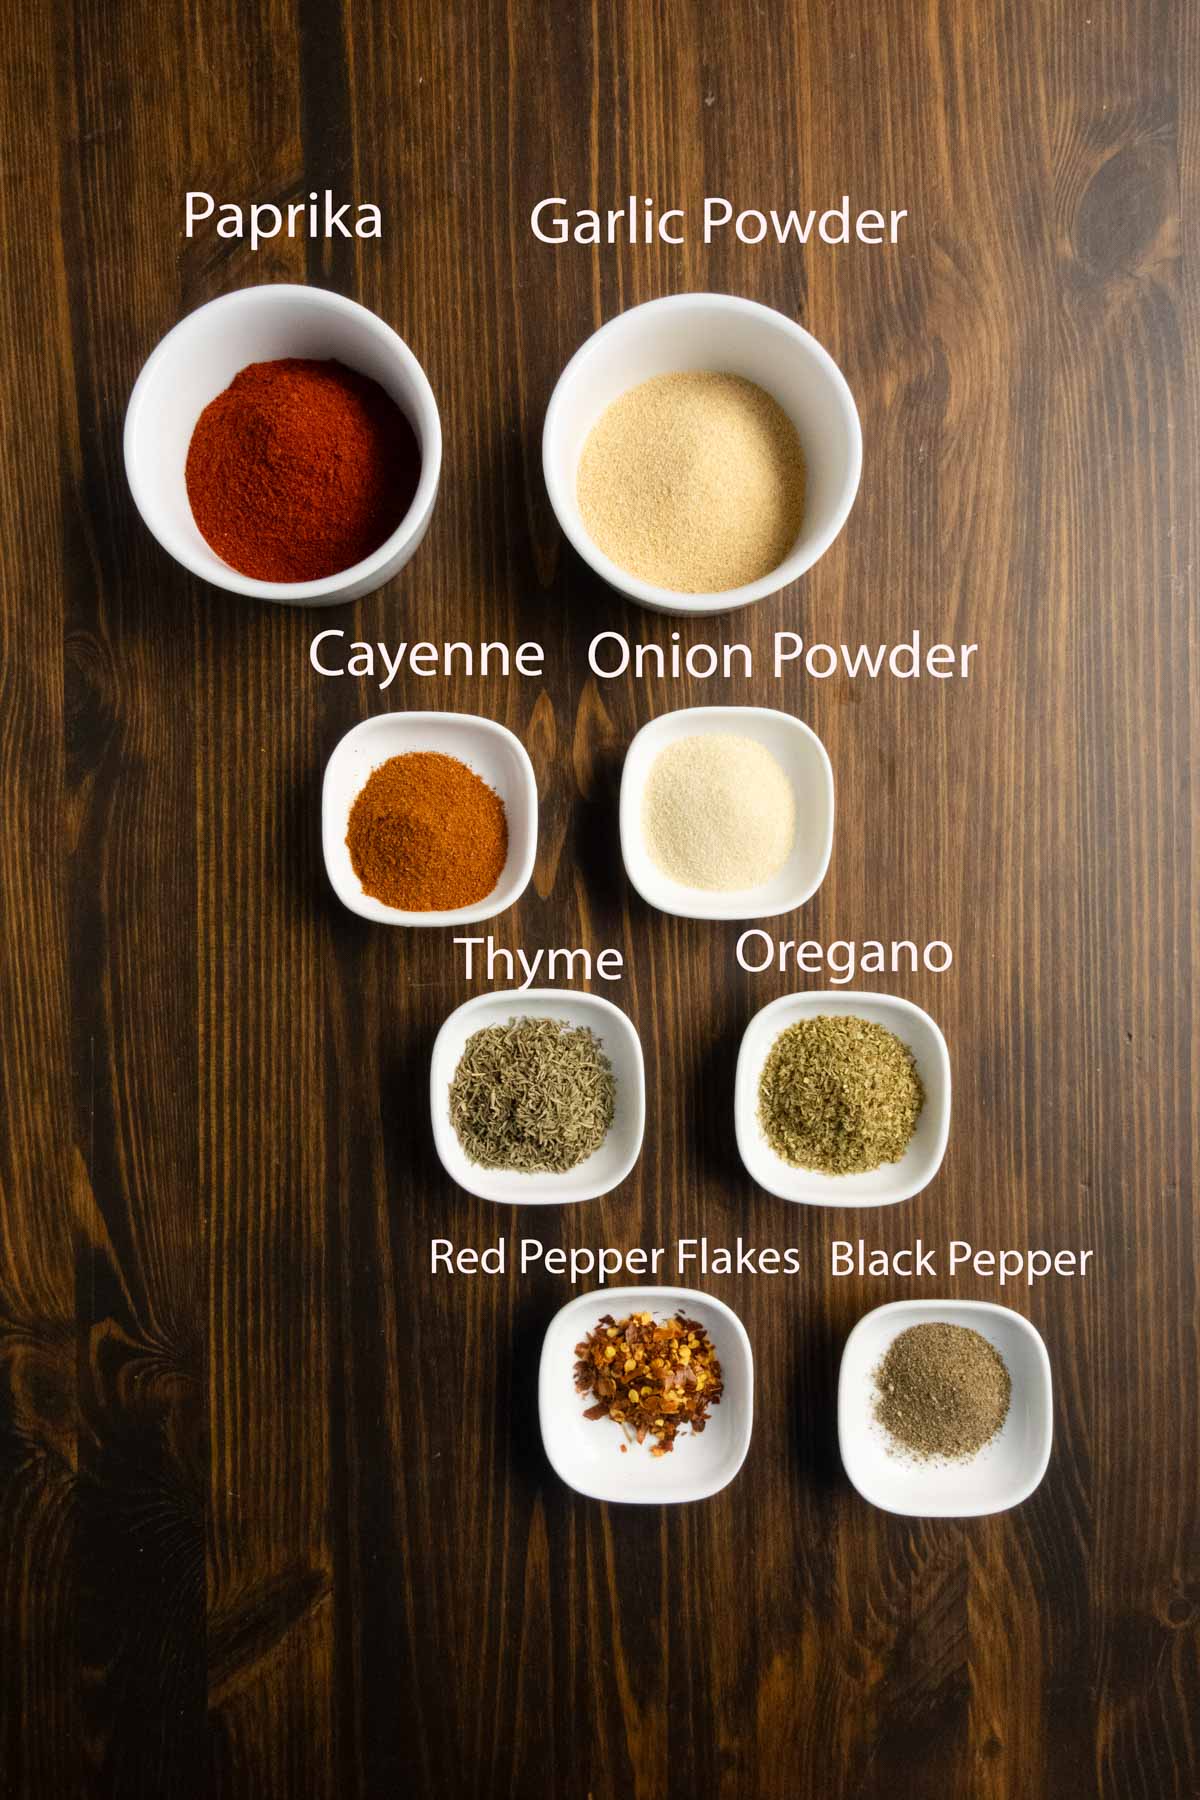
If you want to push these home fries in a more Southern direction, finish them with my Salt Free Cajun Seasoning instead of the onion powder, garlic powder, and cayenne. Add it at the very end so the spices bloom without burning. The result is deeper warmth; a little smokier; a little bolder; still balanced.
And yes; ketchup belongs here. The sweetness and acidity cut through the richness of the butter and crisped edges. A small pool on the plate is not an afterthought; it is contrast.
For something more complete, top the home fries with a fried egg. When the yolk breaks and slides into the crevices, it turns the potatoes into breakfast rather than a side. The crisp exterior catches the yolk; the tender center absorbs it. It is simple; but it feels generous.
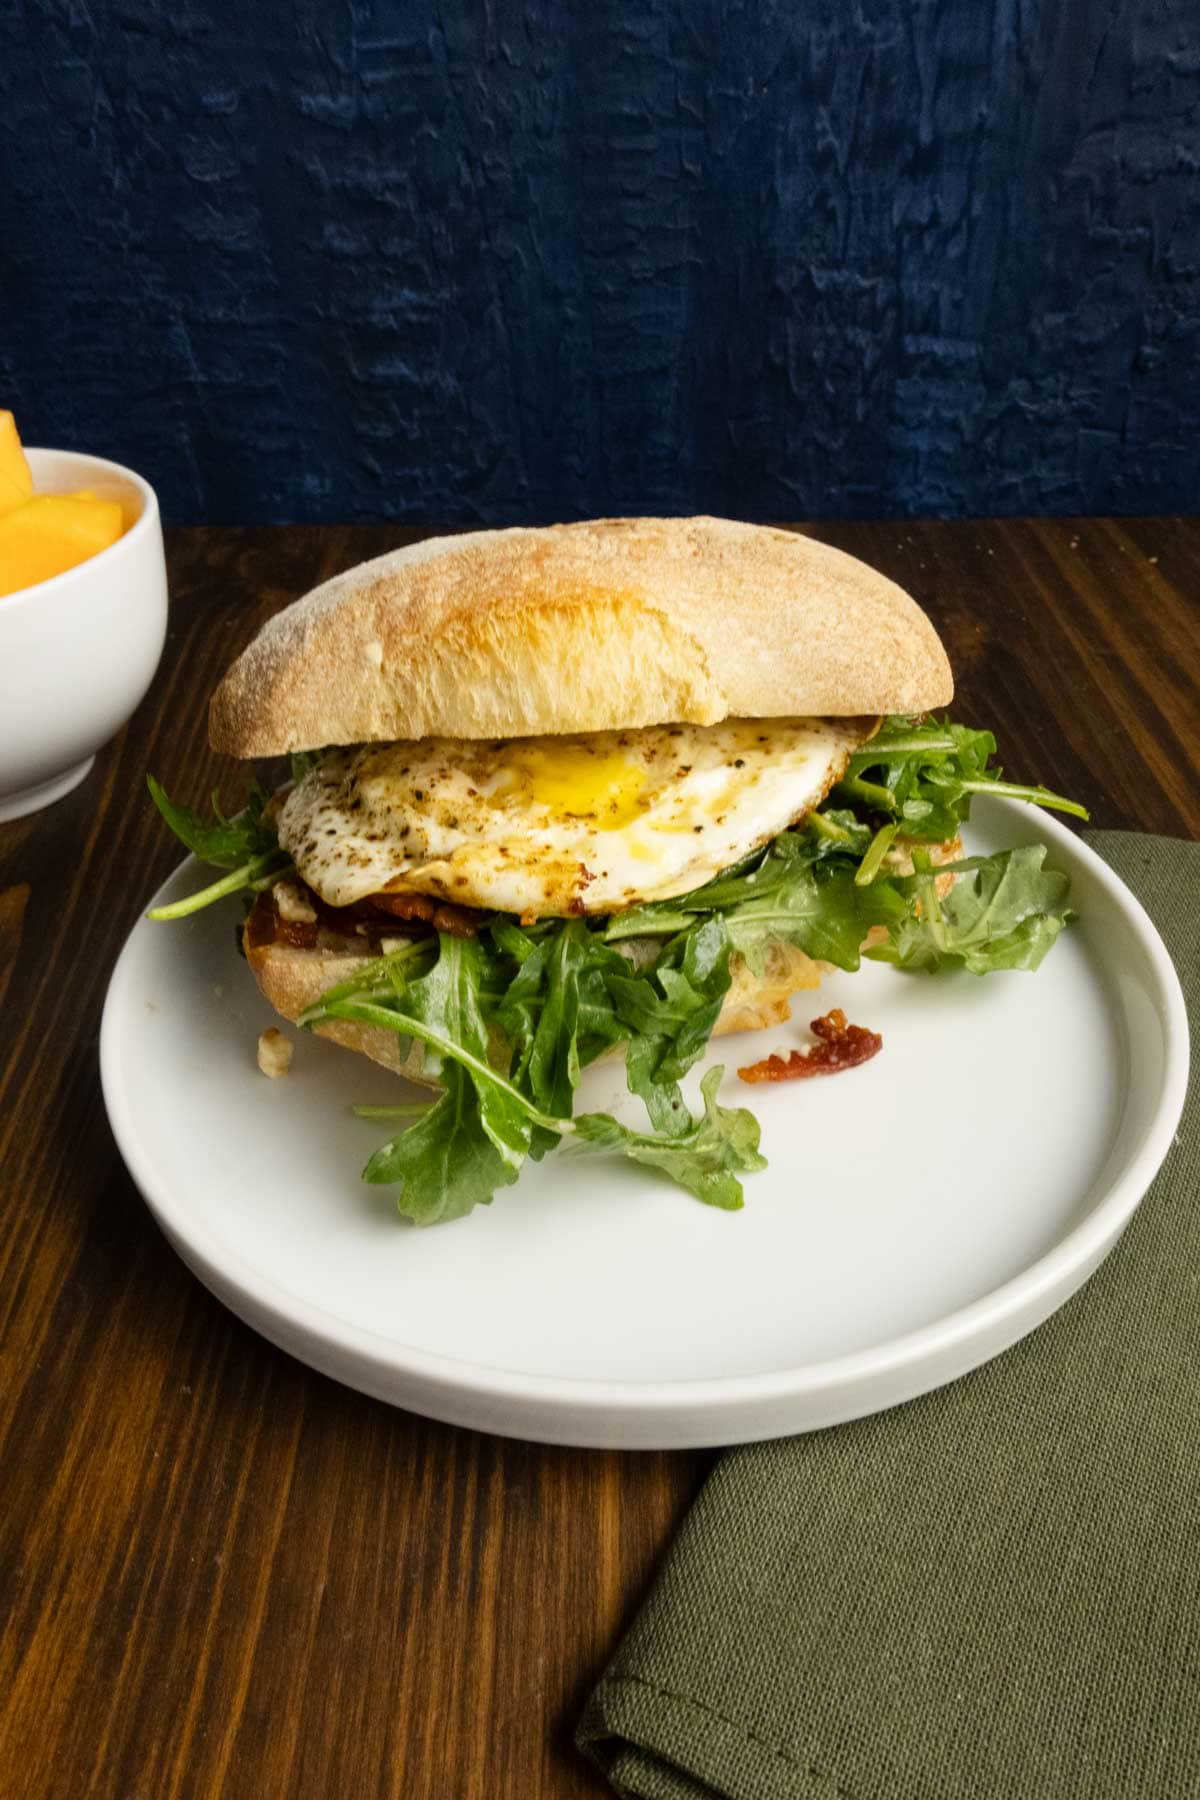
If you want to stretch this into something that feels almost restaurant-worthy, serve these home fries alongside a Fried Egg Sandwich on Ciabatta. Crisp bread; a runny yolk; peppery arugula; sharp blue cheese. The sandwich brings richness and structure; the potatoes bring texture and salt. Together, it feels composed and deliberate; not just breakfast thrown on a plate.
FAQs
Uneven browning usually comes from inconsistent cube size or uneven heat. Cut the potatoes uniformly and rotate the pan if your burner has hot spots. Precision with your knife creates consistency in the skillet.
The first side likely didn’t develop a strong enough crust. If the heat is too low, flipping releases steam and softens the exterior. Wait for deep golden browning before turning.
Yes. A 20–30 minute soak removes more starch and can improve browning. Just dry them completely before cooking; moisture will undo the benefit.
The oil wasn’t hot enough. If the fat isn’t shimmering when the potatoes go in, they absorb oil instead of searing. Proper heat creates a crust that prevents excess absorption.
No. Stirring interrupts crust formation. Instead, adjust the heat slightly if they’re browning too fast. Control temperature; don’t rely on movement.
The cubes may be too large or the heat too high. After the crust forms, reduce the heat slightly and allow the interior to cook through gradually.
Yes; but stainless steel or cast iron produce deeper browning. If using nonstick, preheat well and avoid overcrowding to maximize texture.
Home fries are simple; but simple food asks for attention.
If you love understanding why something works and want more techniques that turn everyday ingredients into intentional meals, you belong inside my newsletter.
Every Wednesday morning I send notes from my kitchen; what I’m testing, what surprised me, and the small shifts that make food feel more alive. It’s less noise; more depth.
Join me there; and let’s build your kitchen confidence one pan at a time.
The Bluster and the Burrow

Home Fries Recipe
Ingredients
- 3 Russet potatoes diced into 1/2 cubes
- 2 tablespoons butter
- 3 tablespoons avocado oil
- salt to taste
- garlic powder to taste
- onion powder to taste
- cayenne pepper to taste
Instructions
- Preheat the skillet: Place a large skillet over medium heat and let it preheat for a full 10 minutes. This step matters. A properly heated pan prevents sticking and builds crust from the moment the potatoes hit the surface. Cast iron or stainless steel works best for strong heat retention.
- Cut the potatoes uniformly: Dice 3 Russet potatoes into ½-inch cubes. Keep the pieces as even as possible so they cook at the same rate. Uneven cuts cause some pieces to burn while others stay underdone.
- Rinse and dry thoroughly: Rinse the diced potatoes under cold water to remove excess surface starch. Drain well, then dry completely; a salad spinner works beautifully. The potatoes must be fully dry before they hit the pan; moisture blocks browning.
- Add fat to the hot pan: Once the skillet is fully preheated, add 3 tablespoons avocado oil and 2 tablespoons butter. Let the fat melt and shimmer before adding the potatoes.
- Add potatoes in a single layer: Place the potatoes into the skillet, salt generously, gently shake the pan for 2–3 minutes to coat them in fat and prevent early sticking. Arrange in a single layer and avoid overcrowding.
- Let the first crust develop: Cook for 8–10 minutes, shaking the pan occasionally to loosen; do not stir. Stirring interrupts browning. The potatoes are ready to flip when they release easily from the pan.
- Flip and continue building crust: Use a thin fish spatula to gently turn the potatoes. Cook for another 8–10 minutes, flipping occasionally to brown more sides. Adjust heat if needed and add a little oil if the pan looks dry. Repeat this cook-and-flip cycle until deeply golden on all sides and fork-tender in the center; usually about four turns total.
- Season at the end: Sprinkle onion powder, garlic powder, and cayenne pepper over the potatoes. Toss gently and let the spices bloom in the residual heat for 1–2 minutes before serving.


I make these all the time since I figured out how to make them without a terrible mess on my hands. Let me know if this changed anything for you.